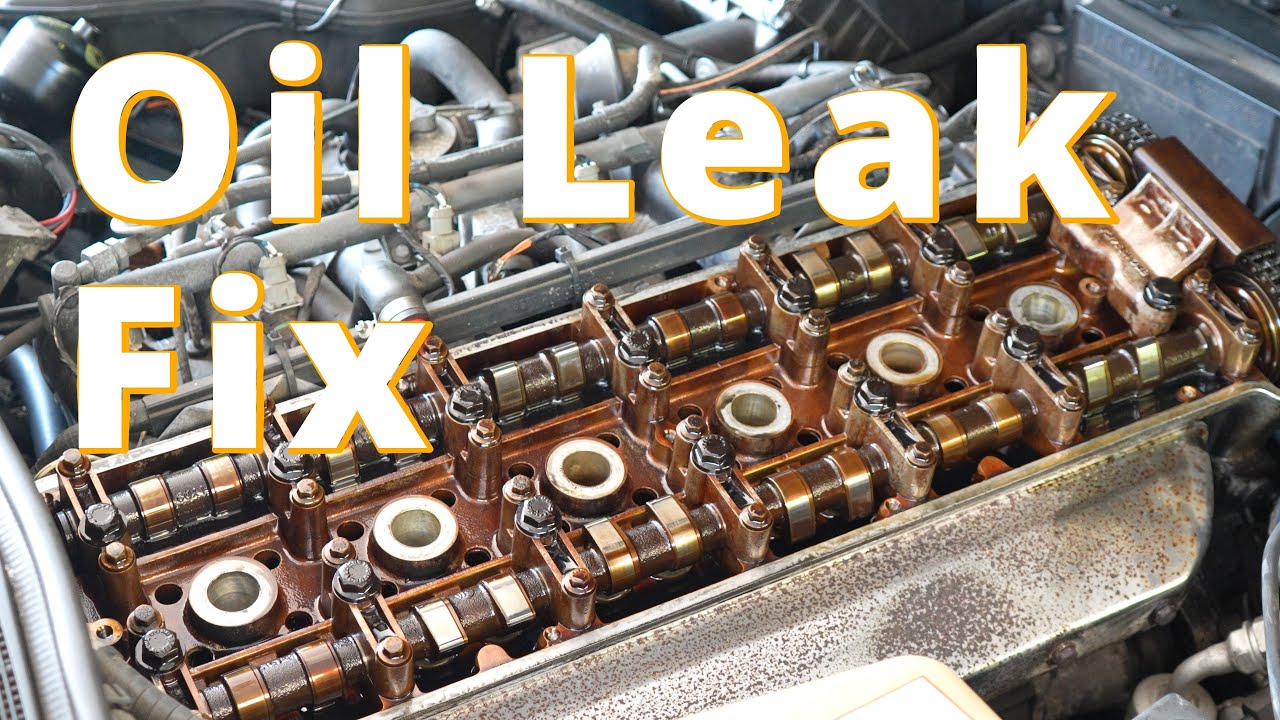
How to replace Valve Cover Gas kit jaguar Xj
Автор: GC&MC
Загружено: 2024-01-28
Просмотров: 377
German cars & maintenance centre
GC&MC
Replacing the valve cover gasket on a Jaguar XJ involves several steps
1. *Safety First:*
Ensure the vehicle is on a flat, stable surface.
Disconnect the battery to prevent electrical accidents.
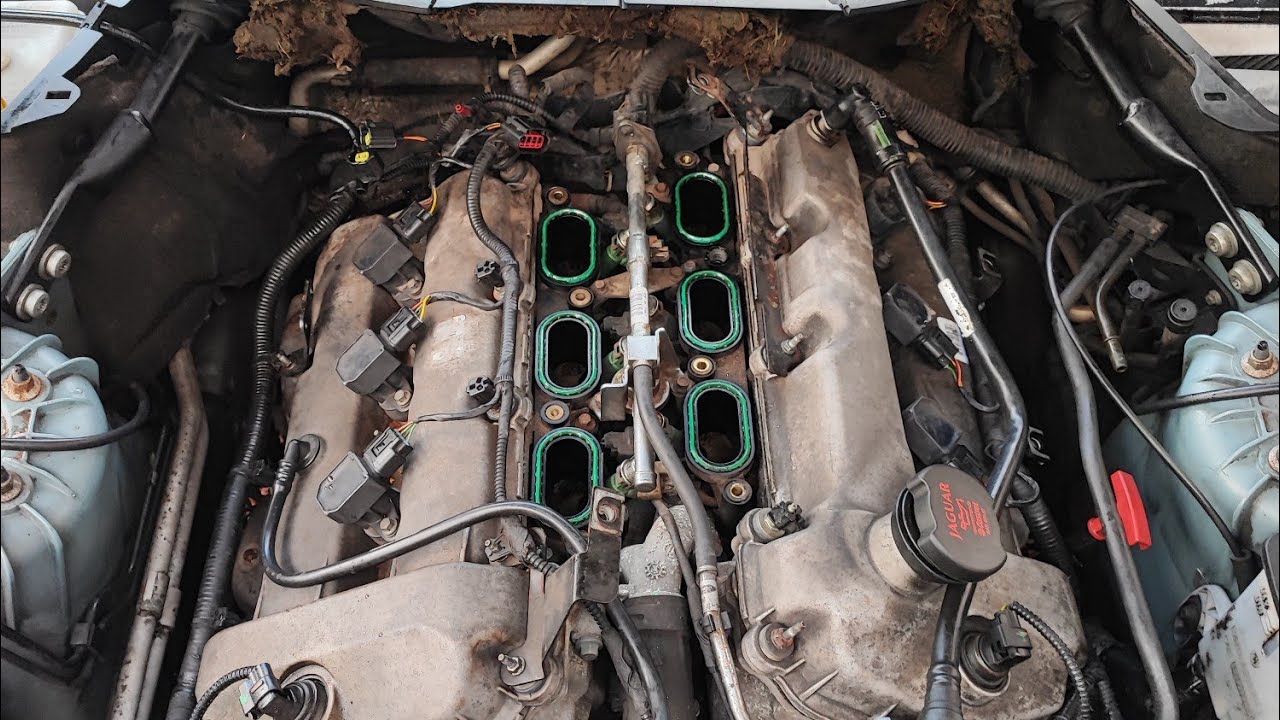
2. *Access the Valve Cover:*
Remove any components obstructing access to the valve cover.
Locate and remove the bolts securing the valve cover.
3. *Remove Valve Cover:*
Carefully lift and remove the valve cover.
Take note of the location of any grommets or seals.
4. *Clean Surfaces:*
Thoroughly clean the valve cover and cylinder head surfaces.
Remove any old gasket material.
5. *Inspect and Replace Gasket:*
Inspect the valve cover gasket for damage or wear.
If necessary, replace the gasket with a new one.
6. *Apply Gasket Sealant (if required):*
Some applications may require a gasket sealant. Follow manufacturer recommendations and apply it to the appropriate areas.
7. *Install New Gasket:*
Carefully position the new gasket onto the valve cover.
Ensure it sits properly in place.
8. *Reinstall Valve Cover:*
Place the valve cover back onto the cylinder head.
Tighten the bolts gradually and evenly in a crisscross pattern.
9. *Torque Bolts to Specifications:*
Refer to the vehicle's service manual for the specific torque specifications for the valve cover bolts.
10. *Reassemble Components:*
Reattach any components that were removed for access.
Ensure all connections are secure.
11. *Check for Leaks:*
Start the engine and check for any oil leaks around the valve cover.
12. *Inspect and Test:*
Monitor the engine for any signs of oil leaks after a short drive.
Check oil levels and top up if necessary.

Доступные форматы для скачивания:
Скачать видео mp4
-
Информация по загрузке: