Going Through Blender Course #1 - Interface/creating/basic movement of objects
Автор: Daily Animator
Загружено: 2026-01-03
Просмотров: 12
(I will make better thumbnails soon)
I'm taking a course in blender and will be basically doing the lessons and speaking them out as I got while I put some main things we learned here
So I'll be posting these more as I get the projects done (doing this helped a lot). I'm going to try and put down as much as I remember down here, but if you want to listen along you can.
Shortcuts:
MOUSE:
LEFT CLICK - Normal highlight objects and interact with buttons on display
RIGHT CLICK - Can be various things (future look)
MIDDLE MOUSE CLICK - Rotates the view
MIDDLE MOUSE SCROLL - Zooms in and out
SHIFT then MIDDLE MOUSE CLICK (and hold) - Pan View
(See bottom "OTHER" section if you do not have a mouse with a middle button)
SHIFT then A
"add" menu appears
We just went over meshes in the "add menu," but there are many things that can be added from there
---------------------------------------------------------------------------------------------------------
(After clicking on an object)
MOVEMENT OF OBJECT
G = free form MOVEMENT
G then X = Object moving in X axis
G then Y = Object moving in Y axis
G then Z = Object moving in Z axis
-----
G then "SHIFT" then X = Object moving on Y/Z axis
G then "SHIFT" then Y = Object moving on X/Z axis
G then "SHIFT" then Z = Object moving on X/Y axis
---------------------------------------------------------------------------------------------------------
ROTATION OF OBJECT
R = Free form rotation
R then X = Object rotating on X axis
R then Y = Object rotating on Y axis
R then Z = Object rotating on Z axis
-----
R then "SHIFT" then X = Object rotating on Y/Z axis
R then "SHIFT" then Y = Object rotating on X/Z axis
R then "SHIFT" then Z = Object rotating on X/Y axis
NOTE: You can start typing in a number after any rotate before clicking to make it move that many degrees (such as "R then X then 90" to rotate the object 90 degrees)
---------------------------------------------------------------------------------------------------------
SCALE OF OBJECT
S = Free form scale
S then X = Object scaling on X axis
S then Y = Object scaling on Y axis
S then Z = Object scaling on Z axis
-----
S then "SHIFT" then X = Object scaling on Y/Z axis
S then "SHIFT" then Y = Object scaling on X/Z axis
S then "SHIFT" then Z = Object scaling on X/Y axis
---------------------------------------------------------------------------------------------------------
NUMBERPAD 1
Look at full scene from the Y axis
NUMBERPAD 3
Look at full scene from the X axis
NUMBERPAD 7
Look at full scene from the Z axis
OTHER
SHIFT then LEFT CLICK
Can start to highlight multiple objects to be edited at once
RIGHT CLICK then ALT
Move Cursor location (red and white circle where objects will be created).
Will "stick" to physical if object is clicked on
Having a mouse with a middle button will help you out a ton and recommend getting one. If you don't you can go "EDIT then PREFERENCES then INPUT then EMULATE 3 BUTTON MOUSE"
This also goes for if you don't have a numberpad , where basically the top numbers become the numberpad
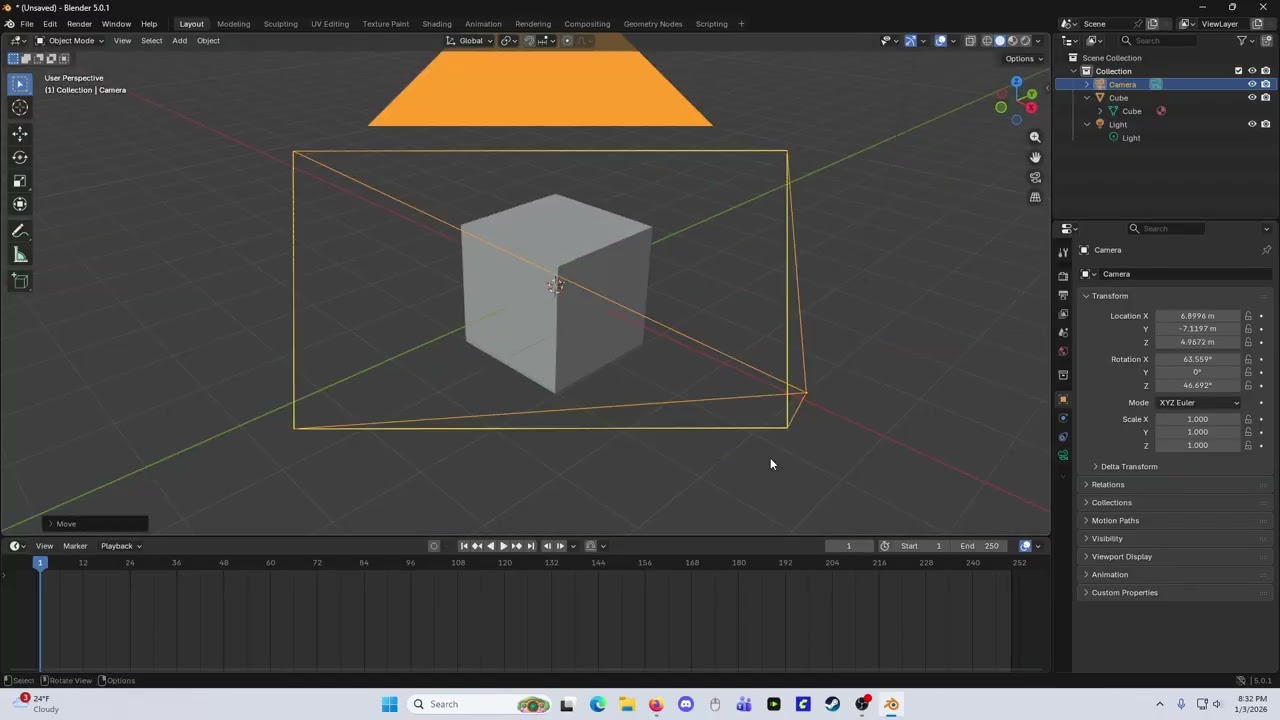
When you are in the basic "general" layout of blender
Viewport - Main view (where objects are)
Tool bar - On the far left. Can hide with T key because you will probably just be using the shortcuts
Timeline - Bottom area
Outliner - Top right with everything that is in the scene
Properties - Right under the Outliner. Changing properties of various things depending on what is clicked
Upper left square of every "chunk" has a drop down where you can change any of the views to something else. There's much more ways to change the layout, but putting that out there for now
Thanks again everyone
Доступные форматы для скачивания:
Скачать видео mp4
-
Информация по загрузке:


