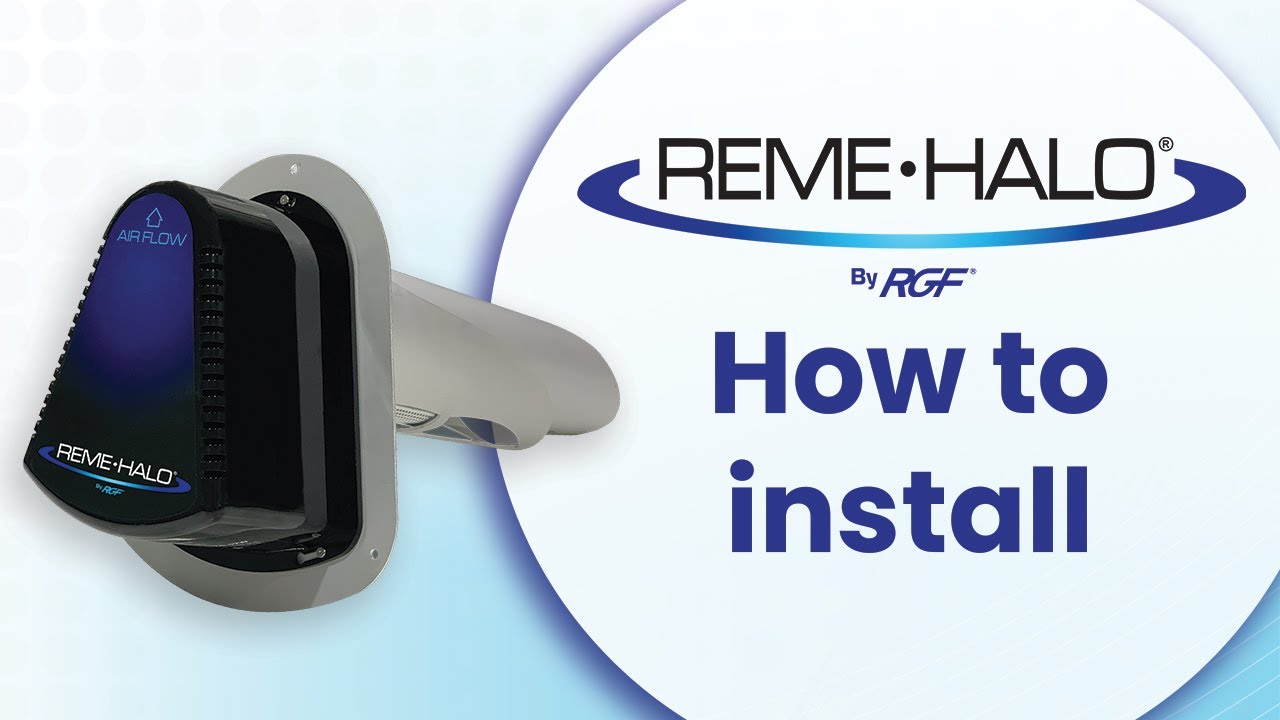
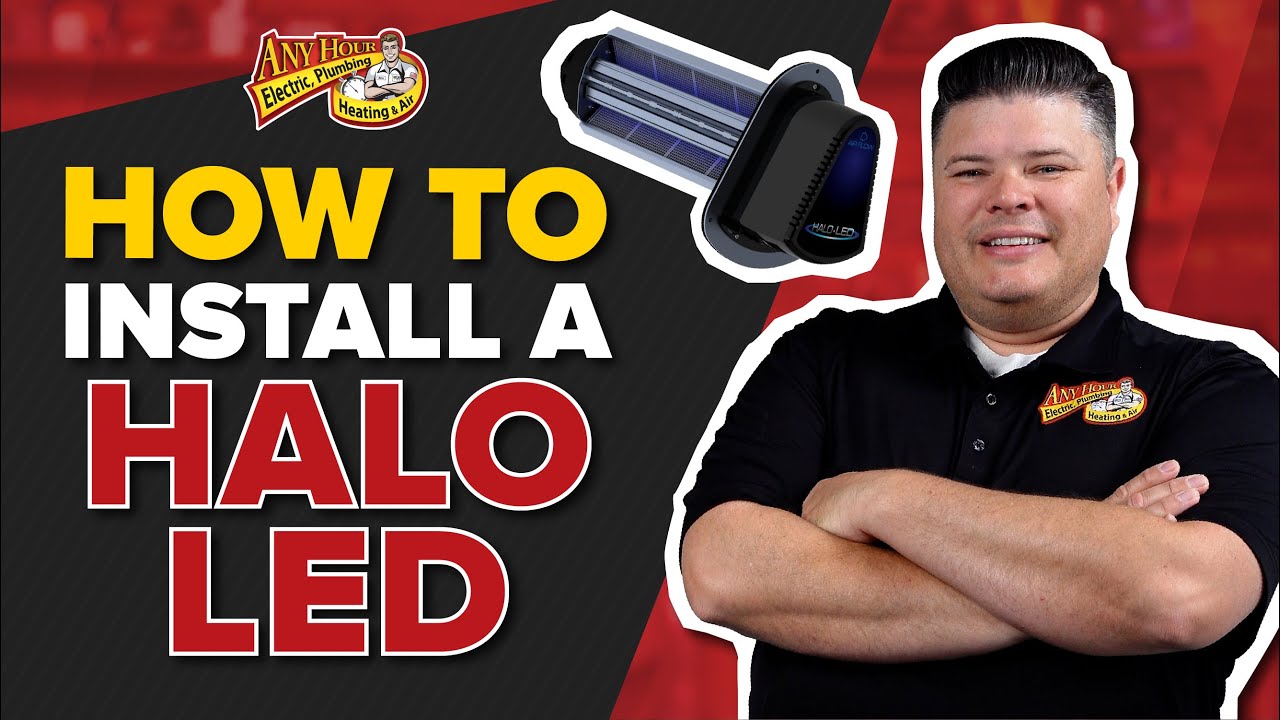
"Step-by-Step Guide: Installing the REME Halo LED for Ultimate Indoor Air Quality!"
Автор: Breeze AC SRQ
Загружено: 2023-12-12
Просмотров: 9102
In this step-by-step guide, we will walk you through the process of installing the REME Halo LED, a revolutionary solution for enhancing indoor air quality. Whether you are concerned about allergens, pollutants, or simply want to breathe cleaner air, this installation tutorial has got you covered!
Firstly, gather all the necessary tools and equipment for the installation process. You will need a screwdriver, electrical tape, wire connectors, and of course, the REME Halo LED unit itself. Ensure that you have turned off the power supply to the area where the installation will take place.
Next, carefully read the instruction manual provided with the REME Halo LED to familiarize yourself with the setup process. It is crucial to follow the manufacturer's guidelines to ensure a safe and effective installation.
Begin by locating a suitable spot for placing the REME Halo LED in your indoor environment. Look for an area where it can be easily accessed and won't obstruct any other fixtures. Keep in mind that the REME Halo LED works best when positioned near the main airflow source or return air duct.
Once you have determined the ideal location, use a screwdriver to remove the cover of your HVAC system. This will allow you to access the internal components where the REME Halo LED will be installed. Take caution and handle the parts with care to avoid any damage.
Now, carefully mount the REME Halo LED according to the instructions provided. Secure it firmly using the provided screws to ensure stability. Ensure that the unit is properly aligned and levelled for optimal performance.
Next, make the necessary electrical connections. Begin by detaching the existing wire connections in the HVAC system. Connect the REME Halo LED's wiring to the corresponding wires in your system, making sure the connections are secure. Use electrical tape or wire connectors to provide additional protection and stability.
After ensuring all connections are secure, reattach the cover to your HVAC system, using the screws provided. Make sure the cover is fitted tightly, preventing any unwanted air leaks.
Finally, restore the power supply to your HVAC system and test the REME Halo LED. Listen for any unusual sounds, check for any error indicators, and observe the airflow and performance. If everything looks and sounds good, congratulations! You have successfully installed the REME Halo LED!
Enjoy the benefits of cleaner indoor air and experience the improved air quality provided by the REME Halo LED. Breathe easy knowing that you have taken a crucial step towards creating a healthier living environment for you and your loved ones.
Remember, regular cleaning and maintenance of the REME Halo LED unit is essential to ensure long-lasting performance. Consult the manufacturer's guidelines on upkeep and scheduled maintenance tasks.
For more informative videos and guides related to indoor air quality solutions and installations, make sure to subscribe to our channel and stay tuned for upcoming content. Your feedback and comments are always welcome below. Thank you for watching!
Buy Now on Amazon:
https://www.amazon.com/RGF-REME-Whole...

Доступные форматы для скачивания:
Скачать видео mp4
-
Информация по загрузке: