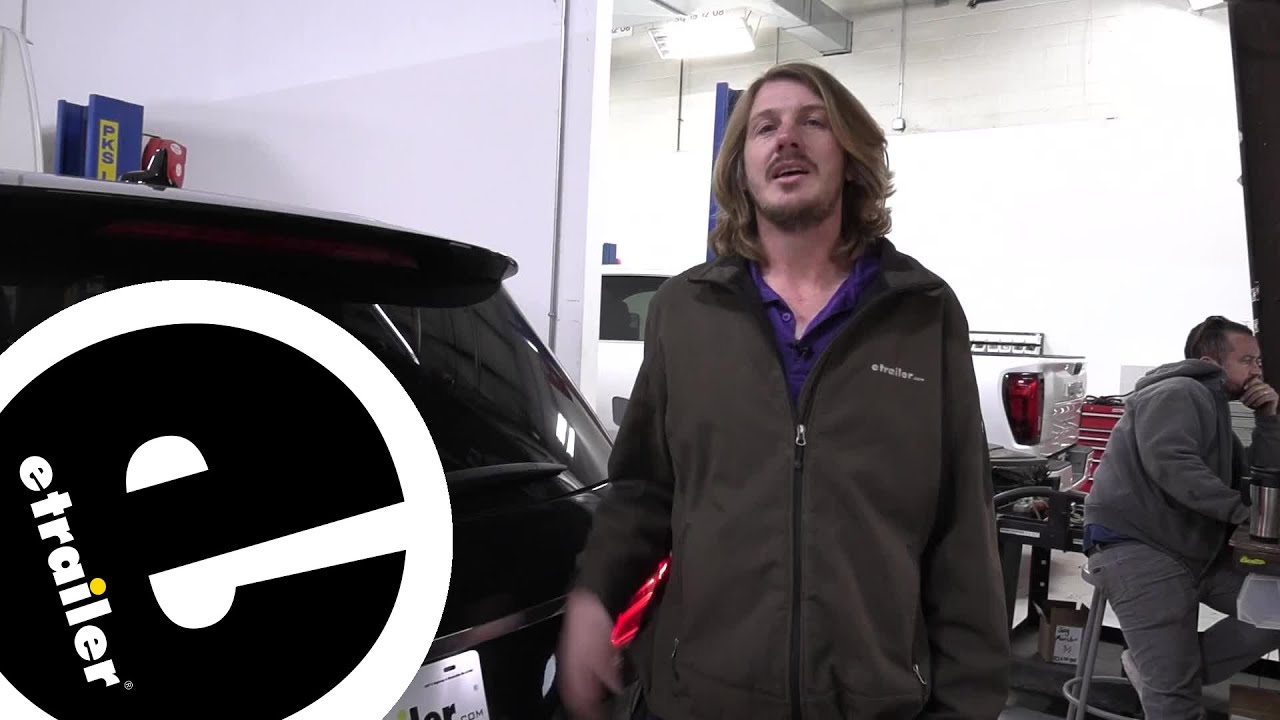
etrailer | Curt Powered Tail Light Converter Installation - 2016 Mercedes-Benz GLE
Автор: etrailer
Загружено: 2022-05-31
Просмотров: 430
Click for more info and reviews of this CURT Custom Fit Vehicle Wiring:
https://www.etrailer.com/Custom-Fit-V...
Check out some similar Custom Fit Vehicle Wiring options:
https://www.etrailer.com/fitguidet1.htm
Search for other popular Mercedes-Benz GLE parts and accessories:
https://www.etrailer.com/vehicle/2016...
https://www.etrailer.com
Don’t forget to subscribe!
/ etrailertv
Full transcript: https://www.etrailer.com/tv-install-c...
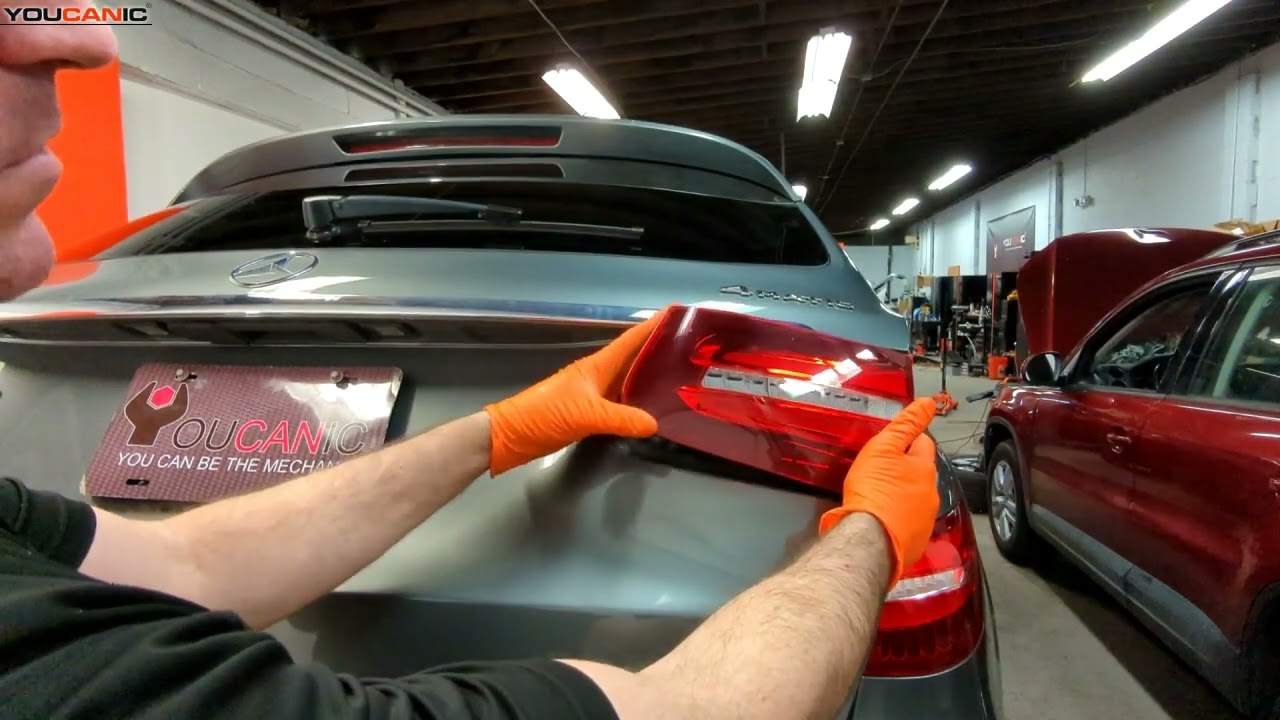
Hi, the Mercedes owners. Today in your 2016 Mercedes GLE, we're gonna be taking a look at and showing you how to install Curt's universal wiring harness kit. We'll begin our installation here at the back of the vehicle. We got our liftgate open. Go ahead and lift up on your tray. You can use the hook here to hook it up top 'cause we need that out of the way.
We're gonna be kinda working in this area here. This panel here has to come off, so we'll go ahead and start there. We got a T30 Torx. We're gonna remove the single bolt that's located here in the middle. And this is gonna allow us to then pull up on this panel.
It just pulls straight up, but I like to start on one side, so we'll just grab it from one side here, and it's gonna pull up and then just kinda work our way across. It looks like it popped out all the way across. Sometimes it does. If it gets stuck in any spot, make sure to move your hand down to the point where it seems like it's stuck. You wanna pull closest to the pins that are holding it in place.
So we can set this aside and get this out of the way. We also need to remove the bucket that's located here. If you look straight down inside the bucket, there are two plastic nuts, and we're just gonna unscrew these. You can see there's one in there, and there's one in here, and you can just unscrew these by hand. Once we've got both of these unscrewed, the tray will just lift out of here.
Sometimes we need a trim panel tool 'cause it is a little bit kinda tight, but it does just lift up. So we're just gonna put our trim panel tool under there and just kinda work it up. There we go. And then we'll set this aside. All right, we got two more panels, but these ones are extremely easy. They're located on the far sides right here, and there's one just like this on the other side. It's a little bit smaller of a door, but we're just gonna pull out on these to remove 'em, and then you can pull up, and then we'll just set that up there out of our way. And again, there's one over there on the opposite side. It removes exactly the same way. All right, that's gonna give us kinda access to everything that we're gonna need access to. Our wiring for our light goes through a grommet in the firewall here, so we're gonna find our wiring for that, and we're gonna peel that apart. So here we are, we're looking in the passenger side opening for that side panel. This is the grommet that I was talking about. This goes to our light assembly. We need to tap into our light assembly here to get the wiring that we need. So this wiring harness right here, you can see it's wrapped in kind of like a cloth, we're gonna use a razor knife to trim some of this cloth that's wrapped around it on here so we can separate each of the wires out. We're focusing on the green wire that's in here and there's also a gray wire with the blue stripe. Those are the two we wanna get out of here. So I'm gonna go ahead and cut this and pull those wires out. There's really just not enough room in here for the camera and my hands, but we're showing you now. So I'm getting those separated, and then you'll be able to kinda see that afterwards. All right, so we got that sheathing off of there and separated off the wires that we need. There's three that we're gonna pull out on each side. On this side, the green one is going to be our stop signal, the violet is our turn signal, and the gray-blue is our taillights. So we need those same circuits over on the other side. Here we have our wire separated out. Our brown wire is our stop lamp, our black wire is our left turn signal, and the gray-black is our tail lamp circuit. All right, so now we can start hooking our harness in. So we're gonna start on the driver's side here just 'cause of the length of wire. It's gonna be easier for us to do the this on the driver's side. So on the passenger side, we really only need to use one of those wires that we separated out, and we're gonna use the three on the other side. So our yellow wire on our new harness here is the left turn. So we're gonna pair that up with our black wire over here. The brown is our tail light, so we're gonna pair that up with the gray-black wire over here. And the red wire is our stop signal, so we're gonna pair that up with the brown wire. We don't need to strip these back at all. These attach using the quick splices that come included in your kit. A
Доступные форматы для скачивания:
Скачать видео mp4
-
Информация по загрузке:


![Mercedes GLE - Off-Road Test Drive [No Talking]](https://imager.clipsaver.ru/Xz4xp94JQOI/max.jpg)