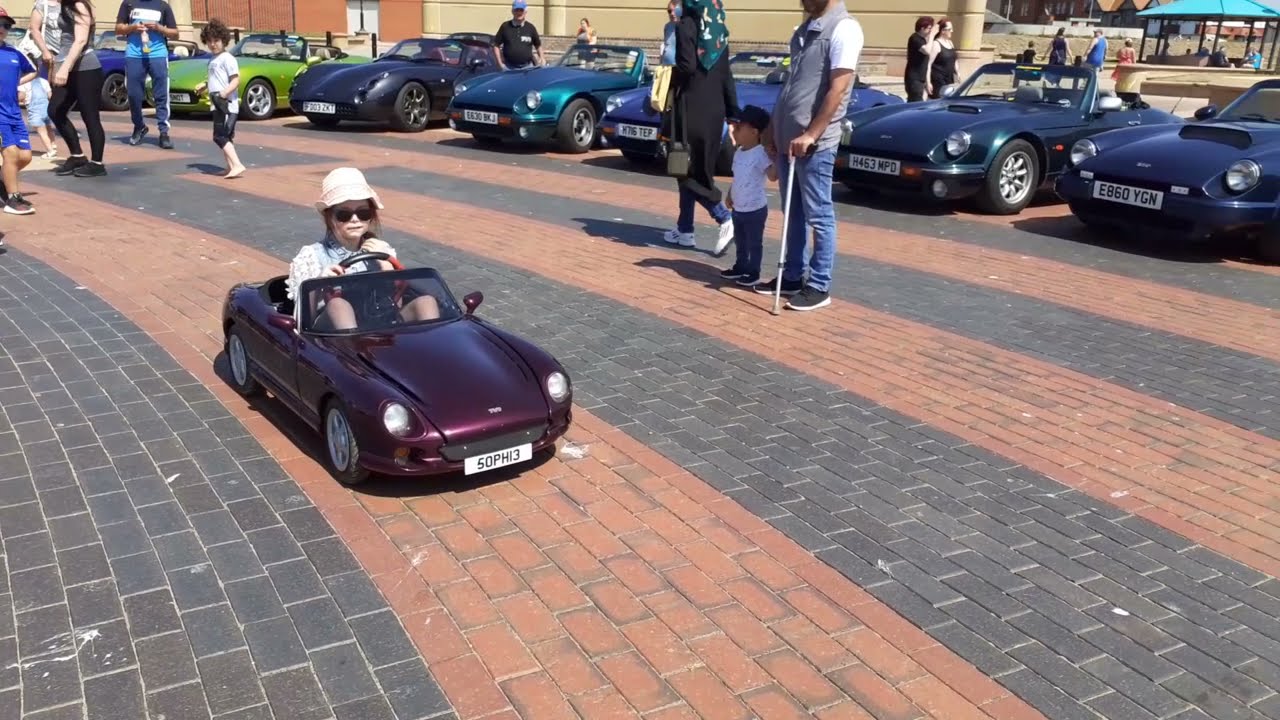
Laminating a scale model TVR Cerbera bodyshell.
Автор: Steve Edwards
Загружено: 2022-11-28
Просмотров: 580
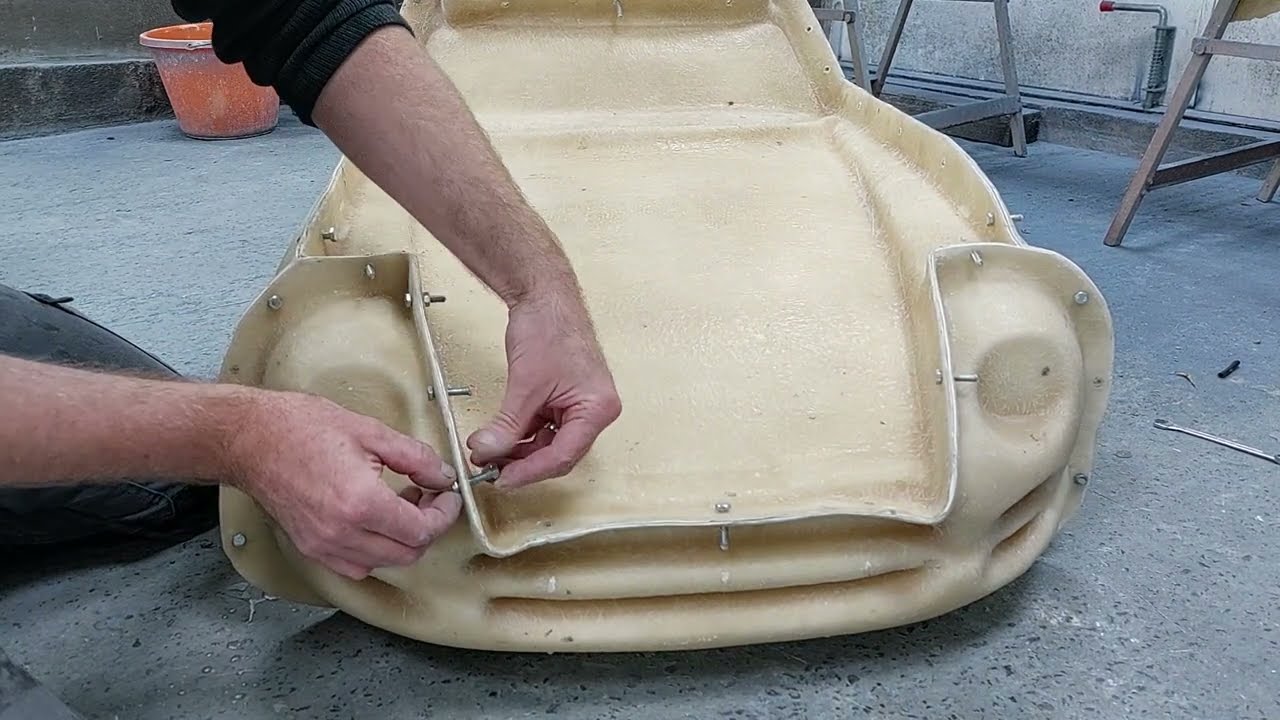
Assembling the multi-section mould for the main body shell which comprises of eight separate sections which all bolt together.
The bonnet and boot lid moulds are also made up of two sections each, meaning there's a total of 12 separate mould sections to bolt together to create the main body shell and exterior panels.
In addition to this, there's also separate master moulds for the seat, bonnet hinge support section, headlight reflector/bowl, and boot lid hinge brackets, making a total of 16 separate mould sections to complete the full build.
Due to the awkward shape and tight access in some areas, laminating a body shell requires doing one area at a time, allowing the wet laminate to start curing, and then reorienting the mould onto a different side so the working surface is flat/horizontal and avoids working against gravity.
Using clear gelcoat allows any minor air voids hiding under the surface after curing to be easily seen and rectified afterwards.
This video shows 300 grams per square metre chopped strand matt being used over an initial layer of 30gsm fibreglass tissue. 1.5% MEKP hardener used in polyester resin.
After curing, the jagged edges of the laminate can be cut away and trimmed to shape properly using a cutting disc on a grinder as well as hand files, and the joint lines visible on the exterior surfaces of the body shell and exterior panels can be sanded down smooth.
The total working time for all the work shown in the video was just under 2 days.
The next job will be to thoroughly examine the body shell and rectify any minor faults such as pin holes, moulding lines, or little air pockets hiding under the surface of the gel coat using a combination of hand tools and fine filler such as Upol Easy 3.
Доступные форматы для скачивания:
Скачать видео mp4
-
Информация по загрузке: