'Cozy Fall' Tent Card Mini Photo Tutorial
Автор: Paper Crafting with Bronwyn Eastley
Загружено: 2025-04-24
Просмотров: 111
A new way to share my FREE photo tutorials @bronwyneastleydesigns.
Hi, let me introduce myself ... I'm Bronwyn Eastley from Australia and I've been designing cards and writing paper craft tutorials since 2008.
In 2025 I joined the Design Team for Paper Rose Studio. I absolutely LOVE their products, especially their gorgeous paper collections, embossed die-cuts and metal cutting dies and want to introduce new ways to share my projects with you.
For the last nine years I've been sharing my photo tutorials on my website (addinktivedesigns.com), however, I've made the HUGE decision to shut down that domain mid-July (2025). The name, AddINKtive Designs is associated with my time at Stampin' Up!®. I very rarely 'add ink' (stamping) to my projects these days ... plus, my INSTA handle has been @bronwyneastleydesigns for a while now to better reflect what I do (I also love to knit and sew mohair bears).
My life has taken a different direction and I'm enjoying retirement ... Running a website and the time and expense that goes into it all is something I don't want to expend my energy on anymore.
I have decided to start a new blog; it's still a work in progress as I continue to add some important catch up posts for my DT work with Paper Rose Studio. From July 1st all of my blog posts will be published at -
https://bronwyneastleydesigns.blogspo...
You can also find me on -
Facebook -
/ bronwyneastleydesigns
Pinterest -
/ bronwyneastley
INSTA - @bronwyneastleydesigns
To make my FREE card tutorials more accessible, I'm trying out this new format on You Tube. If you'd like a PDF of the written instructions for this 'Cozy Fall' Tent Card, feel free to email me at bronwyneastley.designs@gmail.com to request a copy. I've also included the instructions here -
Shop Paper Rose Studio Products with me -
https://paperrose.com.au/?sca_ref=807...
Supplies –
Cardstock: White, Cherry Blossom Pink Smooth [32847]
6x6 Paper Collections: Cozy Fall [32700], Cozy Fall Basics [32724]
Embossed Die-Cuts: Cozy Fall 1.0 [32670]
Metal Cutting Dies: Victorian Arched Window [17388], Happy Mother’s Day Layered Word [31965], Lots & Lots of Squares 2.0 [29742]
Other: Acetate, 6-1/4” x 6-1/4” Envelope
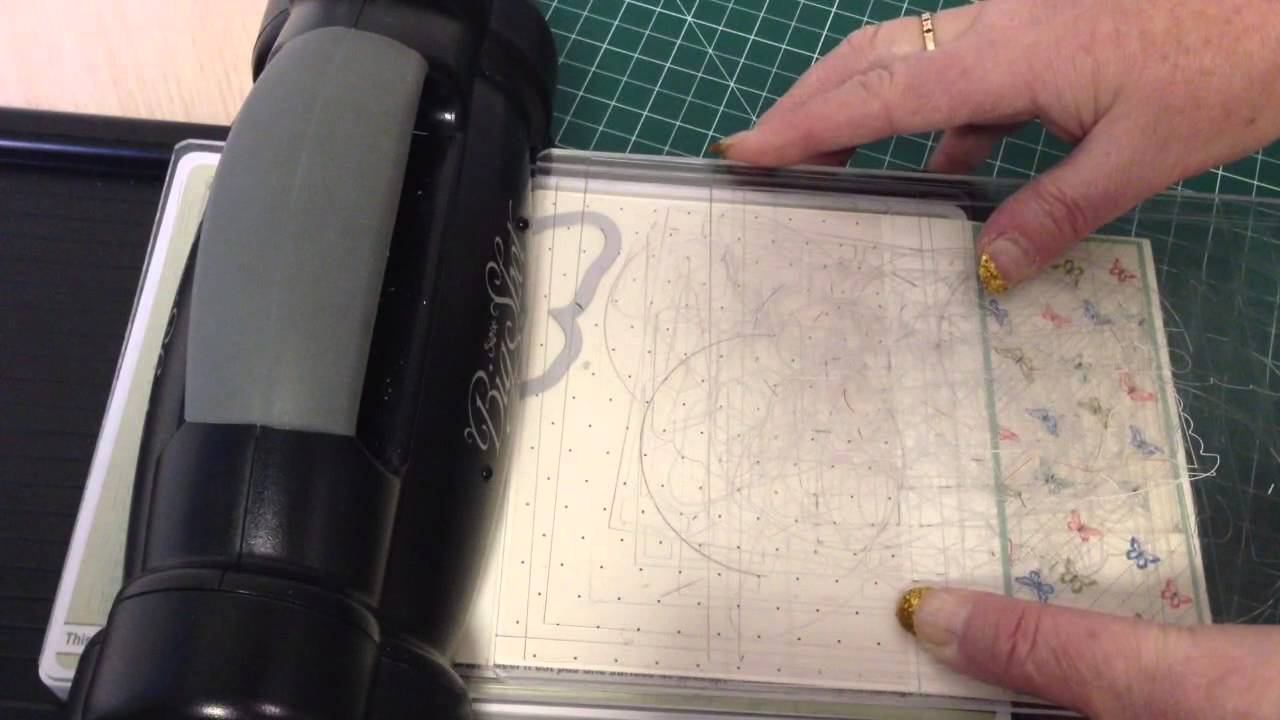
Tools and Adhesive: Paper Trimmer, Scoring Board, Die Cutting Machine, Art Glitter Glue, Strong Two-Way Adhesive Tape, Bone Folder, Foam Adhesive Dots
Instructions –
1) Cut a piece of white cardstock that measures (L)12” x (W)6”.
2) Score along the length at the halfway mark (6”). Crease with a Bone Folder.
3) Glue a piece of ‘pink brick’ patterned paper (Cozy Fall Basics) to the card front that measures – (H)5-7/8” x (W)5-7/8”.
4) Die-cut an arch shape in the centre of the card front with the Victorian Arched Window Metal Cutting Die.
5) Cut a piece of acetate (H)5-3/4” x (W)5-3/4” and attach to the inside of the card front with strong, two-way adhesive tape (around the edges).
6) Die-cut a window frame from the wood patterned paper (Cozy Fall) and glue to the acetate window.
7) Cut a piece of white cardstock for the ‘accordion base’ that measures (L)3” x (W)6”. Score along the length at the ½”, 1-1/2” and 2-1/2” marks. Valley, mountain and valley fold the score lines and crease with a Bone Folder.
8) Glue the back-end of the accordion base to the inside-back, lower edge of the card.
9) Cut the fireplace scene patterned paper (Cozy Fall), (H)5-7/8” x (W)5-7/8” and glue to the inside-back section of the card base.
10) Cut a piece of woodgrain patterned paper (Cozy Fall) that measures (H)1” x (W)6” to the front section of the accordion piece on the mountain fold.
11) Glue the bottom of the embossed die-cut vase of flowers to the woodgrain section as shown. Glue the embossed die-cut basket of wool to the right of the flowers.
12) Glue the front end of the accordion base to the inside-front, lower-edge of the card to form a ‘tent card’ base.
13) Attach the embossed die-cuts – basket of leaves and watering can to the card front with foam adhesive dots.
14) Die-cut the Happy Mother’s Day sentiment backing layer from woodgrain paper and the words from Cherry Blossom Pink Smooth Cardstock. Assemble and glue to the lower section of the window frame.
15) Glue a piece of ‘pink brick’ patterned paper (Cozy Fall Basics) to the card back that measures –(H)5-7/8” x (W)5-7/8”.
16) Die-cut a sentiment panel from white cardstock with the large, scalloped edge, square cutting die (Lots & Lots of Squares 2.0) and glue to the card back. Glue the embossed die-cut stack of books to the lower-left side of the panel.
17) Glue the embossed die-cut slippers to the lower-left side of the 6-1/4” square envelope.

Доступные форматы для скачивания:
Скачать видео mp4
-
Информация по загрузке: