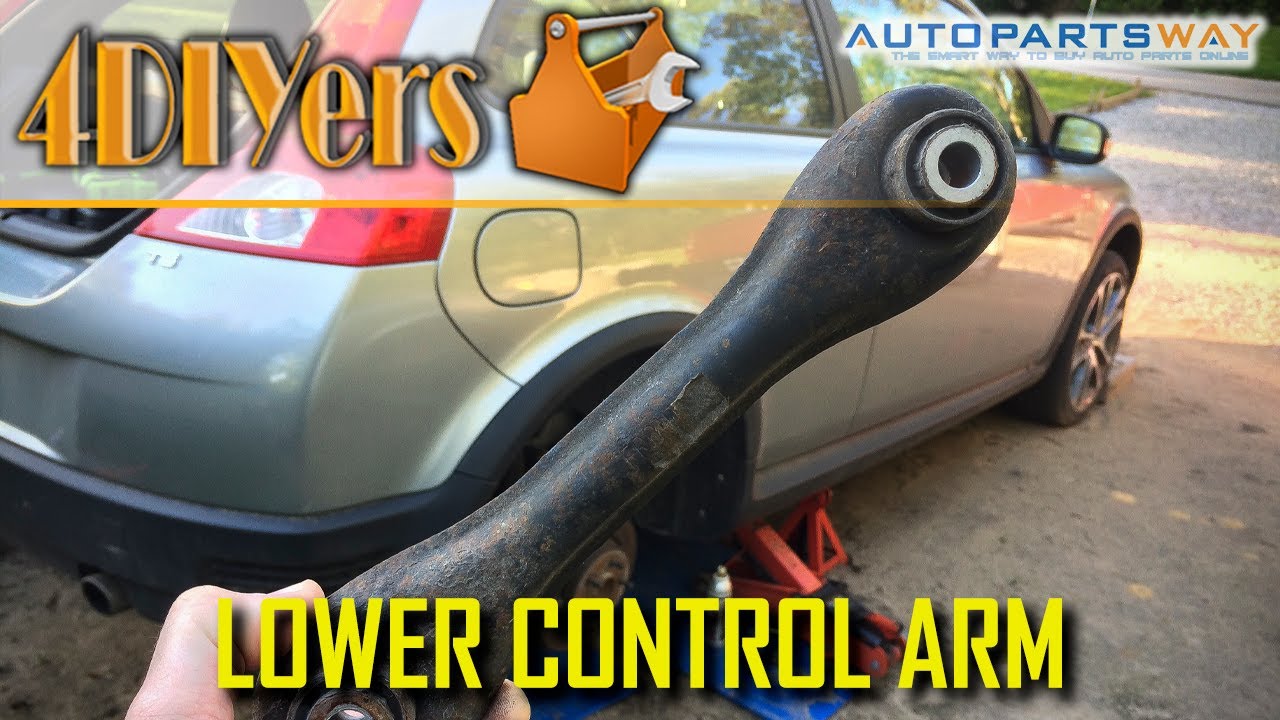
How to Replace the Rear Lower Control Arms on a Volvo C30 S40 V50 C70
Автор: 4DIYers
Загружено: 2019-06-14
Просмотров: 26540
Video tutorial on how to replace the lower front control arms on the rear suspension on a Volvo C30. This is a 2007 model and the same procedure can also be used on the Volvo S40, V50, and C70 models of the same generation. Worn control arm bushings will cause excessive inner tire wear and when inspecting the bushings, you’ll notice rubber deterioration such as cracking. This car currently has 140,000km and as far as I know, these are the original control arms.
AutoPartsWay (CA): https://www.autopartsway.ca/partdetai...
AutoPartsWay (US): https://www.autopartsway.com/partdeta...
Website: http://4diyers.com
Patreon: / 4diyers
Facebook: / 4diyers
Google Plus: https://plus.google.com/+4DIYers
Twitter: / 4diyers
Instagram: / 4diyers
Tumblr: / 4diyers
Pintrest: / 4diyers
Tools/Supplies Needed:
-15mm socket
-ratchet
-penetrating oil
-brake cleaner
-wire brush
-medium grade threadlocker
-dead blower hammer
-jack
-jack stands
-torque wrench
Procedure:
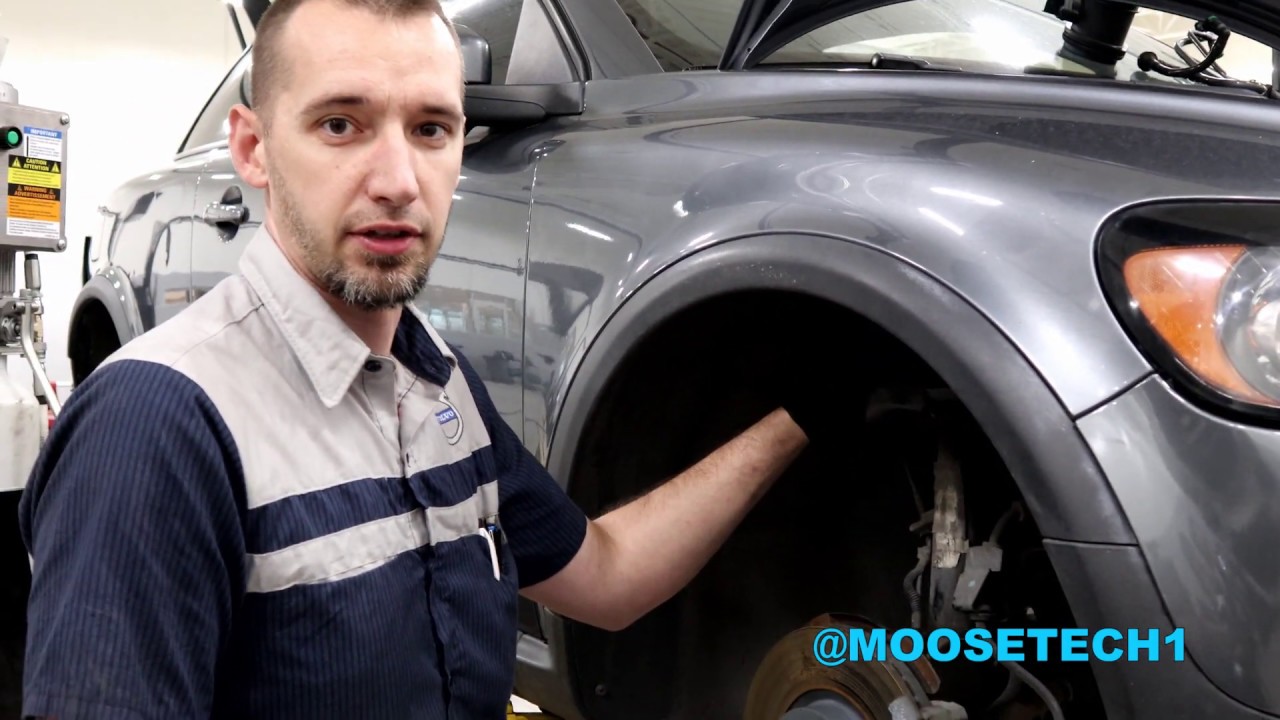
First start by safety jacking up the vehicle and remove the rear wheel. Place a jack stand under the subframe.
Using a 1/2” drive ratchet with a 15mm socket, remove the the bolt on the wheel carrier. With the suspension relaxed, when that bolt is removed, the carrier won’t spring out of it’s location like the top control arm.
Next using the 1/2” drive ratchet with a 15mm socket, remove the inner bolt. If you are having issues removing the bolts, penetrating oil can be used and work the bolt back and forth.
Using a hammer, knock the control arm out of it’s location and you can finally lift it out. Also make note of it’s orientation.
Compare to the old and new control arms to ensure they are the same. This car uses the same control arms for the left and right sides, just make sure they’re facing in the correct direction. As mentioned earlier, AutoPartsWay has supplied me with the control arms required for the replacement and a link to them is included in the description below. My bushing do have some mild cracking, so they are showing signs of age as the rubber is deteriorating.
Clean up the old bolts using a wire brush. If any penetrating out was used, clean using brake cleaner.
Then apply a medium grade threadlocker.
Install the new control arm, make sure the cupped side faces towards the rear of the vehicle. As for which bushing goes on the wheel carrier or subframe, this doesn’t matter as they’re the same on either side. If you need to tap the control arm into place, use a dead blow hammer which won’t damage the component.
You may need to adjust the wheel carrier to get that bolt to line up in the hole. It’s easier to start on the subframe first, then finish up with the wheel carrier bolt.
With these rubber bushing, they need to be pre-loaded otherwise they can have a premature failure. If the wheel is one, it’s a bit tight to get the ratchet in place. So instead I placed a jack stand under the rear lower control arm mounting point, then lowered the vehicle so the full weight is on the suspension. Here is the setup I have between two jack stands. I have also placed an additional jack stand under the subframe for a safety, there is a small space between the pad so I know the weight is on the suspension.
Tighten the bolts. The torque specifications for the 15mm bolts are 57 to 75 ft lbs or 76-102nm.
Jack up the car again, remove the jack stands and reinstall the wheel. The torque specifications for the lug nuts is 80 ft lbs or 108nm.
Moving onto the opposite side, again jacking up the car safely, then remove the wheel and place a jack stand under the subframe and follow the same process.
Thank you to all those who watch my videos and support my content. Don't forget to subscribe to my channel for future tutorial videos and like my video if you found it helpful. New videos are always being uploaded every week!
© 4DIYers 2013
All Rights Reserved
No part of this video or any of its contents may be reproduced, copied, modified or adapted, without the prior written consent of the author.
Доступные форматы для скачивания:
Скачать видео mp4
-
Информация по загрузке:


![How to change rear springs / rear coil springs on VOLVO V50 1 (P12)[TUTORIAL AUTODOC]](https://imager.clipsaver.ru/xH6pl438gIc/max.jpg)


![Jak wymienić sprężyny tylne w VOLVO V50 1 (P12)[PORADNIK AUTODOC]](https://imager.clipsaver.ru/9A5VkHDgfrU/max.jpg)