DIY Macrame Tutorial: Cherry Blossom Inspired Wall Hanging for Beginners/Intermediate Knotters!
Автор: Lots of Knots Canada
Загружено: 2021-05-26
Просмотров: 90334
DIY Macrame Tutorial: Cherry Blossom Inspired Wall Hanging! - Please see below for materials and written instructions.
Shop my book, Mixed Fiber Macrame, and Fiber Art Supplies (string, rope roving, ribbons, velvet and more) on my website or in my Etsy Shop:
Website: https://lotsofknots.ca
Etsy Shop: https://www.etsy.com/ca/shop/LotsofKn...
Support me directly: https://ko-fi.com/lotsofknotscanada
Material:
Approx. 315 ft of 5mm Recycled String (Colour: Warm Taupe)
Approx. 44 ft of 5mm Recycled String (Colour: Bisque)
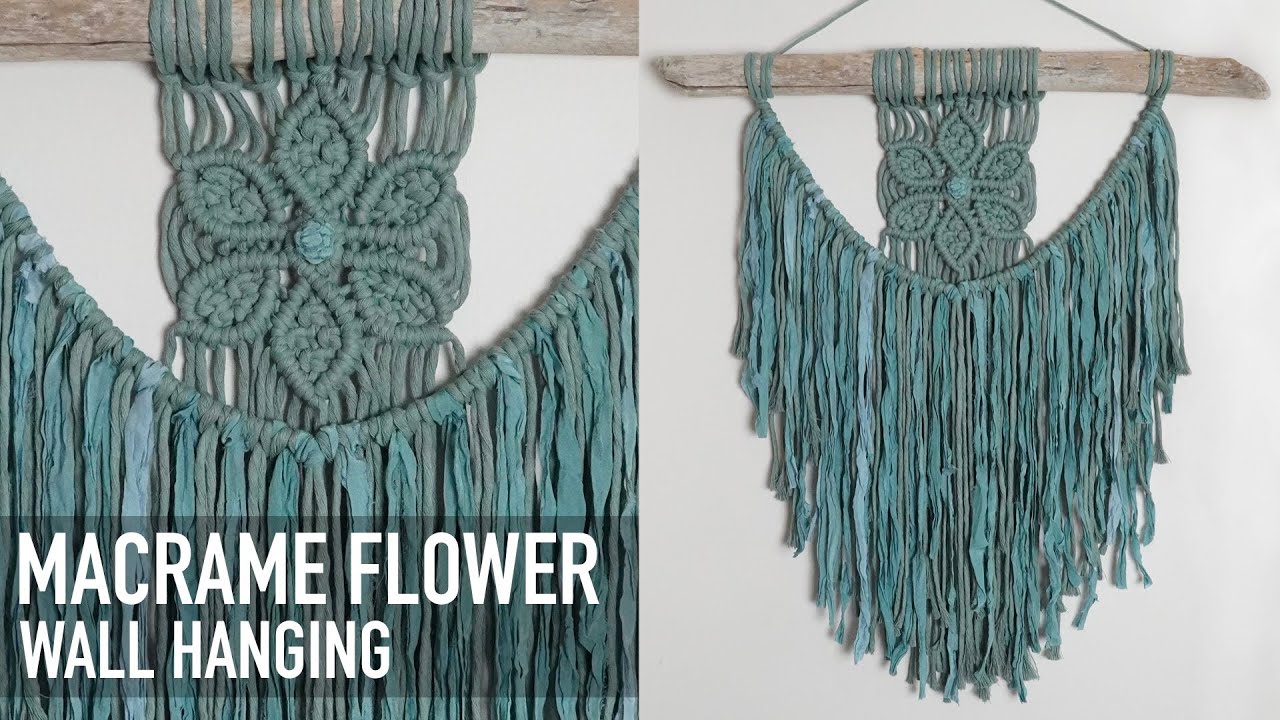
Hey guys! I’m really excited to share this cherry blossom tree inspired wall hanging with you today! This piece requires 315 ft of 5mm string in the colour warm taupe and 44 ft of 5mm string in the colour bisque. The final piece measures 24 inches wide by 32 inches long.
For a design like this I never quite know the spacing of the string on the driftwood until I’ve created the design - you’ll see here when I started this design there were 26 LHKs at the top of my work but the finished piece has 35 LHKs attached. As I created this design I had to reduce the spacing between the LHKs and add string to fill out the driftwood. I find this to be pretty typical for any sort of vine/leaf pattern like this. I wanted to point that out at the start of this tutorial so that you are not confused as you move through the tutorial.
I’ll give you a few instructions as I go but for the most part this is a follow along tutorial.
I’ll be tying a series of double half hitch knots down my work. The first double half hitch knot will be tied directly underneath the driftwood and the last DHHK will be tied 21.5 inches down from the driftwood. This should give you and idea of what sort of angle to tie your knots.
When we get to each leaf I’ll tell you the placement of the DHHK at the top of the leaf (for both the leaves on the right and left of the design). This will be measured from the bottom of the driftwood to the knot and should help you navigate your way through this pattern. Finally, I’ll also explain you how to create the first berry knot which is then repeated to create the remaining berry knots.
Start by cutting 22 pieces of 5mm string in the colour bisque, each piece is 2 ft long. Set aside for now. Cut 35 pieces of 5mm string in the colour warm taupe, each piece is 9 ft long. Fold each piece in half and attach each piece to your driftwood using a Lark’s Head knot.
Use the outside cord as your filler cord and start tying your DHHKs moving down and to the right. Start to create the first leaf. Tie the first dhhk 1.5 inches down from your driftwood.
Create a berry knot. Grab a piece of bisque string, find the middle and tie a SK around two cords. Tie 2 more SKs (3 total). Pull the filler cords through your work above the SKs and then tie one more SK underneath the berry to secure it in place. Cut off the excess cord.
I am now starting the first leaf on the left. The last knot at the tip of this leaf will sit 7.5 inches down from the driftwood at the top of your work.
I am now starting the second leaf on the right. The last knot at the tip of this leaf will sit 6 inches down from the driftwood at the top of your work.
You may notice that this leaf is created using a different method then the first leaf on the right - I intended to create each leaf a bit different as I wanted a variety of shapes/sizes included in this design.
I am now starting the second leaf on the left. The last knot at the tip of this leaf will sit 12 inches down from the driftwood at the top of your work.
Next I’ll start the third leaf on the right. Count 10 cords to the right of the top filler cord you are using for the branch and use the 10th cord as your filler cord and the cord to the left of it as your first working cord.
The first knot should be tied 8.5 inches down from the driftwood at the top of your work.
I am now starting the fourth leaf on the right. The last knot at the tip of this leaf will sit 13 inches down from the driftwood at the top of your work.
I am now starting the 5th leaf on the right. The last knot at the tip of this leaf will sit 17.5 inches down from the driftwood at the top of your work.
I am now starting the third leaf on the left. The last knot at the tip of this leaf will sit 15 inches down from the driftwood at the top of your work.
I apologize - my hand are a bit out of the frame here. I’m tying one more dhhk to the filler cord at the top of the leaf and then one final dhhk with the two filler cords to connect the sides of the leaf.
I am now starting the final leaf. The last knot at the tip of this leaf will sit 21 inches down from the driftwood at the top of your work.
Cut the ends to whatever length you’d like - I cut mine on an angle with the left side hanging 20 inches and the right side hanging 29 inches from the driftwood.
Thanks for watching!

Доступные форматы для скачивания:
Скачать видео mp4
-
Информация по загрузке: