Alias 3D modelling tutorial - Three-sided surfaces and end caps
Автор: Andreas Hopf
Загружено: 2024-06-08
Просмотров: 2228
Problems with G2 continuity? Want to solve tricky fillets? Need fewer and simpler surfaces? Wonder about a suitable patch layout? Like to use higher degree curves and surfaces? Or are you a Rhino user wanting to use some of the very useful Alias methods in Rhino?
This Alias beginner NURBS surface modeling tutorial for industrial designers at Lund University School of Industrial Design shows solutions for sometimes tricky modeling situations, principles and workflows you can use in your own designs.
00:00 Introduction
00:07 Overview
01:26 Step-by step - no tangency across the center line
15:57 Step-by step - tangency across the center line
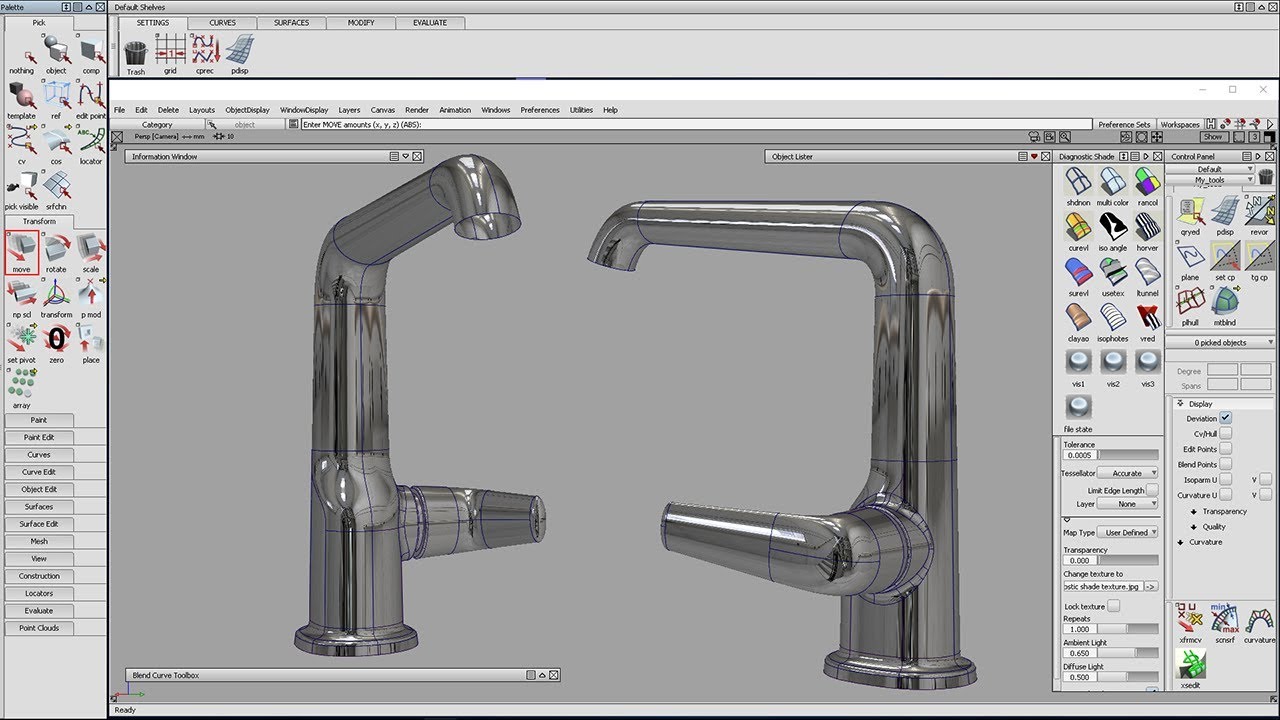
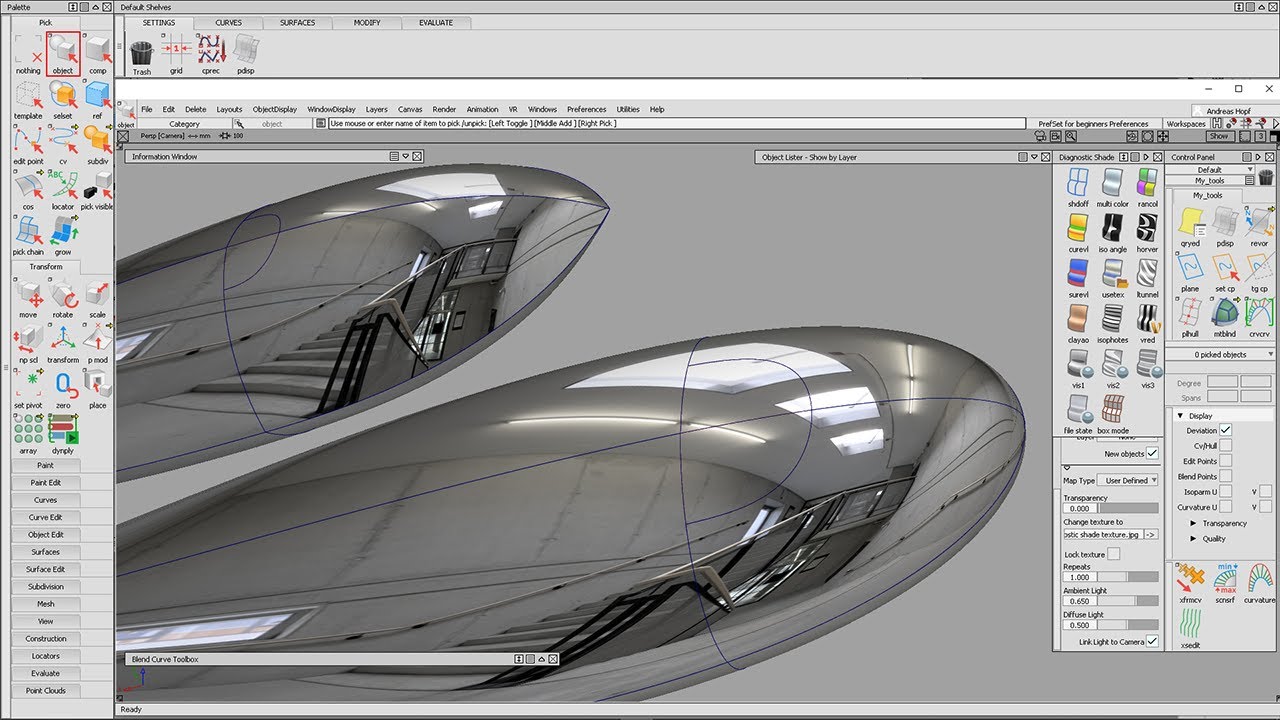
After a brief overview, the step-by-step section shows you the initial setup, patch layout, curve and surface creation process as well as G1 and G2 CV manipulation from start to finish. The result will be a finished model with G1 and G2 continuity where appropriate. Marking menus or special command sequences are not used here on purpose, so you can learn where the tools to be used are located and what their settings are. You can later easily customise and speed up your workflow with hotkeys and marking menus to suit yourself.
Rhino and other NURBS surface modeling software users can follow the same modeling strategy; the main issue in any software is to find a good patch layout, meaning where the main curves and surfaces shall go and where to use theoretical intersections and overbuilding, common techniques. The tools may have different names and settings, but the principles remain the same.
If you have suggestions for other tutorials, please leave a message in the comment section.
Share this video • Alias 3D modelling tutorial - Three-sided ...
Доступные форматы для скачивания:
Скачать видео mp4
-
Информация по загрузке: