2011 Subaru Outback 6MT Center Differential Removal: Removing Transfer case cover and reinstall tips
Автор: LJH
Загружено: 2023-06-04
Просмотров: 1985
Time stamps:
00:00 Cover removal
04:40 Reassembly
Hope this helps someone! Unfortunately, the center dif on my Outback was exhibiting the binding issue once warmed up so the center dif was on its way out. There aren’t a lot of the manual 2010+ outbacks left out there, but if you’re experiencing binding on sharp turns once the car has warmed up it’s likely the center dif.
This video shows 2 tips that could help anyone replacing the center differential or any of the items in the transfer case area on these later 6MT generations. Recommend checking out all the 5MT videos for a larger overview of the process as this only shows a small portion of changes.
Most of the videos online are of the 5mt transmission which is slightly different than the 6MT version on the 2011 model year Outback. This video shows the two major differences I found when compared to the more complete videos online.
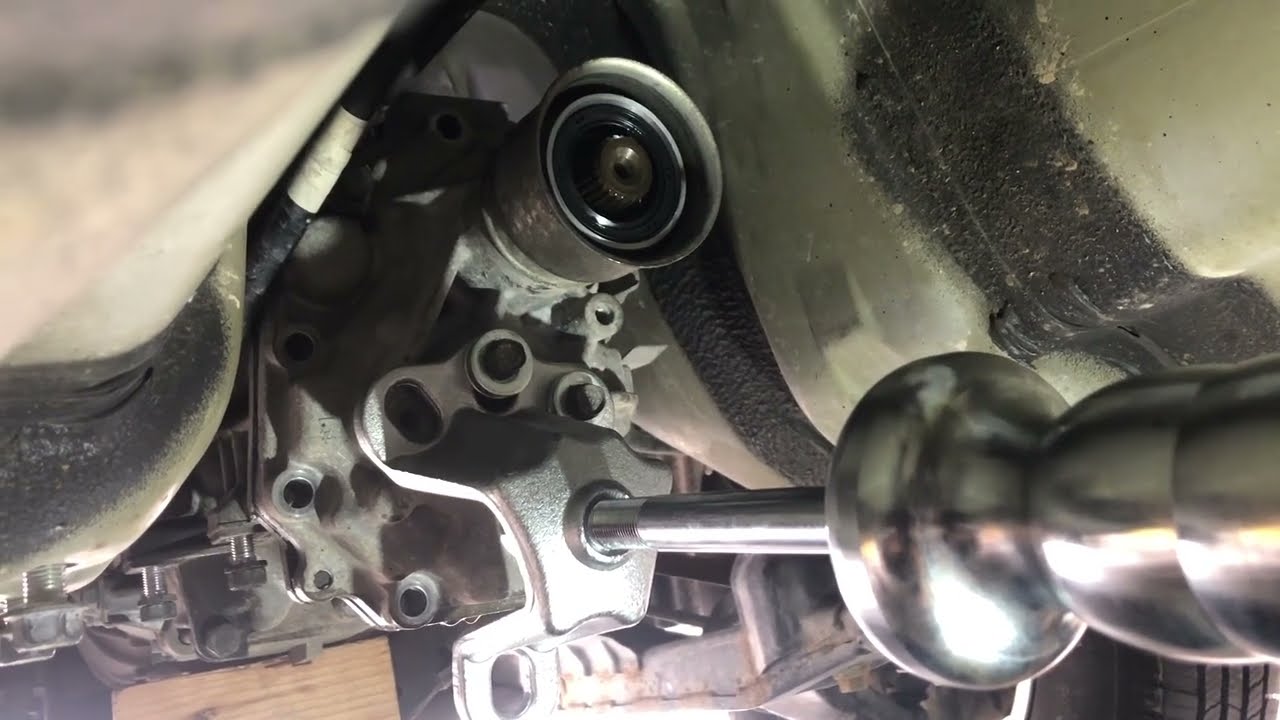
Thankfully, the 6MT seems to be easier to work on than the 5MT because the shift linkage does not go through the case and thus you don’t need to remove the shift linkage pin that gives some problems if it’s corroded. However, there is no shift linkage bracket that can be used to tap the transfer case cover off or really anything to get leverage other than the exhaust hanger bracket which has rubber dampers preventing it from being useful.
I used a slide hammer with a makeshift setup using the exhaust hanger bolts and a hub puller bracket to separate the case. This isn’t the only valid method (some people tap the lower alignment pin directly from the back using a punch and some have luck just tapping the case with a mallet) but the one I felt most comfortable with doing. Specifically hitting the alignment pin seemed like a recipe for bending it but I didn’t actually try. Would have liked an extra bolt for the bracket but the 2 from the exhaust hanger worked out ok.
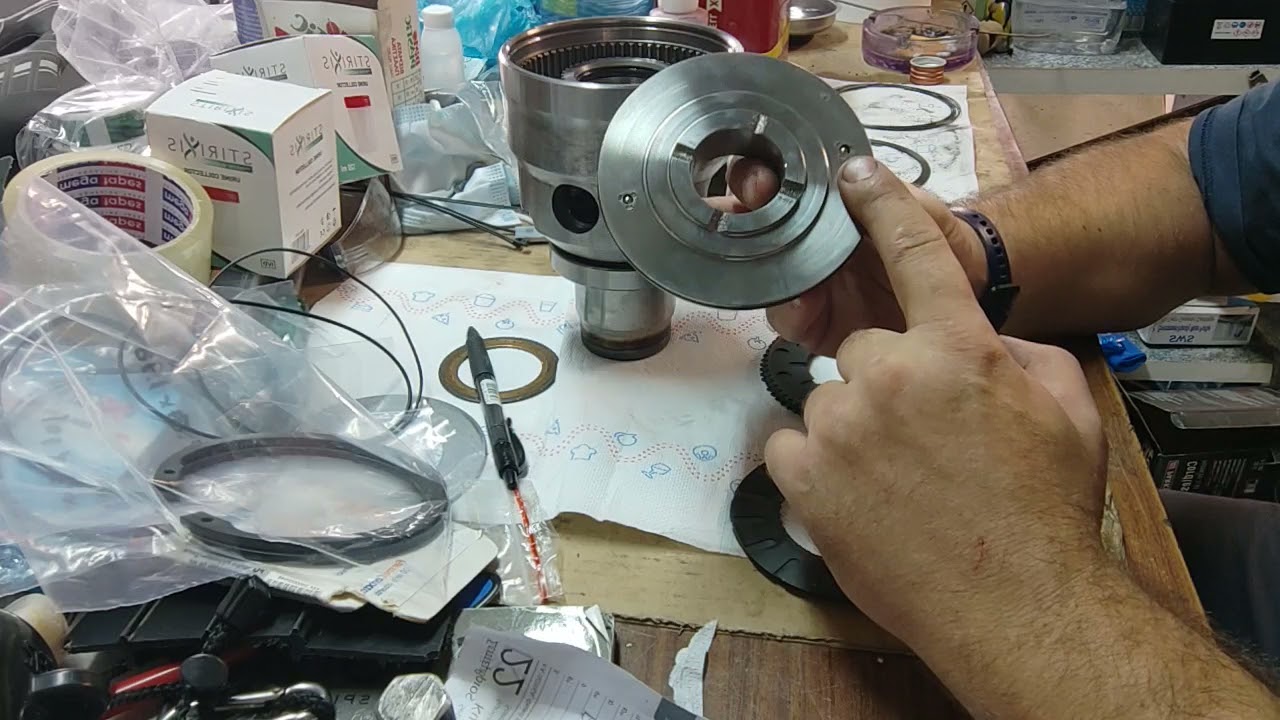
Additionally, when reassembling the center dif and shafts, there is a cross bar that prevents putting it together with the shaft that goes to the driveshaft and the other gear already meshed like the 5MT. The shaft that goes to the driveshaft cannot pass the center dif easily if it is already seated, at least not easily enough not disturb a wet silicone gasket like I was using. The center dif didn’t seat easily enough that I felt comfortable installing it simultaneously with the cover and it was heavy for laying on your back.
What I was able to do is seat the center dif first ( took a few light mallet blows) , finagle the output shaft in past the obstruction and center dif, and leave it hanging. When installing the cover and gear, the driveshaft hole aligns the floating shaft well enough to get it to mate with the gear on the cover. With a little finagling, the cover is able to be seated in the center dif. Recommend trying out whatever sequence you plan to use before cleaning/applying the rtv so you have a good understanding of how to do it as it’s easy to contaminate the rtv if you’re figuring it out.
Доступные форматы для скачивания:
Скачать видео mp4
-
Информация по загрузке: