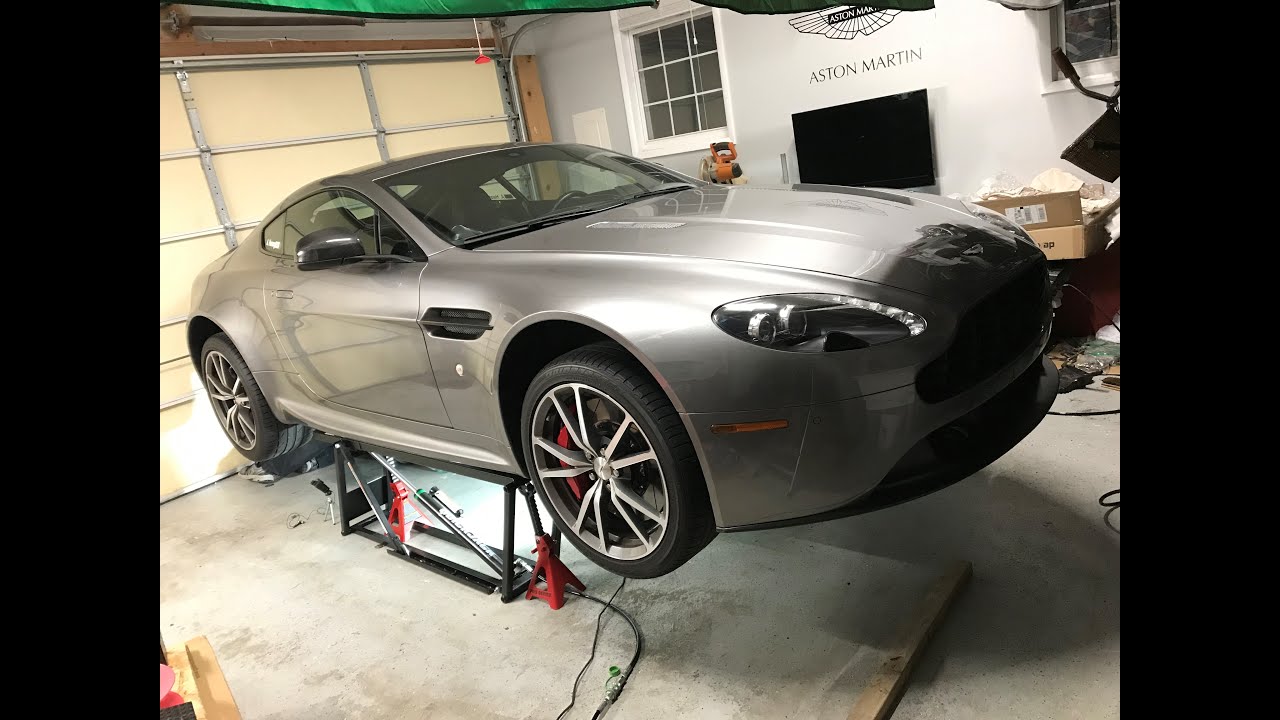
2013 Aston Martin V8 Vantage Muffler Exhaust Install
Автор: Andrew H
Загружено: 2023-02-26
Просмотров: 2798
Installing the last piece of the exhaust....the muffler. You will see in this video, my struggles with regard to figuring out how to remove this.
There are a few write-ups on how to remove it for the earlier year Vantages, but none with the newer style rear bumpers.
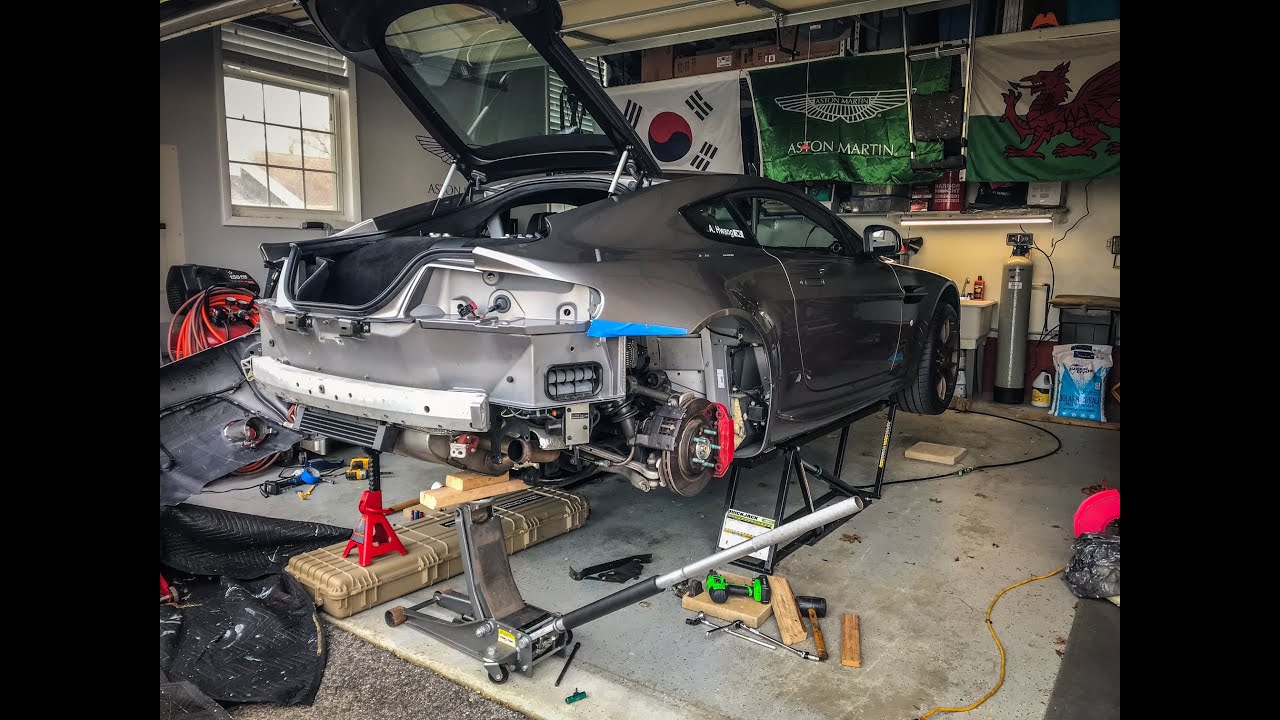
I was trying to do this without removing the rear bumper but ultimately had to. I'm sure people have done it without removing the rear bumper, but it was so much easier without the bumper.
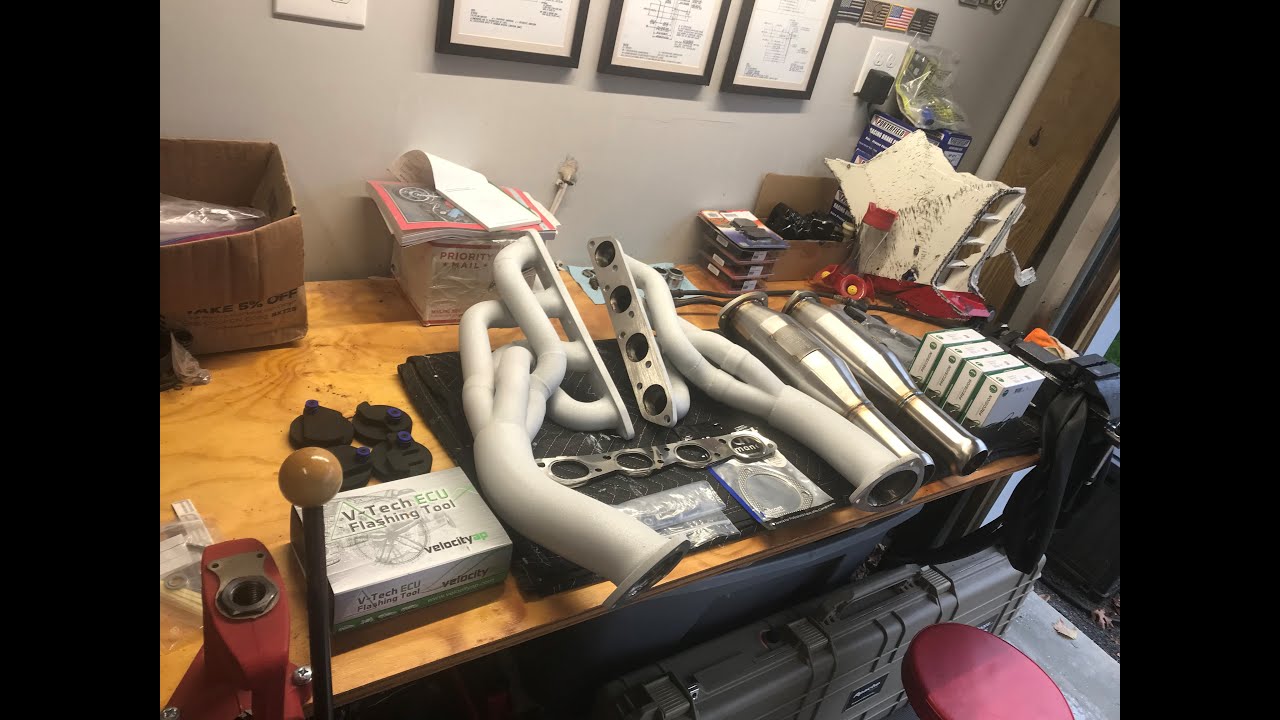
After much research and debate, I went with an OEM Vantage S backbox. Based on the Bamford Rose Video, it is engineered to be one of the best-sounding mufflers out there for the V8 Vantages.
I want to give a huge shout-out to Pat with the 2013 V8 Vantage S for the help and a fellow Youtuber A.P. who helped me decide on which backbox to get.
The sound clips in the video do not do it justice. The sound may not sound too different than before, but in person, it's a game changer, especially under load.
1) Remove wheel 21mm
2) Remove liner T30 and Phillips
3) Remove under tray 13mm
4) Remove cross member bar 16mm
5) Undo sway bar (optional but helped a lot get access to spring bolts) 10mm
6) Remove First Hanger Groumet (Optional but helped a lot) 10mm
7) Remove Flange Spring Bolts 14mm
8) Remove Rear bumper (See Rear Diffuser Install Video)
9) Remove Second Hanger Groumet 10mm
10) Remove Donut Gasket and remove exhaust pipe tips 13mm
11) Remove Backbox only after you remove vac lines
12) Transfer Hangers and Exhaust Pipe Tips to the new back box
13) Install the First Hanger Groument 10mm but don't tighten it and use it as a guide
14) Install Flange Spring Bolts 14mm
15) Install Second Hanger Groumet 10mm
16) Tighten First Hanger Groumets. Spring Bolts, and Second Hanger Groumet
17) Reattach sway bar 10mm
18) Reattach Exhaust Pipe Tips 13mm (align once bumper with tips are on)
19) Install Cross member bar 16mm
20) Install the Rear Bumper
21) Install Liner T30 and Phillips
21) Install Rear under tray 13mm
22) Install Wheels 21mm
Доступные форматы для скачивания:
Скачать видео mp4
-
Информация по загрузке: