How to Stencil Without Paint Bleeding Using a Foam Roller | Designer Stencils
Автор: Designer Stencils
Загружено: 2024-08-20
Просмотров: 5456
☝️ Painting your walls can be anxiety-inducing but it doesn't have to be! In this video we will show you how to stencil your walls without bleeding in 7 easy steps. For this project we used a foam roller to stencil our leafy Philodendron Stencil.
Links to all the stenciling tools you need to paint your walls are listed below.
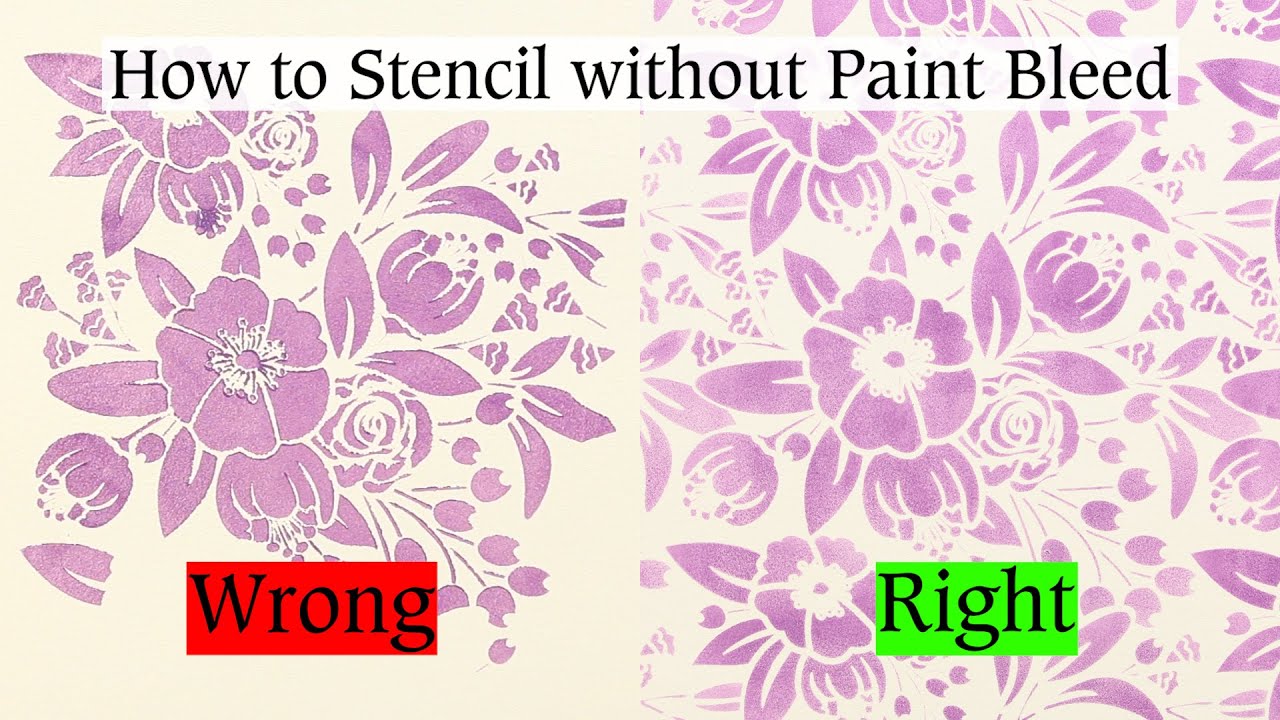
Have you ever tried to stencil or paint your walls, only to have the paint run beneath the stencil or seep outside the stencil design in a muddy paint blob? That's paint bleed, a common (annoying!) stenciling mistake. In this DIY tutorial, we will show you how to paint with stencils without bleed. The good news: it's surprisingly easy.
How to Stencil without Bleeding:
1️⃣ Prep your walls for stenciling: stenciling should always be done on a clean, smooth surface. Use a slightly damp cloth to clean your painting surface, and some sandpaper to smooth any bumps or imperfects the paint might snag on. Sanding will also create some friction to help the paint stick to the wall as you stencil. Wipe the sanding dust off your wall, and you are ready to start stenciling!
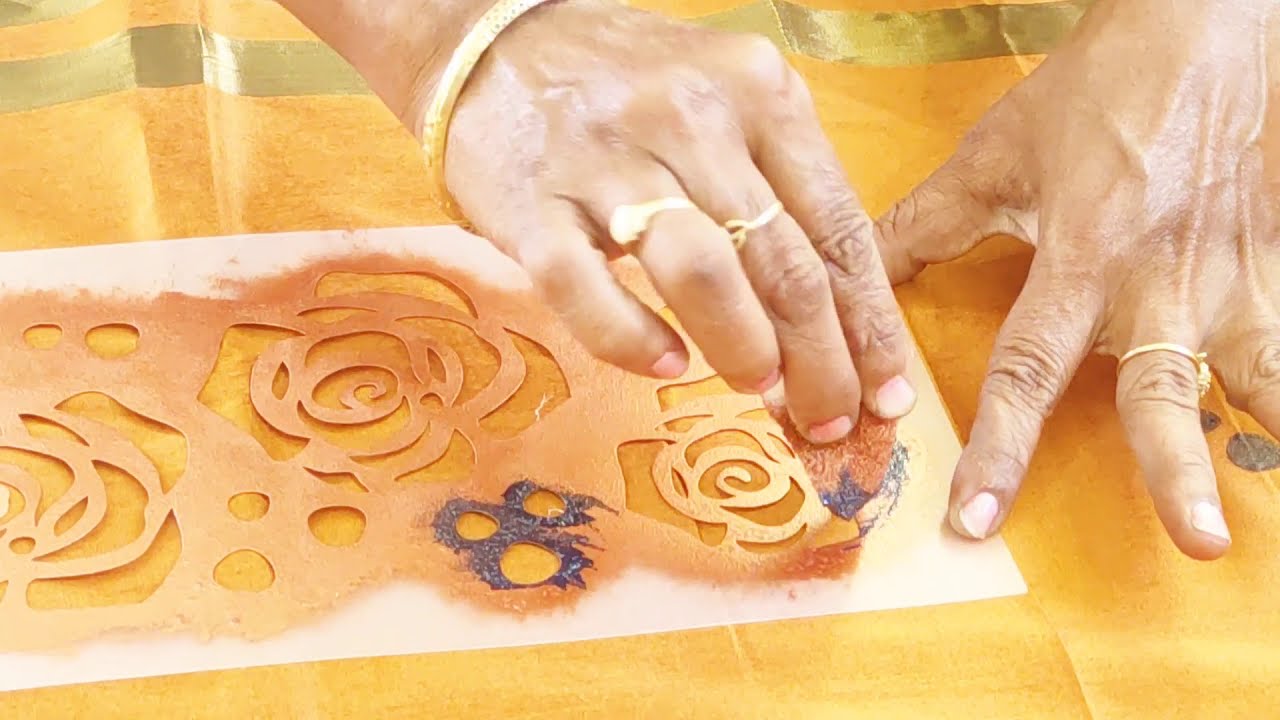
2️⃣ The most important step to stenciling without paint bleed is rolling excess paint off the roller onto a piece of paper towel. Evenly coat your foam roller in latex wall paint before rolling the excess off in the tray. Continue to roll the paint off onto a piece of paper towel. Use a finger to test the paint on the roller to see if it smudges. If the roller feels sopping wet, continue rolling the paint off until it no longer smudges on your finger. Once the roller no longer feels wet, but not quite dry, you are ready to stencil.
3️⃣ Next, prepare your stencil using Stencilease Repositionable Spray Adhesive on the back of the stencil. Wait 30 seconds for the spray to become tacky then press it into position on your wall. Use a piece of Frog Tape painter's tape along the top of the stencil to secure its position. Place small pieces of painter's tape beneath each of the 4 registration marks in the corners of the stencil before pressing the stencil flat.
4️⃣ With the stencil in position, you are ready to begin rolling paint onto the wall. Start by applying very light pressure as you gently roll the foam roller through the stencil. The paint should be built in light coats and should not fully saturate the design after one roll. This ensures paint bleed does not seep beneath the edges of the stencil design.
5️⃣ As multiple coats of paint build up the color of the design you may need to gently apply more pressure to fill in the edges. Be careful as you apply more pressure as this can lead to paint bleed if it gets forced beneath the edges. When the leaves are fully painted, use a stencil brush to swirl paint through the registration marks. Gently peel the stencil off the wall to reveal the pattern below. If you need to touch up the design you can put the stencil back in place by lining up the registration marks.
6️⃣ After the first repeat, line the stencil's registration marks up beside the freshly painted design before pressing the stencil flat to the wall. Add two additional pieces of Frog Tape painter's tape beneath the next set of registration marks. Continue rolling paint through the stencil just as before until the color matches. Simply peel and repeat!
7️⃣ As you continue these steps to repeat the design, you may find that paint no longer builds readily on your surface. Repeat the steps of loading your roller and rolling excess paint onto a paper towel before you continue stenciling. Be sure to stencil with light pressure on the roller before getting into a rhythm. If you find there is too much paint on the roller, roll additional paint off onto a paper towel until it feels just about dry to the touch.
Once you have stenciled an accent or your entire wall, remove the Frog Tape painter's tape registration marks from your freshly painted wall. And that's how you stencil without bleed!
Check out the links below for the stenciling and painting supplies used in this tutorial ⬇️:
➡️ Philodendron Wall Stencil - https://bit.ly/2rO0T6K
➡️ High-Density Foam Roller - https://bit.ly/2ZKGcoR
➡️ Repositionable Spray Adhesive - https://bit.ly/35jhCfY
➡️ White Bristle Stencil Brush - https://bit.ly/2MP7aq9
➡️ Frog Tape Painter's Tape - https://bit.ly/2ZMri1p
Like this video? Want to learn more easy DIY stenciling tips and tricks?
Subscribe for more Designer Stencils DIY stenciling how to videos
👉 Visit https://www.designerstencils.com/ today and check out our amazing collection of home decor stencils, painting tools, expert stenciling tips and how-to videos!

Доступные форматы для скачивания:
Скачать видео mp4
-
Информация по загрузке: