Papercrete Pot Making - 2 Molder Technique
Автор: Bob Vega
Загружено: 2020-03-29
Просмотров: 6645
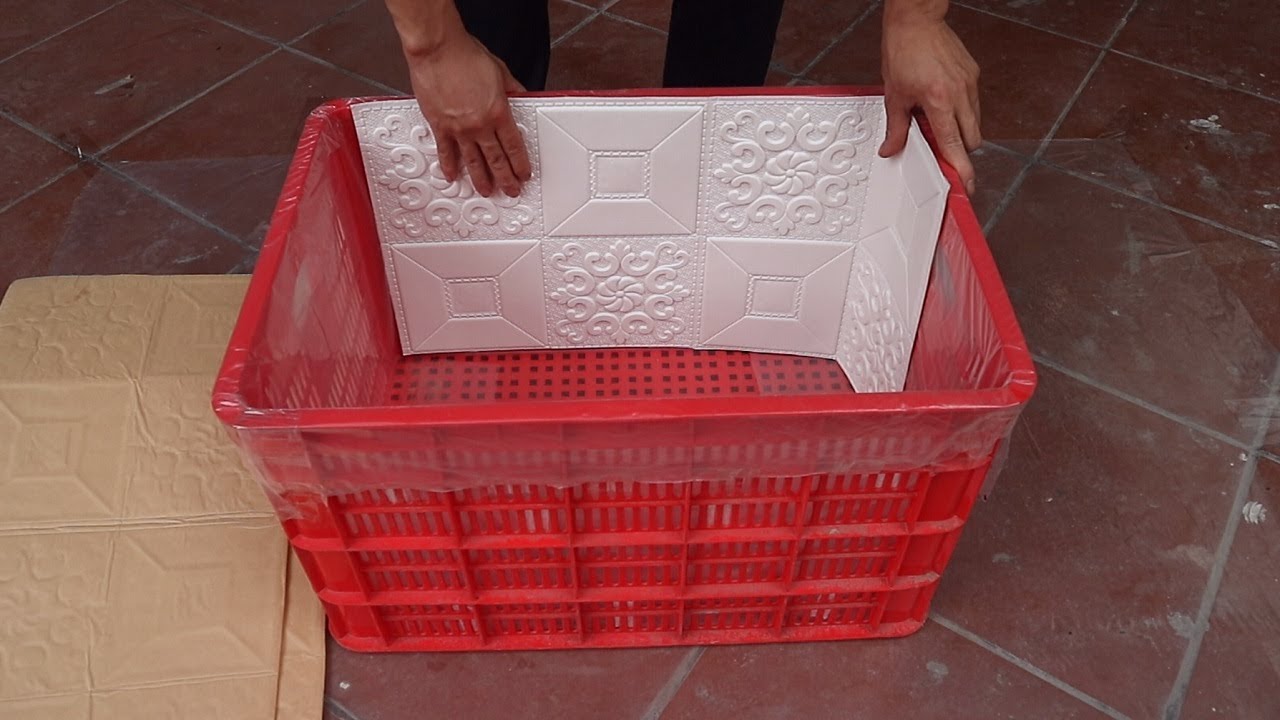
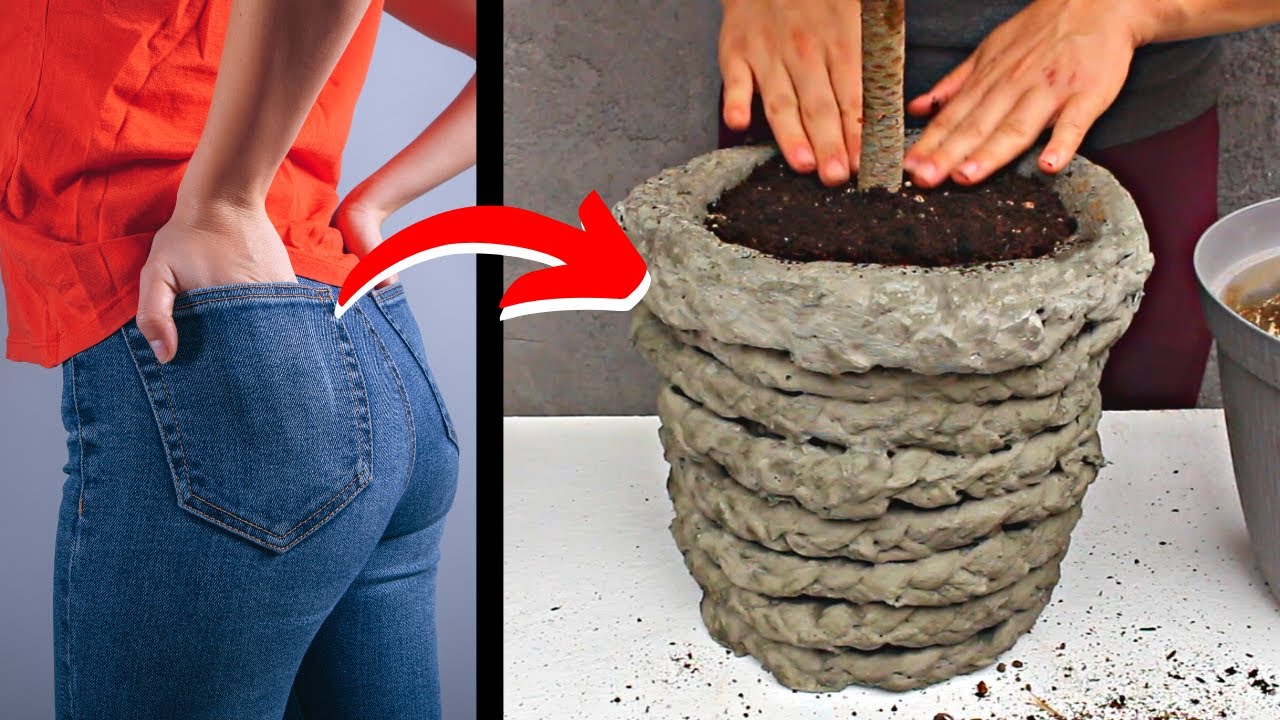
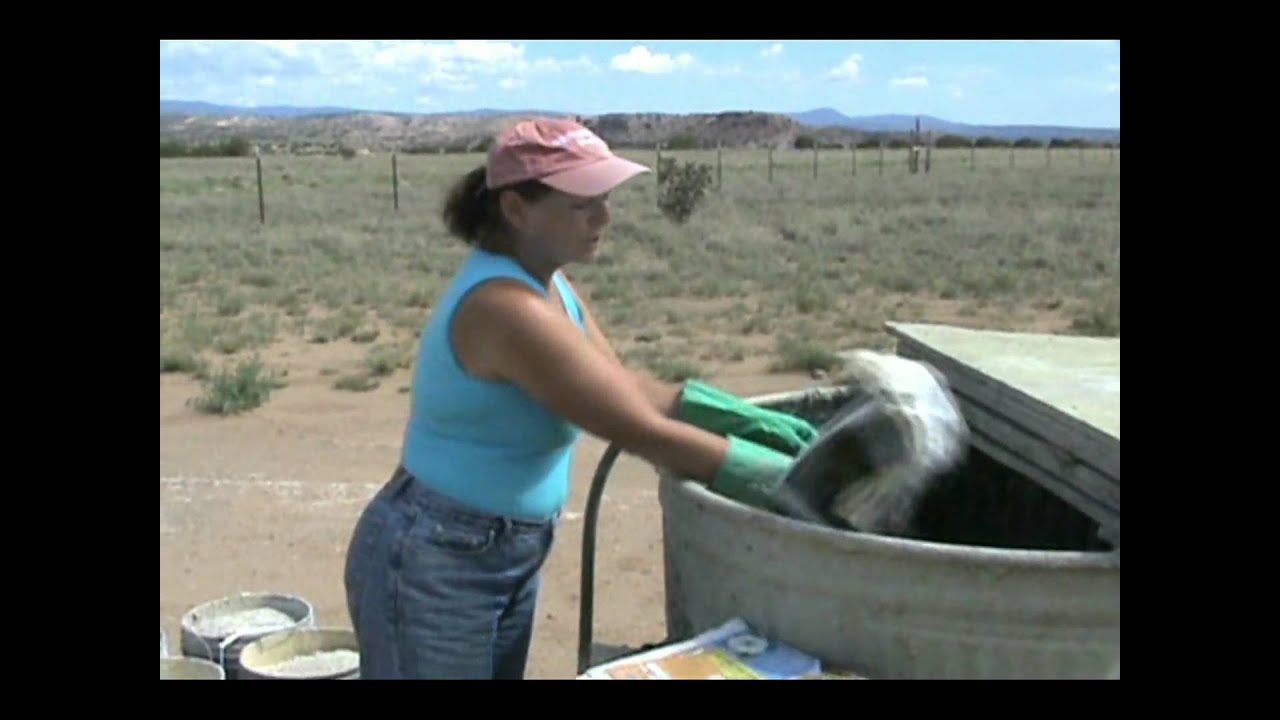
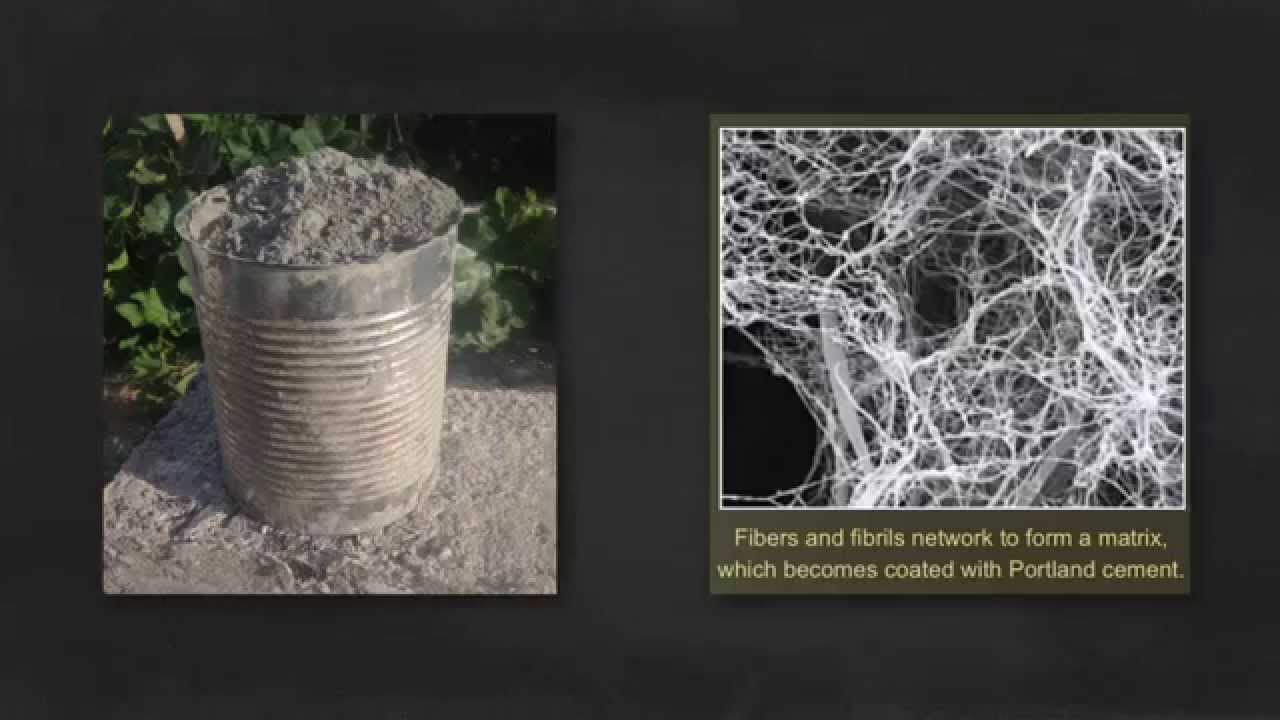
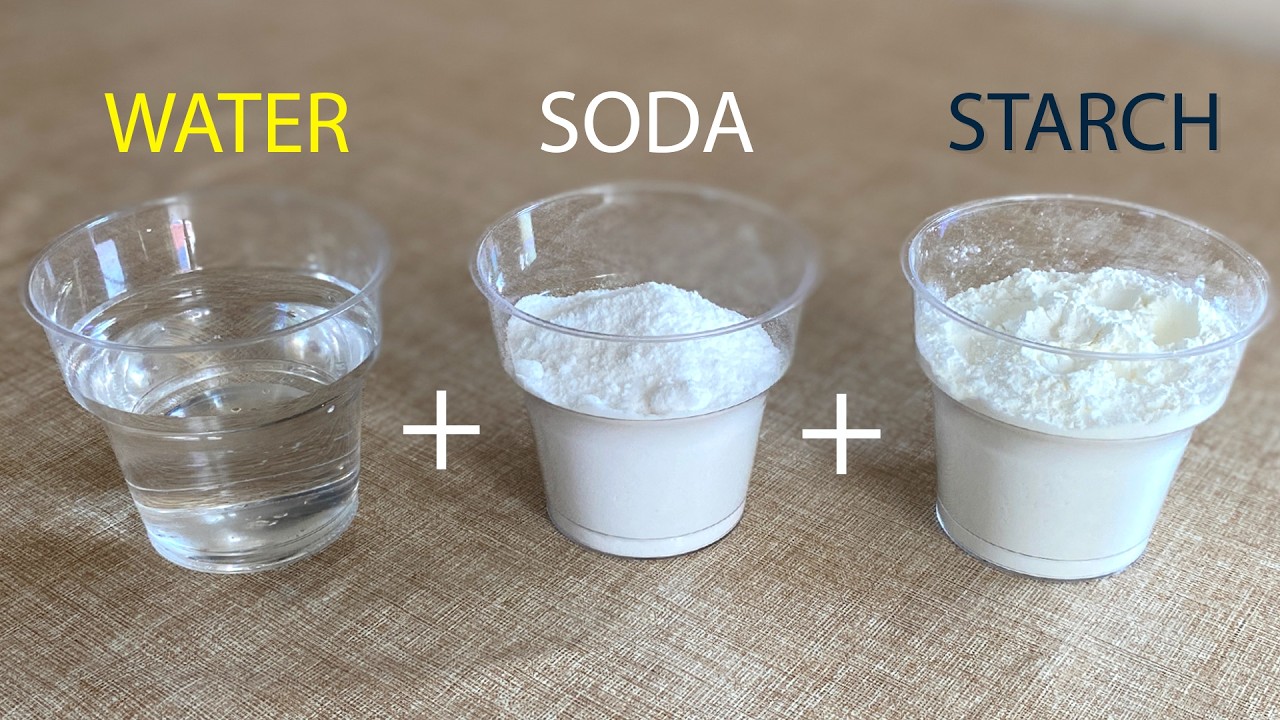
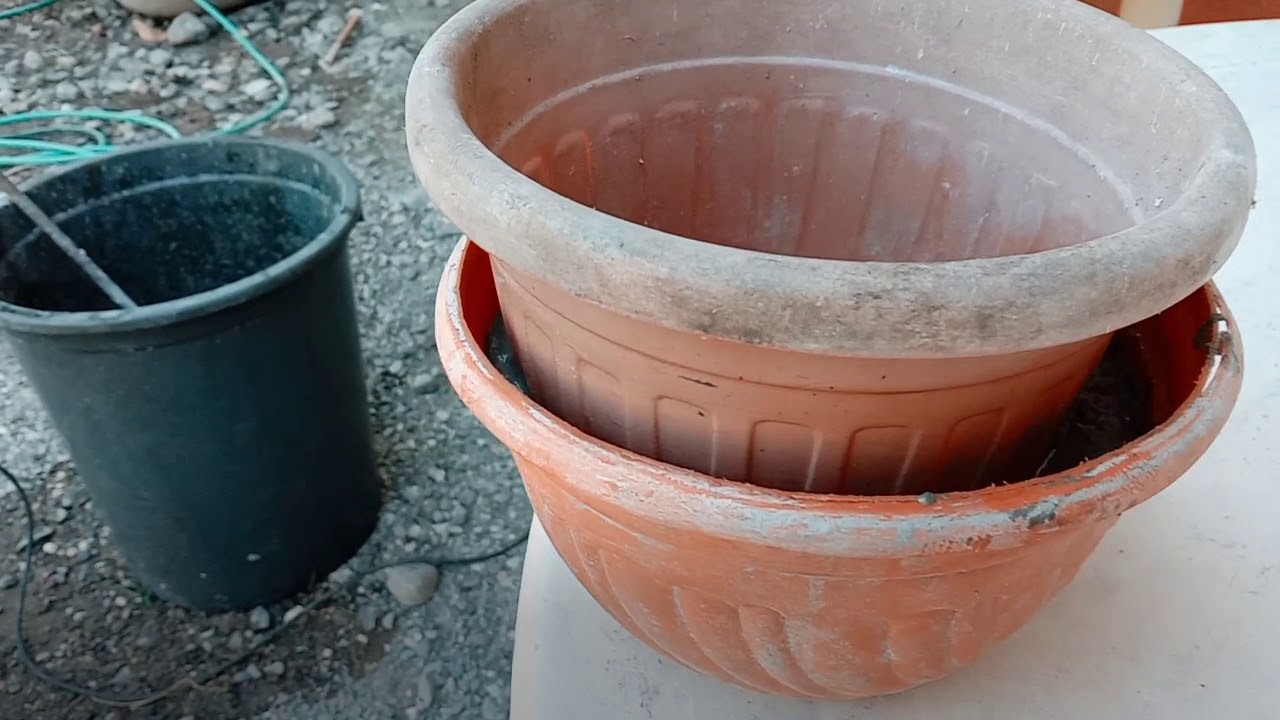
This is how we mold a small round mouth pot on a 7" diameter and 4" high molder. We will start with our ingredient ratio, our measuring basin measures 12" in diameter and 4.5" high, for the quick drying cement, it is basin full, for the fine sand, it is 1" below the basins mouth, for the pulped paper, it is 2" below the basins mouth. We will mix them together in a predetermined amount of water in a pail, after mixing, we put an estimated amount of mixture into the lower molder, then we put the upper molder inside the lower molder containing the mixture and push it down establishing it's center, put 2 of the weights on top of each other while maintaining it's center, tap the sides around the lower molder allowing the upper molder to move down further, when you reach a point where it can no longer move down, level off the mixture at the mouth of the lower molder. Allow it to dry for a day or two, then you can now remove the weights and the upper molder by tapping it's sides, scrape off excess mixture from it's mouth, allow it to dry for another day or two, then you can now remove the lower mold by turning it upside down and tap the edges of the molder on a table until the pot separates from the molder, and then you can now mix a skim coat with water and fill bubble holes with it, sand paper excess skim coat when dry, wipe with slightly wet cloth or a small slice of foam to clean and remove dust, at this point, it is now ready for coloring, this process is very quick, thanks for watching
Доступные форматы для скачивания:
Скачать видео mp4
-
Информация по загрузке: