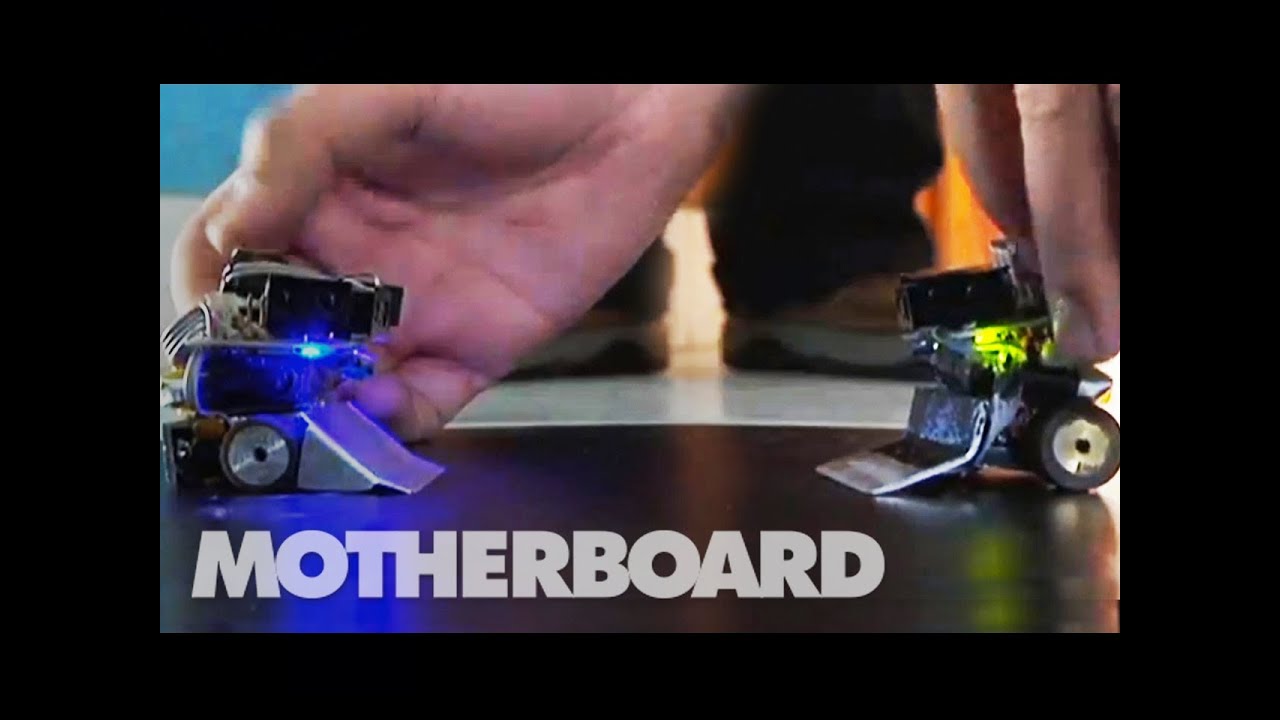
Como hacer un mini sumo controlado por bluetooth con PIC (bien explicado)
Автор: Cálculo Fácil (Diseño desde cero)
Загружено: 2019-05-30
Просмотров: 10075
Tutorial: Como hacer un mini sumo controlado por bluetooth (app android) con PIC (bien explicado) microcontrolador 16f877a
How to create mini sumo robot controlled via bluetoth (android) using pic16f877a
PDF DE LA PCB + LISTA DE MATERIALES
https://drive.google.com/open?id=1JON...
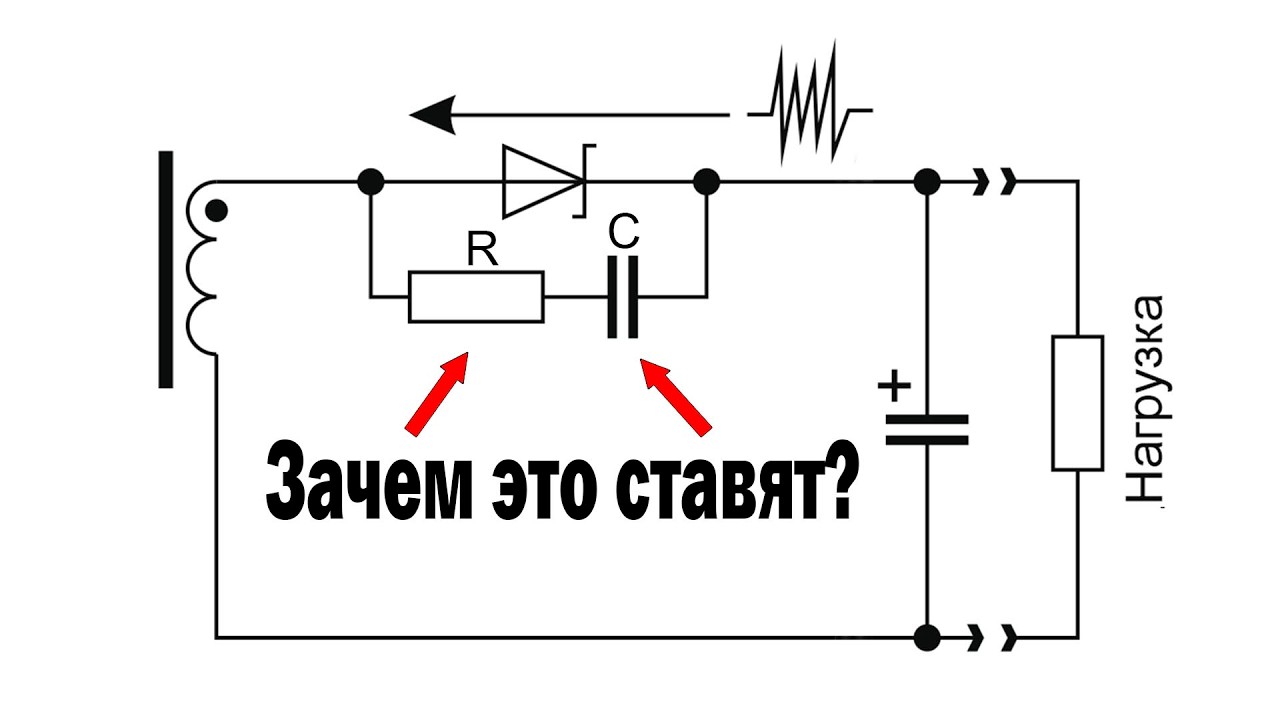
1)Las pilas se colocan en paralelo, en BATT
2)En Swith colocan un interruptor
3)El bloque de la esquina inferior izquierda es el elevador de voltaje, recuerden ajustar el voltaje antes de soldar el puente H.
4)Las resistencias: RSW1,2 son para colocar botones en Inputs.
5)La resistencia "RMC" debe ser de 100 ohms para evitar reinicio del pic.
6)Osc es de 4MHZ, Agregar mucho estaño a sus pistas.
7)El puente H (Esquina inferior derecha) tiene sus salidad en MA1,2 (PRIMER MOTOR) y MB1,2 (SEGUNDO MOTOR).
8) El In de los sensores de linea, va en los primeros 3 pines de lines. Out se debe colocar en IN_OUT2 (de izquierda a derecha)
IMAGEN CON NUMEROS http://prntscr.com/nvh6tz
TUTORIAL PARA CREAR APLICACIÓN
• ✅ Crear Aplicación para Carro a Control Re...
LINK PARA DESCARGAR NUESTRA APLICACION( TIENE LAS LETRAS ASIGNADAS, SOLO DEBEN SUBIR EL CODIGO Y USAR LA APP PARA PODER USAR EL ROBOT)
https://drive.google.com/open?id=1qU5...
CODIGOS PRUEBA:
MOVER MOTORES
https://drive.google.com/open?id=1Y0M...
SENSORES DE LINEA
https://drive.google.com/open?id=102Y...
BLUETOOTH
https://drive.google.com/open?id=129h...
CODIGO FINAL, FUNCIONAL CON APLICACION Y SENSORES DE LINEA INTEGRADOS:
proximamente
-- ENGLISH VERSION---
PDF OF THE PCB + LIST OF MATERIALS
https://drive.google.com/open?id=1JON...
1) Batteries are placed in parallel, in BATT
2) In Swith place a switch
3) The block in the lower left corner is the voltage booster, remember to adjust the voltage before welding the bridge H.
4) Resistances: RSW1,2 are for placing buttons in Inputs.
5) The resistance "RMC" must be 100 ohms to avoid restarting the pic.
6) Osc is 4MHZ, Add a lot of tin to your tracks.
7) Bridge H (lower right corner) has its output in MA1,2 (FIRST MOTOR) and MB1,2 (SECOND MOTOR).
8) The In of the line sensors, goes in the first 3 pins of lines. Out must be placed in IN_OUT2 (from left to right)
IMAGE WITH NUMBERS http://prntscr.com/nvh6tz
TUTORIAL TO CREATE APPLICATION
• ✅ Crear Aplicación para Carro a Control Re...
LINK TO DOWNLOAD OUR APPLICATION (IT HAS THE LETTERS ALLOCATED, THEY MUST ONLY UPLOAD THE CODE AND USE THE APP TO BE ABLE TO USE THE ROBOT)
https://drive.google.com/open?id=1qU5...
TEST CODES:
MOVE MOTORS
https://drive.google.com/open?id=1Y0M...
LINE SENSORS
https://drive.google.com/open?id=102Y...
BLUETOOTH
https://drive.google.com/open?id=129h...
FINAL CODE, FUNCTIONAL WITH APPLICATION AND INTEGRATED LINE SENSORS:
soon
Suscribete a Calculo Facil → http://bit.ly/CalculoFacil
Todos mis tutoriales para aprender a diseñar → http://bit.ly/DiseñoTransistores

Доступные форматы для скачивания:
Скачать видео mp4
-
Информация по загрузке:


![[Tutorial Electronica] - Carro controlado con PIC y Bluetooth](https://imager.clipsaver.ru/d4Fe6-Rt6nU/max.jpg)