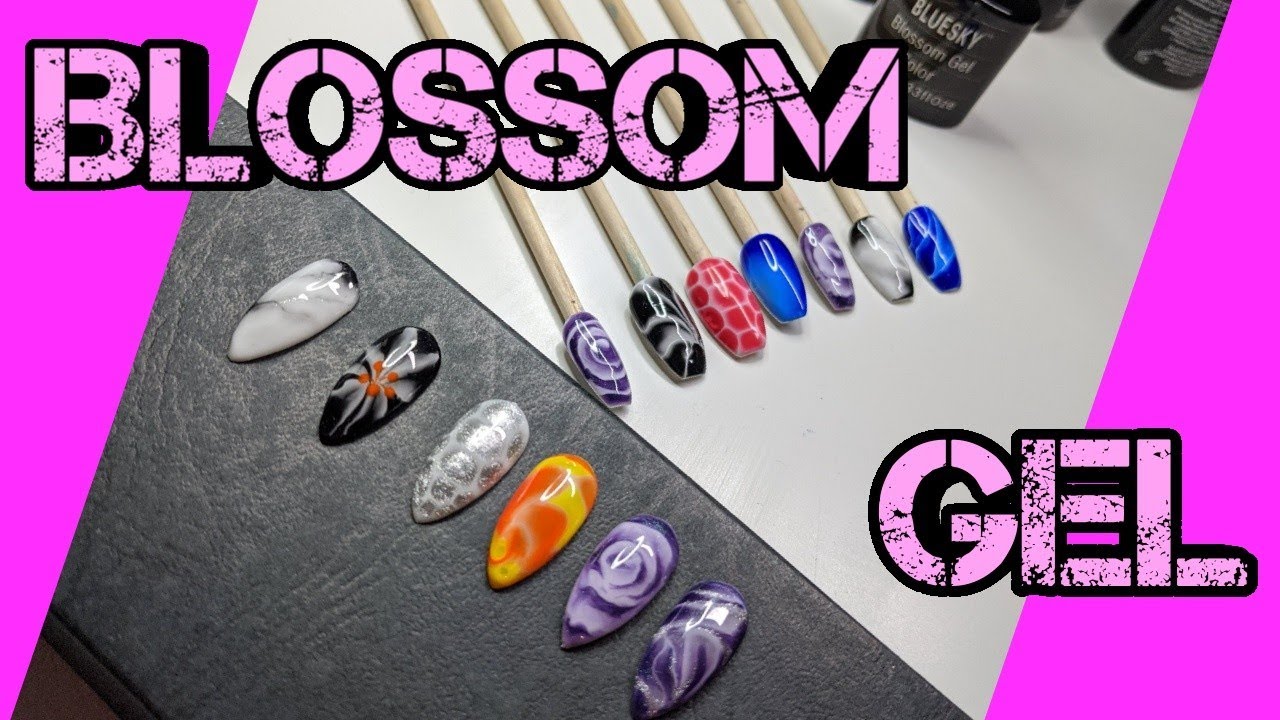
Bluesky Blossom Gel | Nail Art Tutorial | Floral Nails
Автор: Bluesky Cosmetics
Загружено: 2019-04-14
Просмотров: 82239
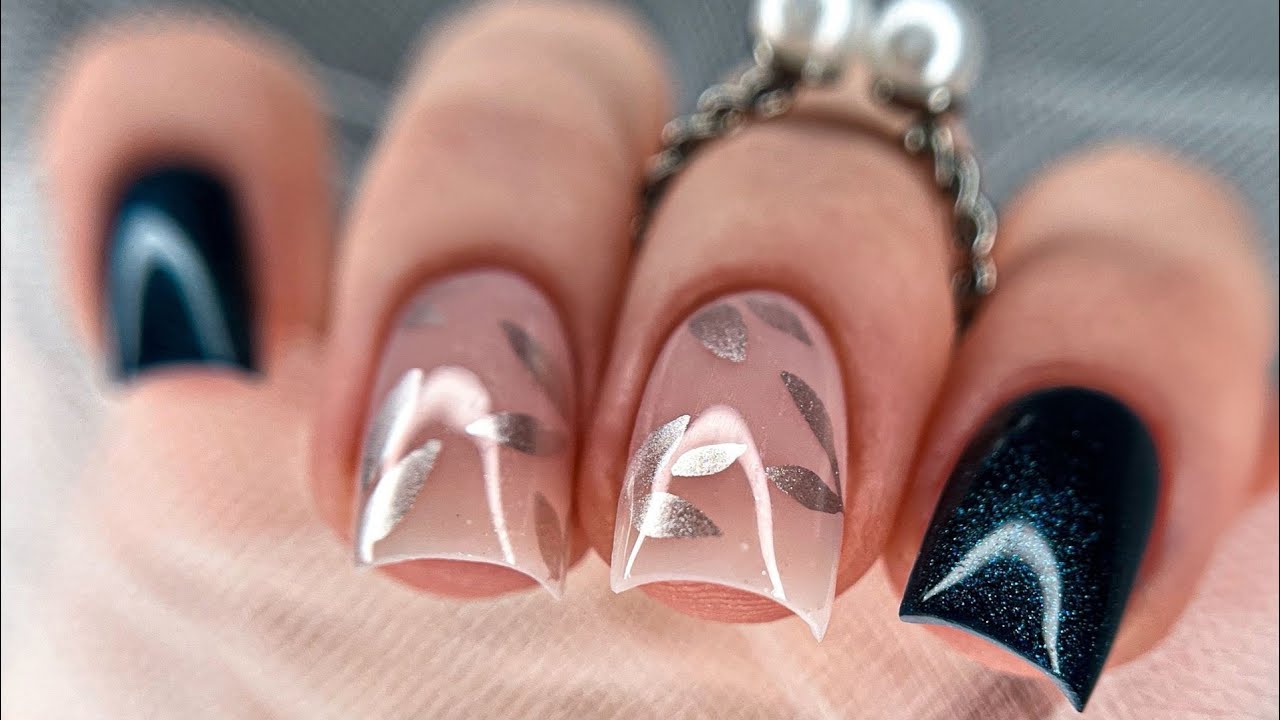
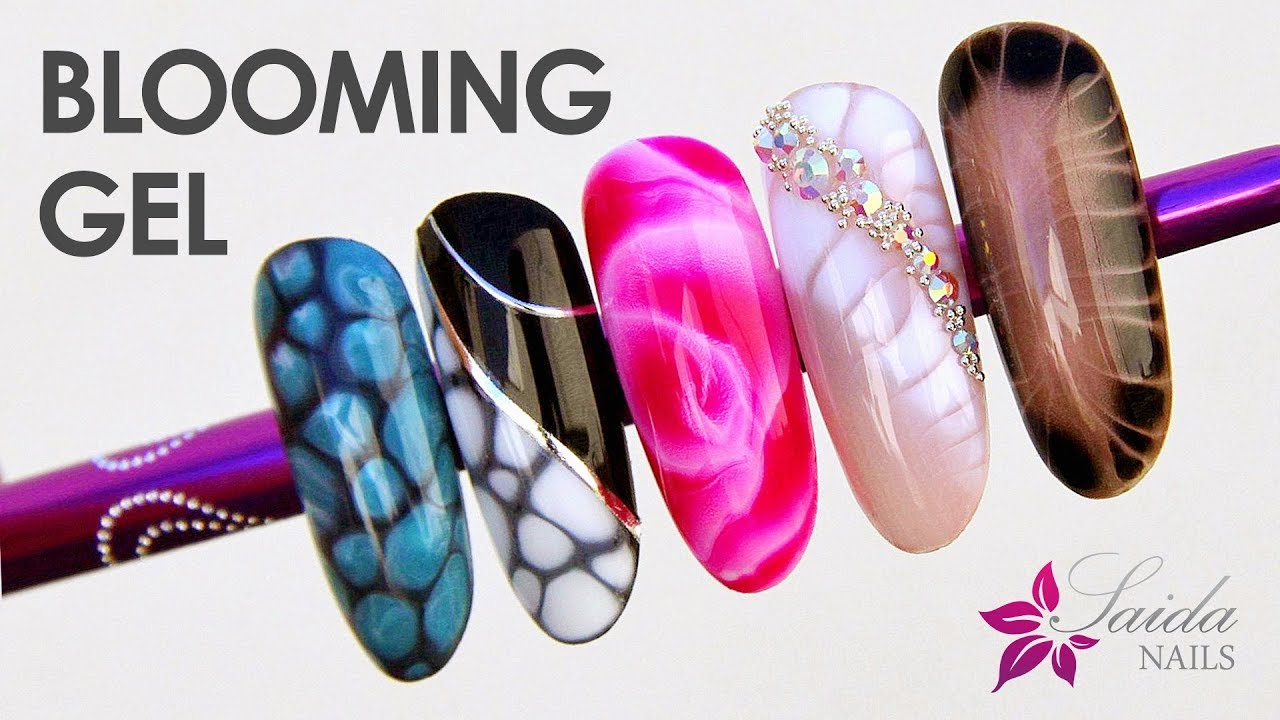
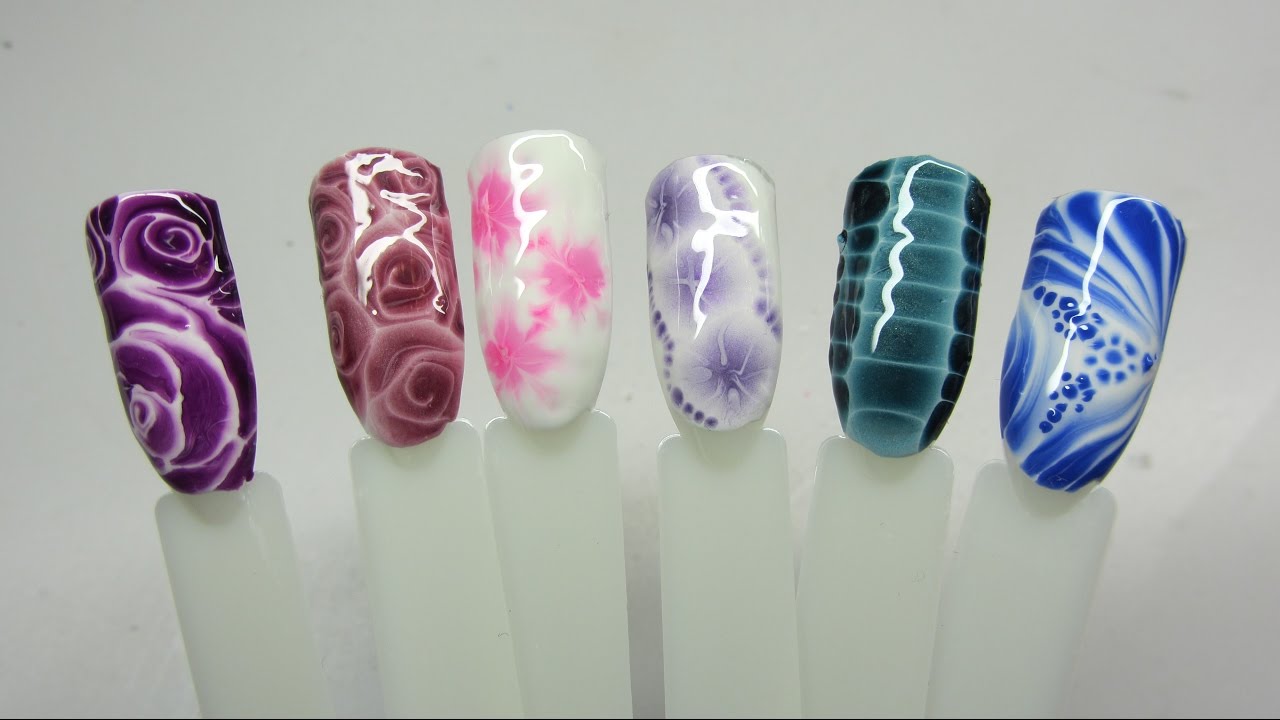
Create blooming marvellous nail art with our Bluesky Blossom Gel. Take a look at our step-by-step guide using blooming gel to create stunning floral designs.
Shop our Blossom Gel Trio Kit: https://blueskycosmetics.co.uk/produc...
Shop our Blossom Gel Range: https://blueskycosmetics.co.uk/collec...
How to apply Bluesky Blossom Gel:
1. Always begin by prepping your nails: push back cuticles and trim where needed, use your Bluesky Nail File to file nails into desired shape, use your Bluesky Nail Buffer to take the shine off your nails.
2. Use a Bluesky Cleansing Wipe to wipe over the nail to remove any dust.
3. Apply Blossom Gel Base Coat to all nails - no need to cure.
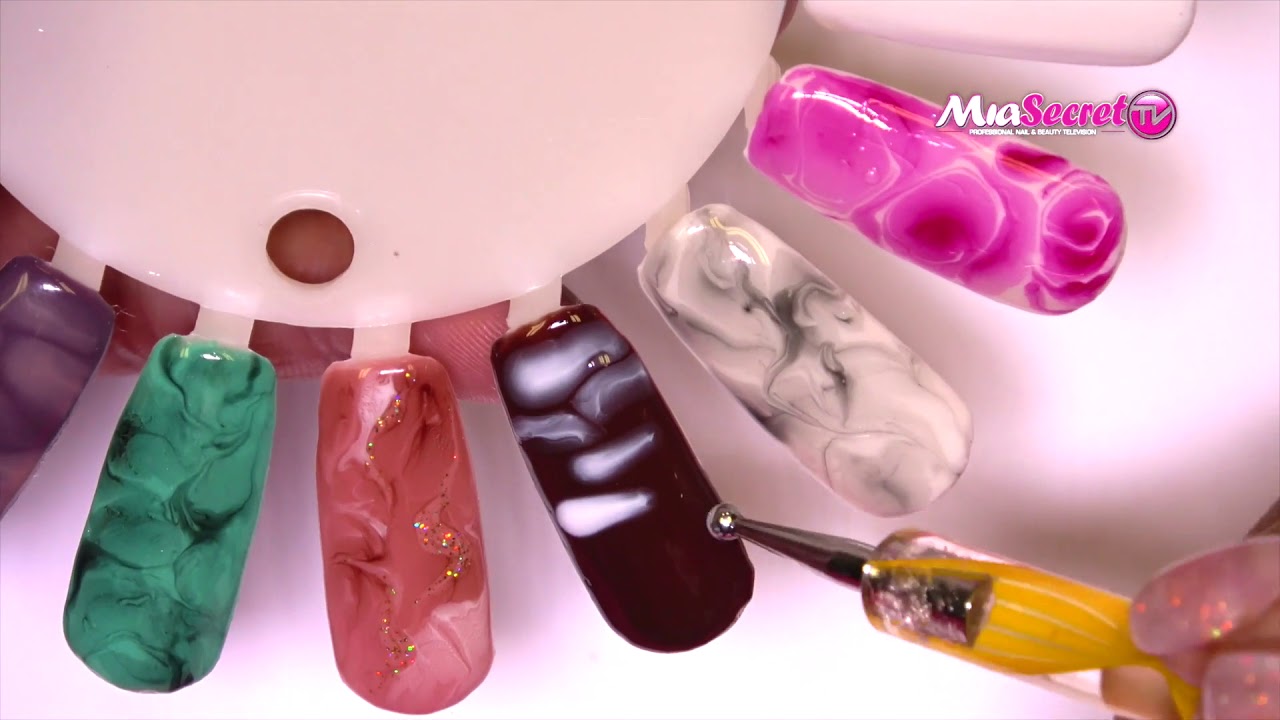
4. Take your desired colour Blossom Gel and dip it onto a palette - here, you can mix together colours as shown in the above video.
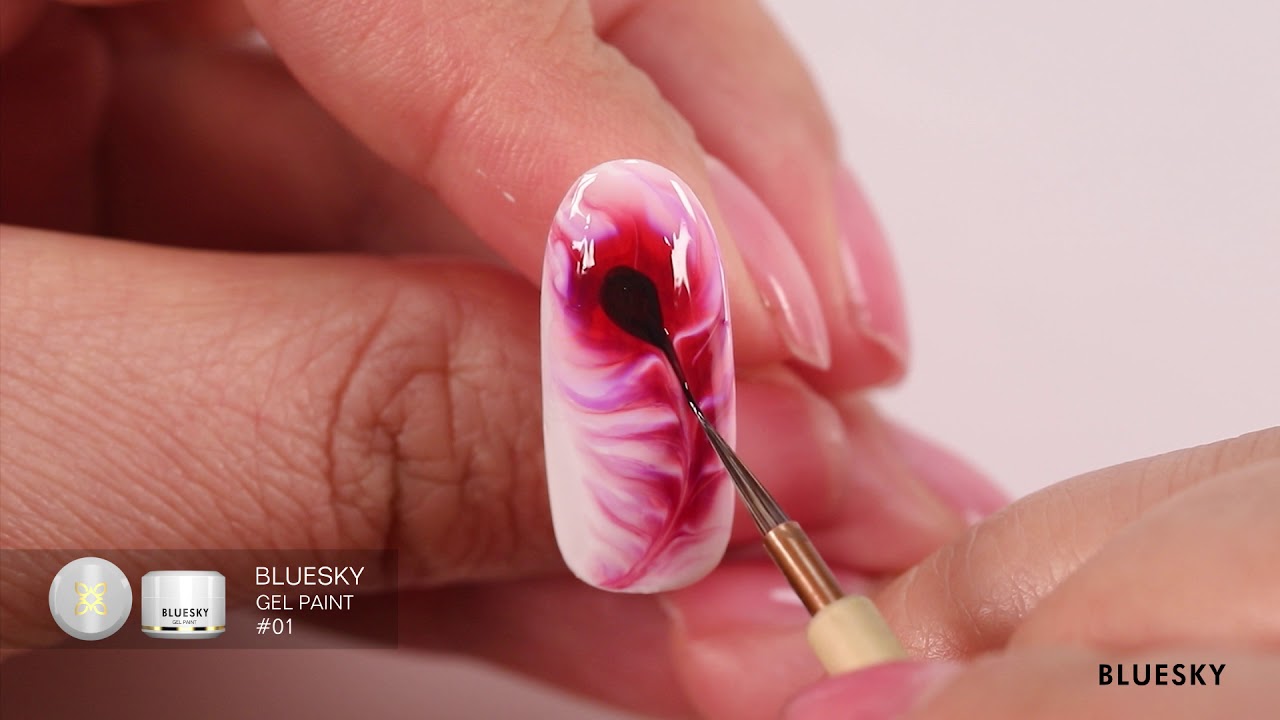
5. With a fine brush, carefully dot the colour onto the nail beginning with a large dot at the top of the nail with smaller dots as you go along.
6. Use a nail art brush to drag out the Blossom Gel as shown in the video. Once happy with your design, cure for 60 seconds LED/2 minutes UV. Tip: the longer you leave the gel before curing, the more it will 'blossom.'
7. You can then add further detail to your design if you wish - above, we've used Gel Paint. Cure for 60 seconds LED/2 minutes UV.
8. Apply Bluesky Top Coat to all nails and then cure for 60 seconds LED/ 2 minutes UV.
9. Using a Bluesky Cleansing Wipe, wipe over all nails for a high-shine finish.
Get your hands our latest Bluesky gel polish products over on our website: https://blueskycosmetics.co.uk
Facebook: / blueskycosmeticsuk
Instagram: / bluesky_cosmetics
Pinterest: https://www.pinterest.co.uk/blueskyco...
Доступные форматы для скачивания:
Скачать видео mp4
-
Информация по загрузке: