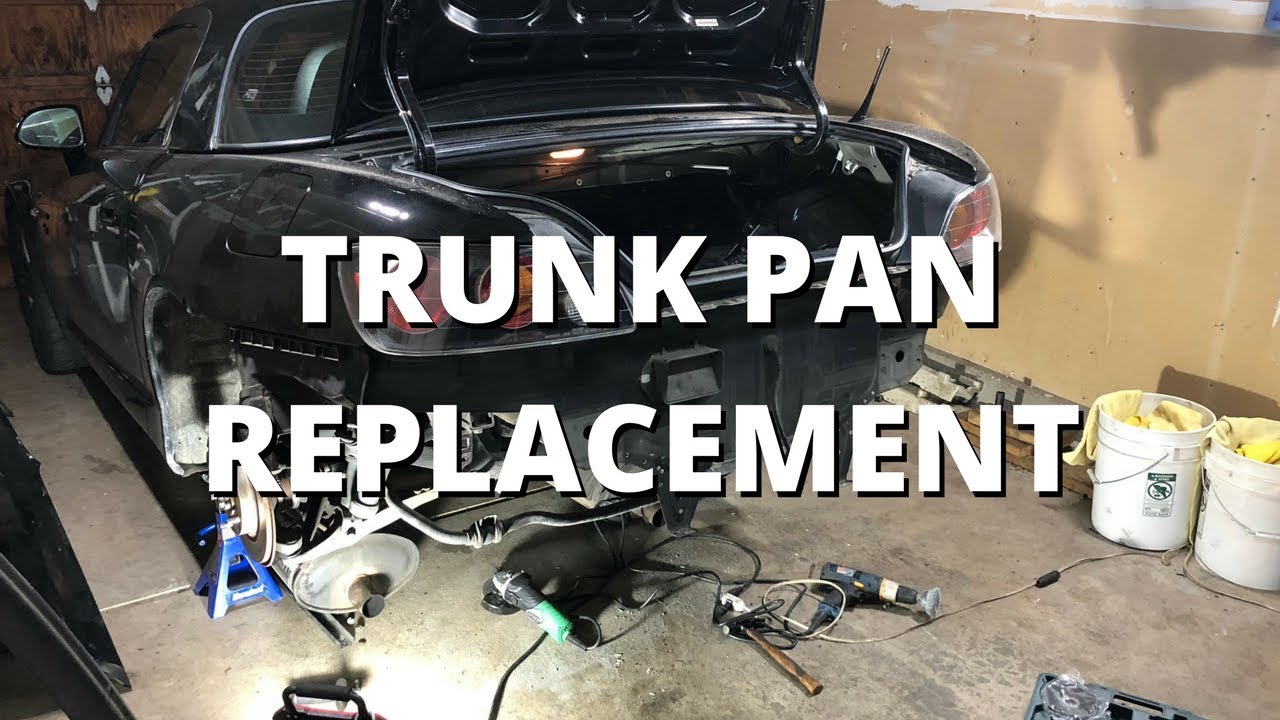
Trunk Pan Replacement | Honda S2000
Автор: DIYGuys
Загружено: 2018-03-05
Просмотров: 11507
Hey everyone, today I’m going to show you how I replaced the rusted trunk pan on my Honda S2000 club racer. When I purchased this car a year ago in Tennessee I made the mistake of not inspecting the trunk for water damage. Months later when I dug into the trunk to get the tow hook for a track day I found that the spare tire kit was completely soaked with water. I stripped away the trunk carpeting to access the damage and found that the bottom of the pan had some pretty serious rust.
I did some research on s2ki and found several other people that had issues with water in the trunk but few that had let it get this bad. I disovered that I had two options, cut out the rusted area and weld in some sheet metal or replace the entire trunk pan with a new OEM pan. To my surprise a new OEM pan only set me back about 125$. Once the pan arrived I called some shops to get an estimate on how much labor it would be to have the trunk pan replaced and the best quote I got was for 1200$. I wasn’t too keen on paying 1200$ for labor so I decided to go the adventurous route and do it myself...
Before I get started I want to be very clear that this is not a tutorial or a do it yourself guide by any means but more of a documentation of my experience. Given that there was no documented procedure in the service manual or any tutorials on the internet I was in uncharted territory and frankly had little idea what I was doing. Hopefully you can learn from my mistakes.
Parts Used
POR-15 Starter Kit: http://amzn.to/2Fcard7
3M rubberized underbody coating: http://amzn.to/2FdrgnX
Seam sealer (a bit smelly): http://amzn.to/2tbo8Yc
Floor Pan (65517-S2A-A01ZZ)
Floor Pan Drain Plug X 2 (91611-SM4-003)
Spot Weld Drill Bit: http://amzn.to/2D0aiYj
Доступные форматы для скачивания:
Скачать видео mp4
-
Информация по загрузке:


