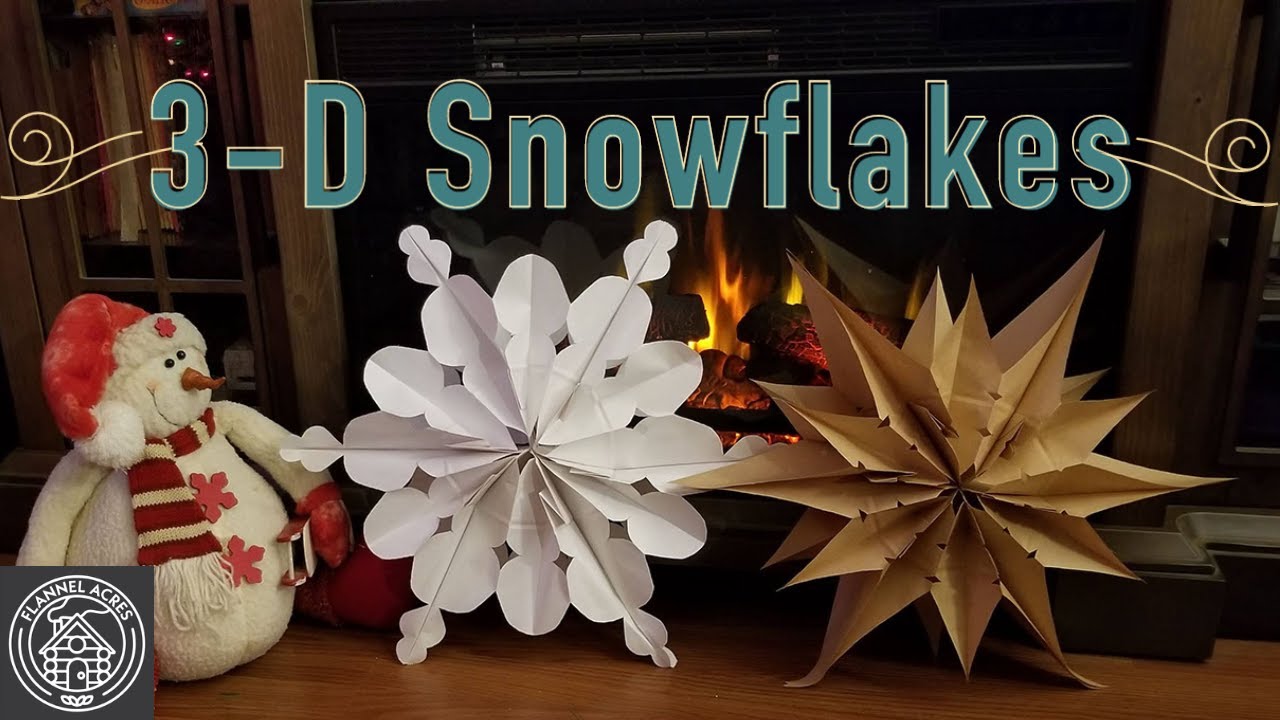
How to Make a Snowflake with Paper Lunch Bags - Fast and Easy!
Автор: Libraries of Stevens County
Загружено: 2021-12-10
Просмотров: 16469
How to Make a Snowflake with Paper Lunch Bags - Fast and Easy!
Want to make some beautiful holiday décor that's quick, easy, fun, and inexpensive? We've got you covered!
Here are the supplies I used to make my paper bag snowflake:
8 paper lunch bags
sturdy scissors
glue gun with extra hot glue
optional: twine or ribbon if you want to hang your snowflake once it's done
Transcript:
Want to make some beautiful holiday decor that's quick, easy, fun, and inexpensive? We've got you covered!
Hi there, I'm Anja with the Libraries of Stevens County. Today, we wanted to share a quick, easy, beautiful, holiday craft project with you! You might have seen these paper bag snowflakes before - they've been around for a while. But we really love them and thought it would be fun to share with you how we like to make them!
For this project, I used eight lunch-sized paper bags. You can, of course, find these at most grocery stores or even a dollar store. Next, you'll need plenty of hot glue, a pair of sturdy scissors, and optional: some twine, string, or ribbon to hang your snowflake once you're done.
Make sure your hot glue gun is nice and hot, then we'll start gluing bags together. Take your first bag and place it flat side down on the table in front of you. Take your hot glue gun and put a line of glue along the entire bottom side here just making sure not to go quite to the edge.
Then you'll make a t-shape by putting another line of hot glue from bottom to top right down the middle of the bag like this - stopping just a bit before the end of the bag. Now take the next bag - make sure it's also flap side down - and match it up with the first bag.
Press down to make sure it's firmly glued to the first bag.
Now, we'll repeat this process with the next bag. A line of hot glue across the bottom like this. Then a line right in the middle up the full length of the bag like this. Again, make sure you don't go quite to the edges of the bag with your hot glue. And then we'll just repeat this process until all the bags have been used up.
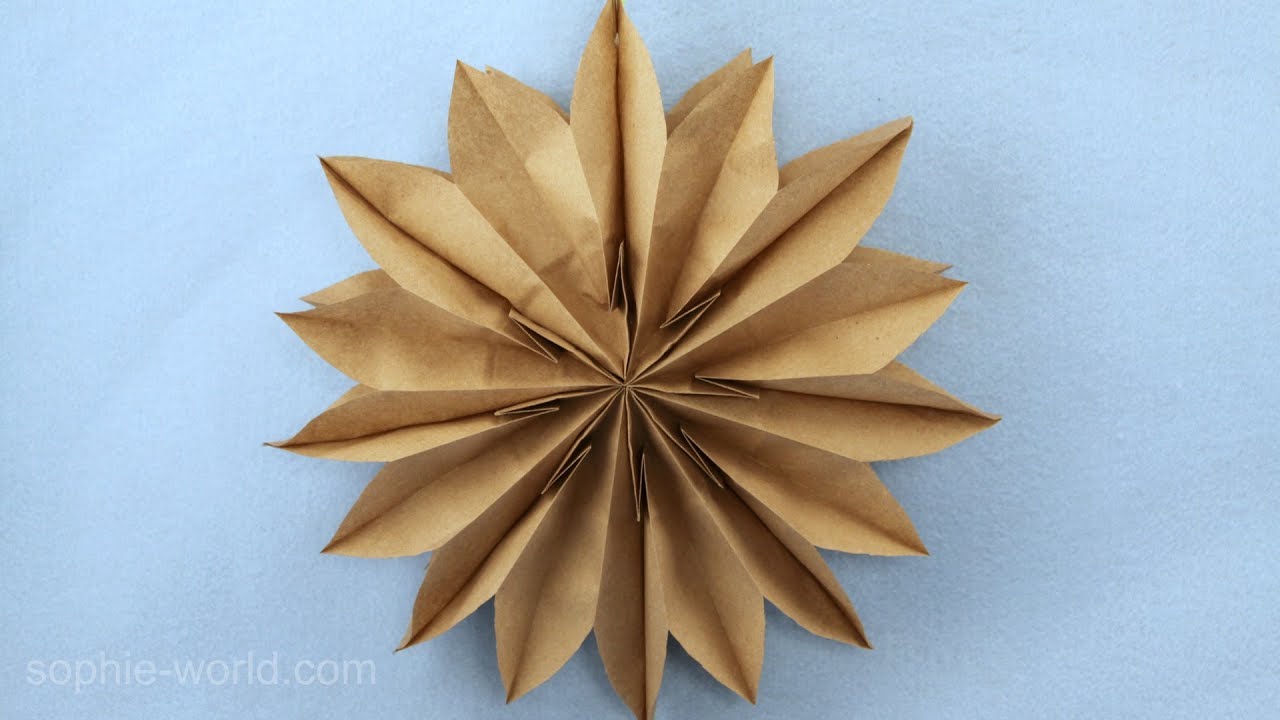
Next up, we get to cut out our snowflake design! Now, if your scissors aren't extra sturdy or if the stack just feels a little too thick to comfortably cut at once, you can just cut half the stack at a time. Start your cut in the middle of the top side like this; and you can cut a straight or a curved line. Then make a similar cut on the opposite side like this. Now these cuts don't have to be perfectly the same. Any small differences will just make it unique and add a little character.
Next up, I'm going to make small, triangular cuts on each side here. Feel free to follow your heart and experiment with different shapes or sizes of cuts here, though. Just like real snowflakes, it's fun for each of these projects to be unique and a little different.
Now, I'm going to go through quickly and make sure that I didn't accidentally glue more than one side of a bag to the next bag. Each bag should still be able to open like this. But if a little extra hot glue got in the wrong place and made it so the bag can't open, you can gently pull it apart just like this.
All right now let's see what this is going to look like! Isn't that beautiful?
Our final step is to glue this so it stays open. I want to be able to hang my snowflake so I'm going to cut a length of twine. Feel free to customize your twine length here. I'm cutting mine about 24 inches long. I want a generous loop at the top and also to have the twine ends go about halfway down the lunch bag so that the snowflake is well supported after I hang it. Then I'm putting a line of hot glue at the bottom like we have been doing, and a line up the middle. Once I get to the twine, I'm going to zigzag across the twine with the hot glue and then also make sure the hot glue gets between the two pieces of twine, as well. You could also do a line of hot glue up the entire bag, lay your twine down, and then do your zigzagging on top of the twine. But I didn't think of that before I made mine and it did still turn out pretty great. Now for the final step, I'm going to quickly slip my hand in this last bag on this side, then put my other hand in the last bag on this side, and then squish them closed like this making sure that every part that has hot glue on it gets firmly pressed together. And voila! Our beautiful snowflake is finished and ready to be part of my festive holiday decor!
We'd love to hear in the comments if you made your own paper bag snowflake! Thanks so much for joining and happy holidays!
Learn more at: https://thelosc.org/
Find our Libraries of Stevens County KIDS! channel here: / librariesofstevenscounty

Доступные форматы для скачивания:
Скачать видео mp4
-
Информация по загрузке: