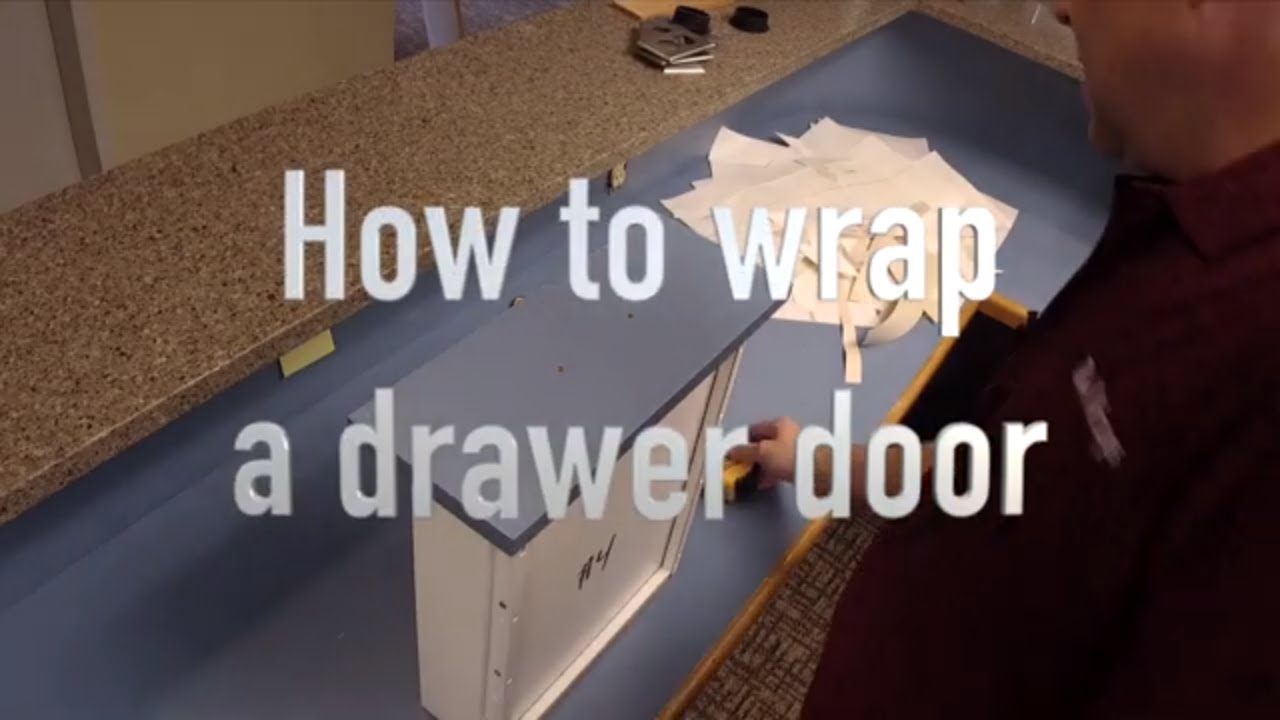
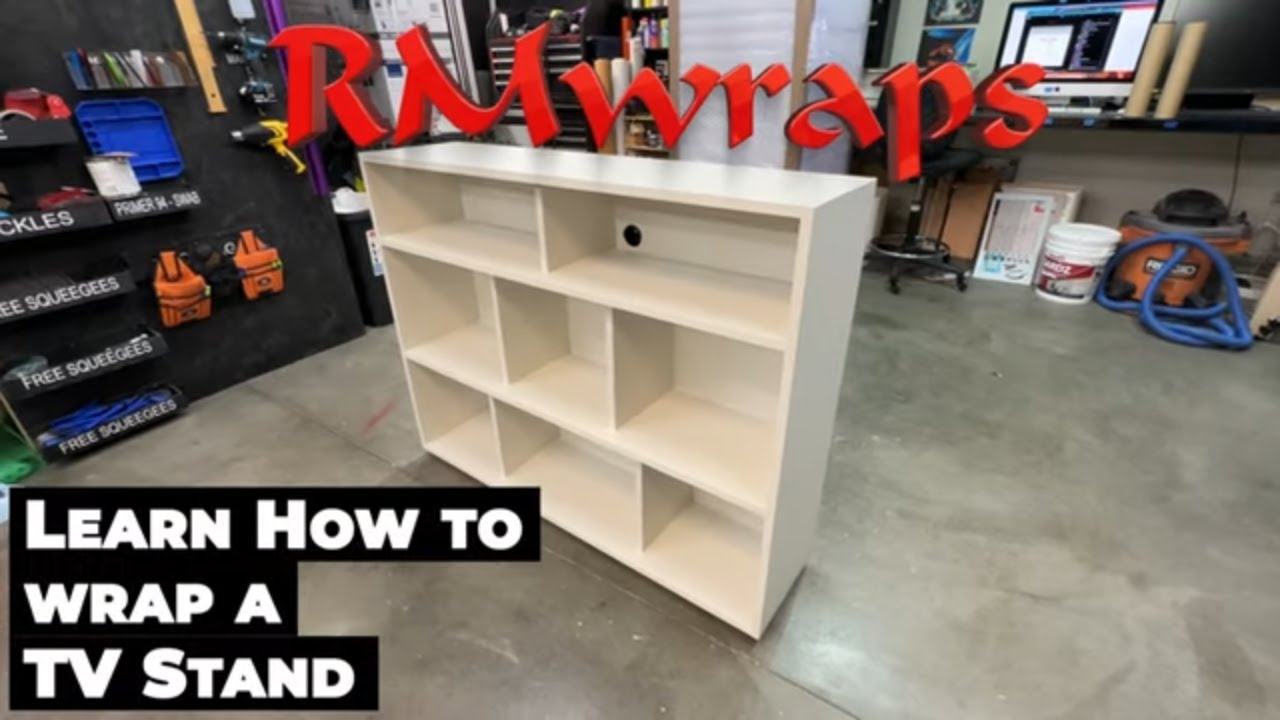
DIY Cabinet Wrapping Made EASY With Architectural Film
Автор: Rm Wraps LLC
Загружено: 2023-03-24
Просмотров: 9040
In this video, Randy Miller from RM Wraps walks you through the step-by-step process of wrapping a custom-built cabinet using Di-Noc Architectural Film. Learn expert techniques, including surface preparation, precise vinyl cutting, and seamless application to achieve a professional, durable finish.
What You’ll Learn:
✅ How to properly prep surfaces for vinyl wrapping
✅ Techniques for cutting and measuring Di-Noc film
✅ How to apply and smooth vinyl without bubbles or wrinkles
✅ The importance of post-heating for long-lasting adhesion
✅ Tips for wrapping complex areas like cubby holes and corners
Architectural films provide a durable, easy-to-clean alternative to painting, making them ideal for cabinets, furniture, and other surfaces. If you’re interested in trying out Di-Noc films, check out RM Wraps Store for materials, tools, and custom design options.
Here's a link to see the materials or patterns that Rm wraps have.
https://www.rmwrapsstore.com
Key Techniques and Steps
1. Prepping the Surface
Uses MDF boards for a strong and long-lasting structure.
Filling holes & sanding:
First, applies spackle to fill gaps.
Uses putty (Bondo) for additional smoothing.
Sands with 220-grit sandpaper for a smooth finish.
Primer 94 application: Applied only to the edges where the vinyl needs extra adhesion.
2. Cutting and Measuring Vinyl
Adds extra 1-inch bleed on all sides to ensure full coverage.
Uses a Bodyguard knife to separate the vinyl from the backing while leaving a "tacking-on strip."
Folds the vinyl to create an easier application process.
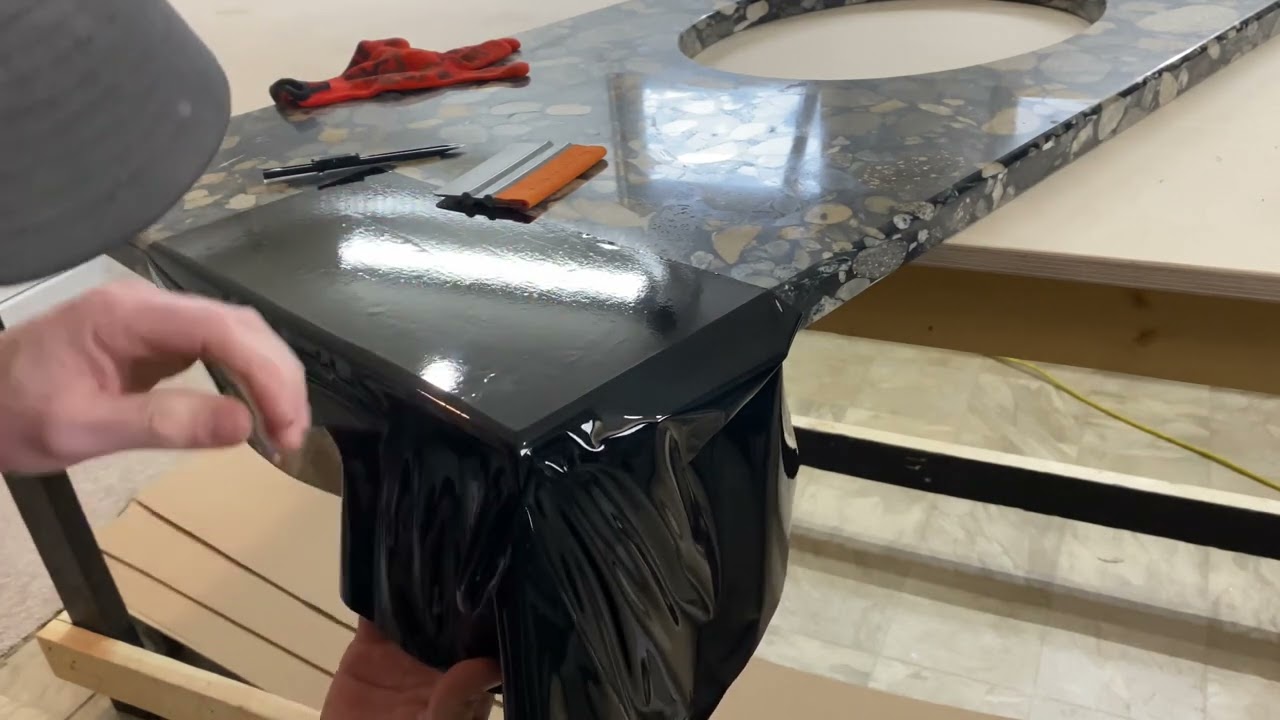
3. Installing the Vinyl
Applies the vinyl by first securing the center tacking-on strip, ensuring level placement.
Uses architectural film squeegee to press the vinyl into corners.
Cuts 45-degree angles at corners to help with wrapping.
Uses a 1/8-inch gap method to tuck vinyl into edges for a seamless look.
4. Handling Corners & Edges
Uses heat gun for post-heating, which activates adhesive and relaxes vinyl.
Employs squeegee and sanding techniques instead of cutting to avoid damaging surfaces.
Double-cuts where necessary to achieve smooth seams.
5. Final Touches & Post Heating
Post-heats all wrapped sections to finalize adhesion.
Uses 320-grit sandpaper to trim excess vinyl instead of cutting.
Wipes everything down for a clean, professional finish.
Why Use Architectural Films?
Durability: Resists scratches, scuffs, and peeling.
Easy Maintenance: Simple to clean, unlike painted surfaces.
Repairability: If damaged, a new piece can be applied in minutes.
Aesthetics: Provides a modern, high-end look.
Rm wraps Architectural Films squeegees - made for the films
https://www.rmwraps.com/shop-products...
List of more videos you can watch:
How to Measure Your Kitchen Cabinet for Wrapping Rm wraps
• How to Measure Your Kitchen Cabinet for Wr...
How to wrap a ceiling in a Di-Noc Architectural film Wood grain pattern Rm wraps
• How to Wrap a Ceiling using 3M Di-Noc Arch...
Di-Noc Desk wrap Architectural Film vinyl
• See a wrapped desk using 3M Di-Noc Archite...
Repairing damage Architectural Films Di-Noc
• How to Seamlessly Patch Vinyl or Wood Grai...
Di-Noc Architectural film How to install a Reception Desk Wrap
• 3M Di-Noc Architectural film How to instal...
How to Wrap an Elevator Door & Trim - Di-Noc Architectural Film (Las Vegas 2018)
• How Randy Wraps an Elevator Door & Trim us...
Architectural films Luxury Kitchen Cabinetry Wrap
• Architectural films Luxury Kitchen Cabinet...
Kitchen Cabinet Wrap end side Di-Noc Rm wraps - Architectural Films
• How to wrap a Kitchen Cabinet end side usi...
How to wrap a Door using Di-Noc Architectural films
• Step-by-Step Guide: Wrapping a Commercial ...
Luxury Kitchen Cabinetry Wrap Showing Off Rmwraps.com
• Transforming Luxury Kitchen Cabinets with ...
#rmwraps #dinoc #ArchitecturalFilms
Chapters:
0:00 Intro
01:09 Film vs paint
03:05 Material and tools
07:45 installing Spacer
14:50 Installing Shelf
19:23 Installing inside back wall
24:43 Installing the inner side wall
28:31 Back and sides walls
29:30 Sanding edges tip.
36:13 Ending
Randy Miller
208-696-1180
Email: info@rmwraps.com
Custom Wraps: https://www.rmwraps.com
Architectural Film Store: https://www.rmwrapsstore.com/
Social Media
TikTok: / rmwrapsllc
Pinterest: / rmwraps
Youtube channel: / rmwraps1
Main Youtube channel: / @rmwrapsllc
Instagram: / rmwraps
Facebook page: / rmwraps
Доступные форматы для скачивания:
Скачать видео mp4
-
Информация по загрузке: