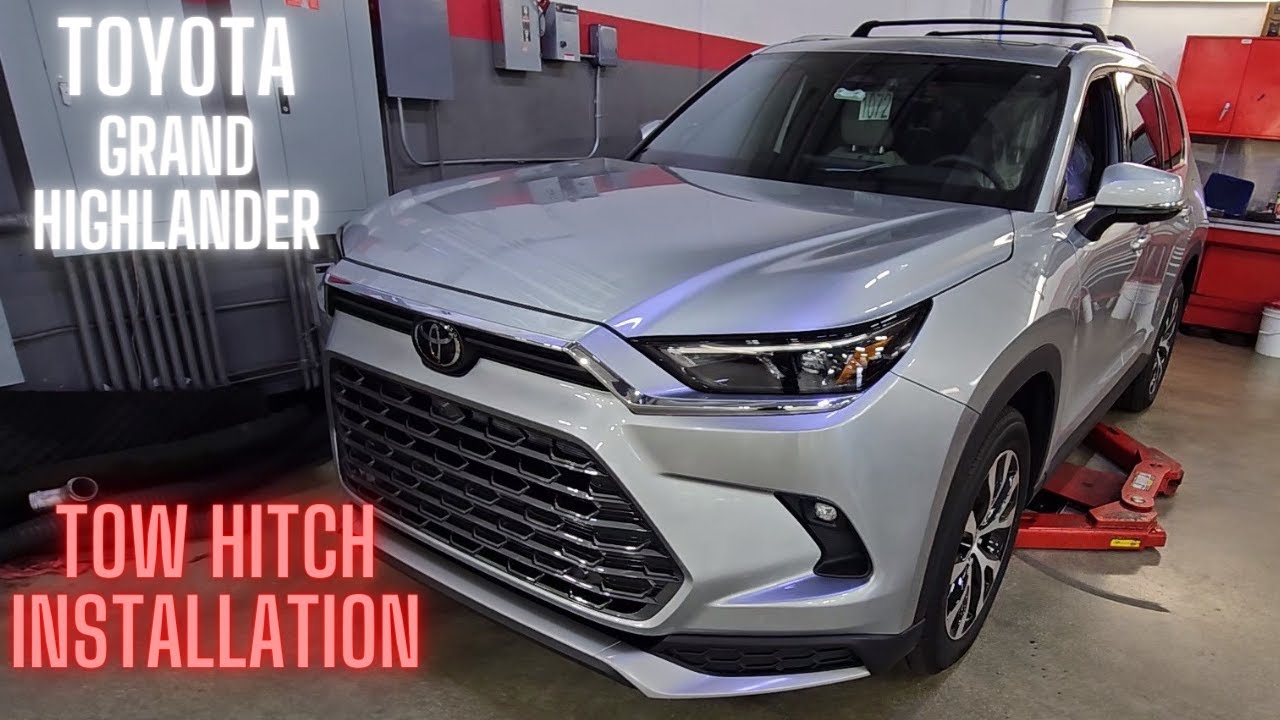
etrailer | Mount: Curt Trailer Hitch Receiver on a 2019 Toyota Highlander
Автор: etrailer
Загружено: 2019-05-30
Просмотров: 26686
Click for more info and reviews of this CURT Trailer Hitch:
https://www.etrailer.com/Trailer-Hitc...
Check out some similar Trailer Hitch options:
https://www.etrailer.com/fitguide.htm
Search for other popular Toyota Highlander parts and accessories:
https://www.etrailer.com/vehicle/2019...
https://www.etrailer.com
Don’t forget to subscribe!
/ etrailertv
Full transcript: https://www.etrailer.com/tv-install-c...
Rob: Rob here at etrailer.com and today you're going to be taking a look at the Curt Class 3 Custom Hitch Trailer Hitch Receiver on our 2019 Toyota Highlander.Here's what the hitch is going to look like once we have it installed. Now you can see it's got a really nice appearance because the cross tube's going to be pretty much hidden all the way across. We'll have a little bit hanging down, but the main thing we're going to see is that receiver tube sticking out. So, it's not going to be distracting from the looks of our Highlander.Our Hitch is going offer us a 2" x 2" receiver tube opening, and we're going to have a really wide variety of options when it comes to the accessories we can mount up. Whether we want to go on a bike ride, want to carry some bikes, we're not going to have to worry about taking multiple vehicles because the hitch will be able to handle up to four or five bikes. Or if we're going camping we want to throw a cargo carrier on there and not dirty the inside of Highlander, it's going to be a really great way to transport all that stuff.
Or even possibly throw a ball mount in there to tow a trailer. Now the way we're going to mount any of our accessories is the hitch pin hole here on the side.It is going to accept a standard 5/8 pin and clip. Now these are not included with the hitch, but you can pick them up here at etrailer.com along with some locking devices to make sure your accessories are secure. Now if we're towing a trailer we got to have a spot to hook up our safety chains, and our connection point is going to be a loop style row to the bottom of receiver tube and you can see we have plenty of room to get most sized hooks on or off.Obviously, if you're looking a hitch you want to make sure that it's going to up to the task that we put it to. As far as the weight capacity goes our hitch is going to have a 500 pounds tongue weight.
That's the maximum downward force to the receiver tube. Like I said before this is going to be great for some of those larger cargo carriers or some of those larger bike racks as well. Now as far as the gross trailer rate rating on our hitch it's going to 5000 pounds, that's how much our hitch can pull, including the trailer and everything we have loaded on it. But you always want to double check your Highlander's Owners Manual because you don't want to exceed the manufacturers recommended weight.I'd like to give you a few measurements, and these are going to help you when you're looking for accessories for your new hitch, like a ball mount, a bike rack, or even a cargo carrier. The center of the hitch pin is almost going to be even with the outer most edge of the bumper.
But our receiver tube is going to stick out about 2 1/2". Just to give you a reference point it's not going to stick out that much, and we're not going to have to worry about hitting our leg unless we're extremely close to the vehicle to begin with. From the ground to the inside top of edge of the receiver tube opening it'll be right about 17". That measurements going to help you when you're looking for a ball mount, so you can find the appropriate riser drop to match up to your trailer.Now that we've seen what our hitch looks like and gone over some of the features let's put it on together. To begin your installation we're going to have to prep our Highlander.
We're going to have to remove a few things so we can get the hitch in place. I'm going to come over the passenger side, the very bottom of our fascia I already marked out the area that needs to be trimmed. We're going to have this air deflector right above the muffler here, we're going to want to trim that off so it's nice and even with the back of the bumper. Now when you go to trim this you can use a few different things. You can use a pair of tin snips, a razor knife or whatever you have available. You just want to be careful. We only want to trim the section below. We don't want to go into the outside.I'm going to be using a rotary tool just to make it a little quicker and a little bit cleaner cuts. And we can always come back and clean a little excess plastic off with a razor knife or we can just pick off the plastic, make sure it's nice and clean. Now, on the drivers side we're going to have this plastic panel, it's going to be on the bottom. It's going to be covering up the frame rails we're going to have to pull it out. Now, if we come along the edge we're going to h

Доступные форматы для скачивания:
Скачать видео mp4
-
Информация по загрузке: