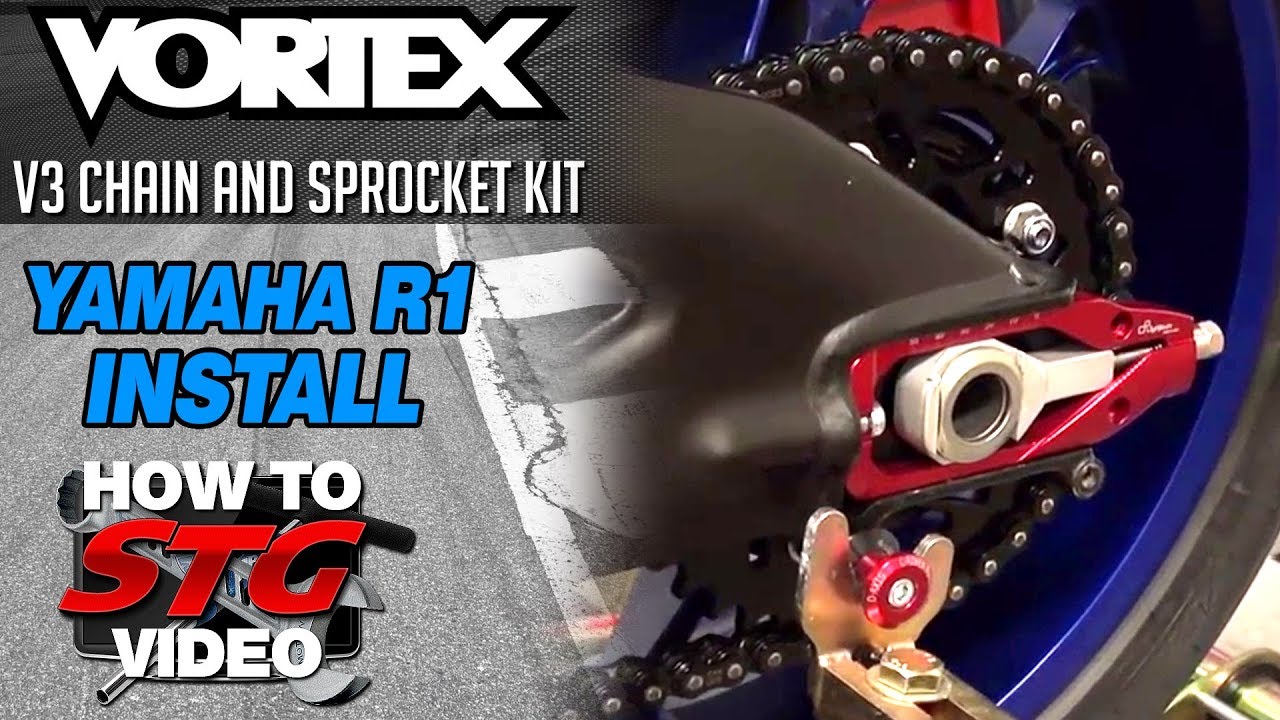
HOW TO INSTALL EK 520 CHAIN & Vortex SPROCKET - YAMAHA R1 | First Ride w/ -1 Front| Master Link FAIL
Автор: FastLaneD
Загружено: 2020-11-19
Просмотров: 16335
My Camera Gear 📸--
DJI Mavic Air 2 Drone: https://amzn.to/3lhByst
Sony a6400 Camera: https://amzn.to/2GKA2Qs
Rode Mic: https://amzn.to/2GPG4PY
GoPro Hero 9: https://amzn.to/36kM7Vo
GoPro Hero 8: https://amzn.to/2JIVBlx
GoPro Hero 7: https://amzn.to/3eVsoj7
-My Helmet Gear 🧠-
Icon Airflite Motoradd Chin Mount: https://amzn.to/3kaF2LW
Helmet Mohawk/Warhawk: https://amzn.to/3lmZ0ok
Sena Headset: https://amzn.to/2IppG8Z
Helmet Mic: https://amzn.to/35kF1B7
-Yamaha R1 Parts ⚙️-
Yellow Headlight Bulbs: https://amzn.to/338ezJs
Toce Exhaust: https://amzn.to/36mzc57
Chain: https://amzn.to/3naZDlb
Rear Sprocket: https://amzn.to/3eLBTkt
Front Sprocket: https://amzn.to/2U9SYLt
Bar End Mirror: https://amzn.to/3peAd83
ASV Shorty Levers: https://amzn.to/3eLb0gK
Lithium Battery: https://amzn.to/35i5grP
Tire Stickers: https://amzn.to/2GKEizq
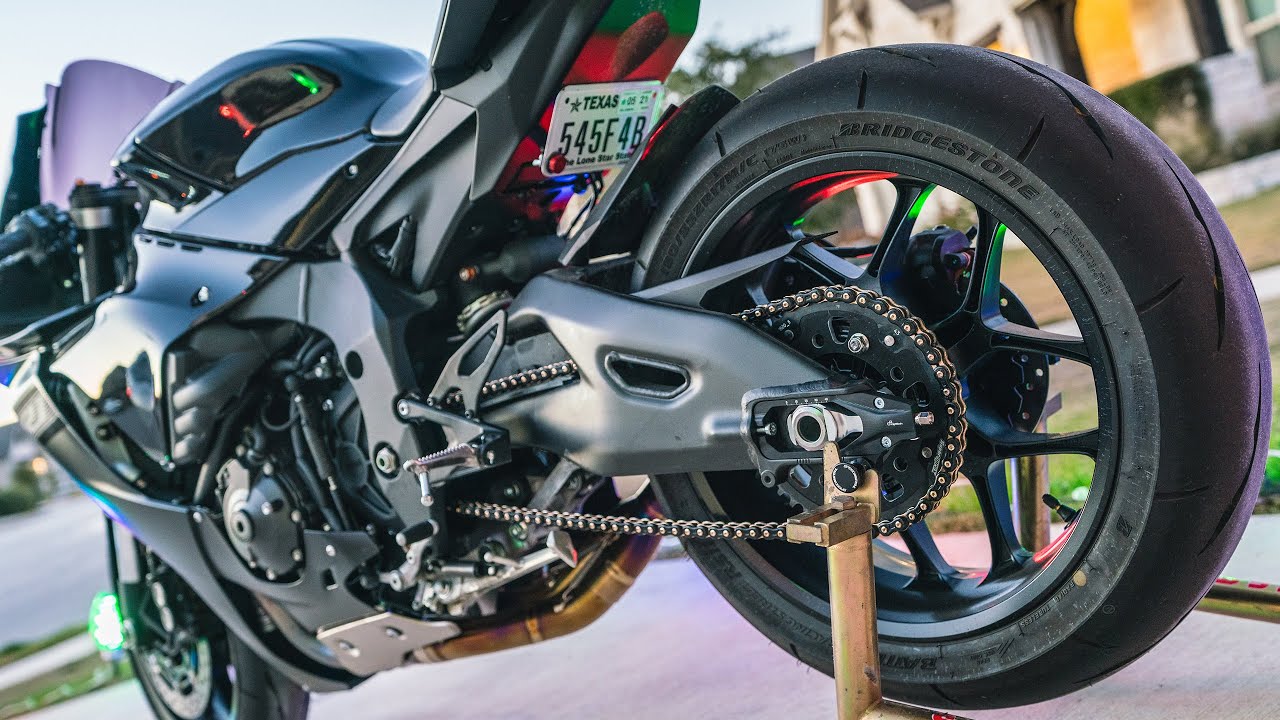
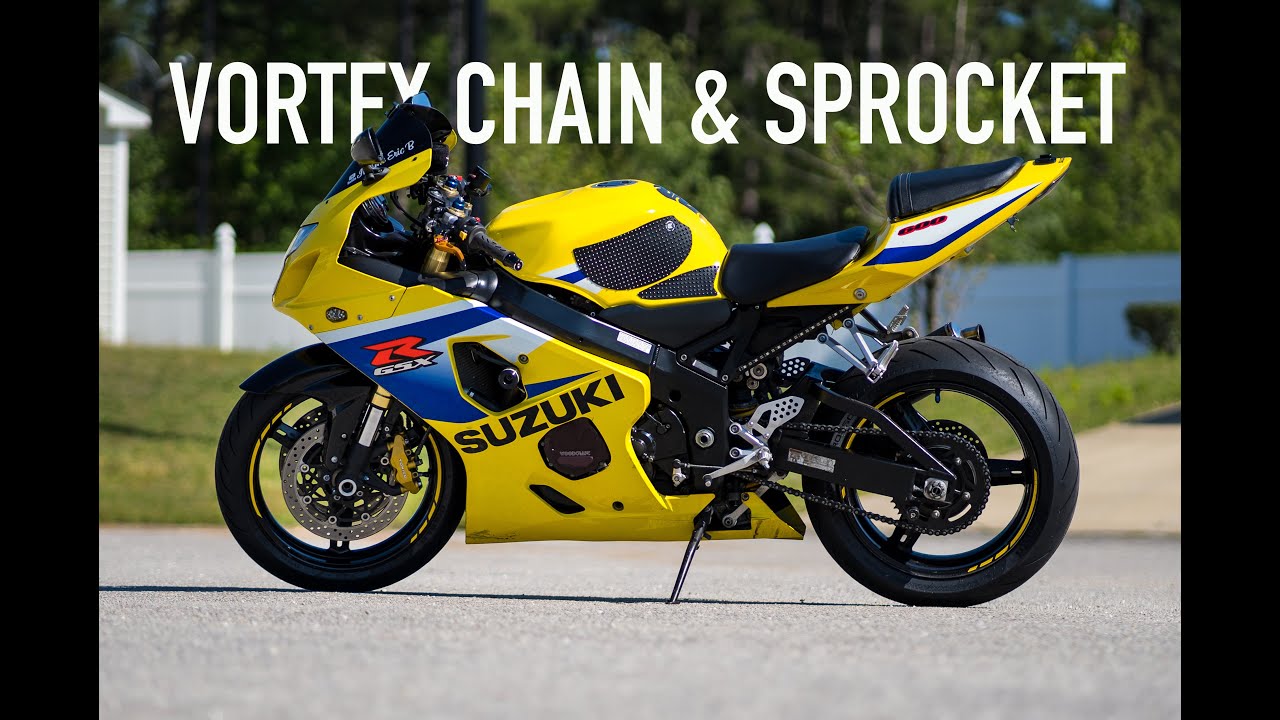
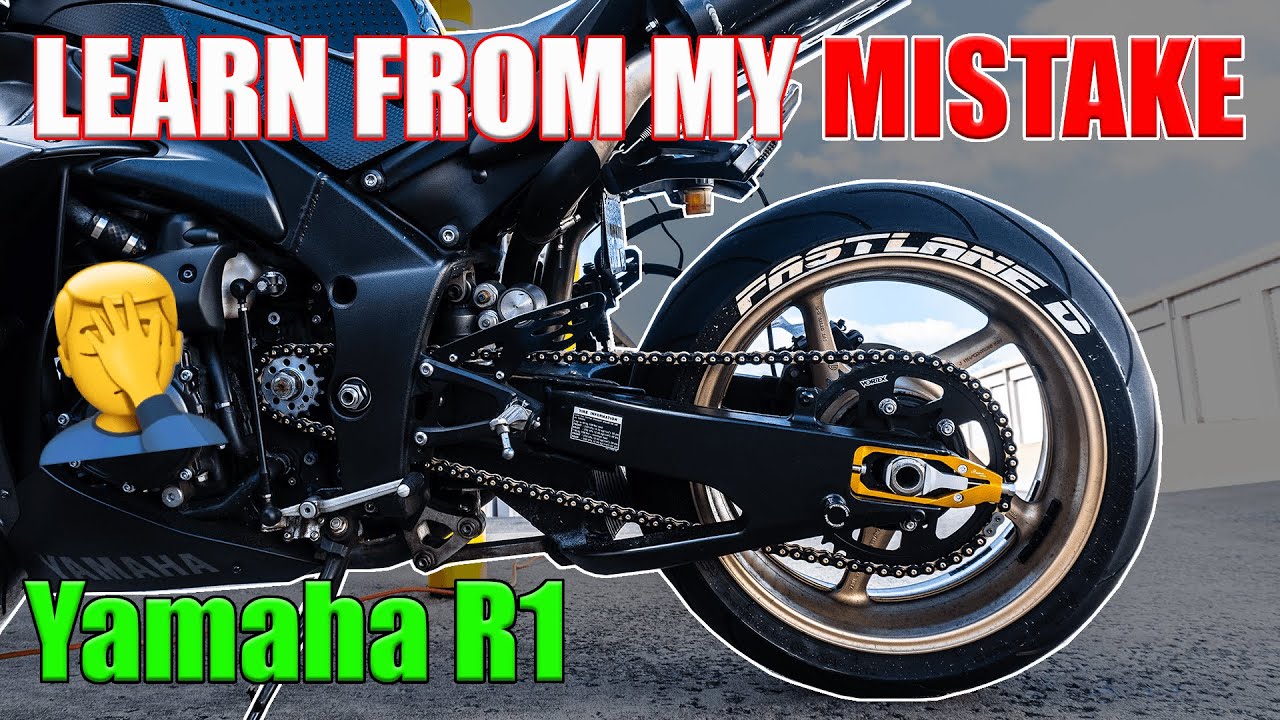
In this video I install an EK 3D 520 Chain and Vortex sprockets on my 2014 Yamaha R1. I had to replace my chain due to it falling off while I was doing a wheelie. If you have not watched that video make sure you check that out first! I decided to go down a tooth (-1) on the front sprocket to increase acceleration. I don't need the top end speed on this bike...and its probably safer if I reduced it a little to be honest.
I have not done this in awhile so I was a little rusty, but I want you all to learn from my mistakes. Removing the rear wheel, sprockets, etc were all pretty straight forward (except I had to use an impact gun to remove the front sprocket becuase I did not have the chain on the bike; if you still have your chain on the bike, have someone stand on the rear brake as you use a breaker bar to loosen the front sprocket; DONT use your transmission to do this otherwise you'll damage it). However, when I went to install the the master link this is where I started running into some issues. After lubing pressing the new plate on, I over riveted the master link causing it to break. I overnighted two new master links from Revzilla because I needed the bike for a trip I was taking that weekend and Revzilla accidentally sent me the incorrect parts (dont worry, they made it right! Shoutout to Revzilla). This led to me having to go to a local shop and buy a generic master link for a 520 chain. This is not recommended, but it got me through the weekend safely (praise the lord).
After talking with a few certified mechanics, I learned that after you press the plate on the masterlink, measure it using calipers to make sure its the same width as the rest of the chain, and then rivet the master link by just turning your wrench half a turn. Thats all you need! Dont over-rivet it or you'll end up in the same stressful situation I was in! I'd recommend purchasing spare master links from the beginning if this is your first chain install.
Доступные форматы для скачивания:
Скачать видео mp4
-
Информация по загрузке: