etrailer | How to Set Up Your Curt T-Connector Vehicle Wiring Harness - 2024 Jeep Grand Cherokee 4xe
Автор: etrailer
Загружено: 2025-07-21
Просмотров: 128
Click for more info and reviews of this CURT Custom Fit Vehicle Wiring:
https://www.etrailer.com/Custom-Fit-V...
Check out some similar Custom Fit Vehicle Wiring options:
https://www.etrailer.com/fitguidet1.htm
Search for other popular Jeep Grand Cherokee 4xe parts and accessories:
https://www.etrailer.com/vehicle/2024...
https://www.etrailer.com
Don’t forget to subscribe!
/ etrailertv
Full transcript: https://www.etrailer.com/tv-install-c...
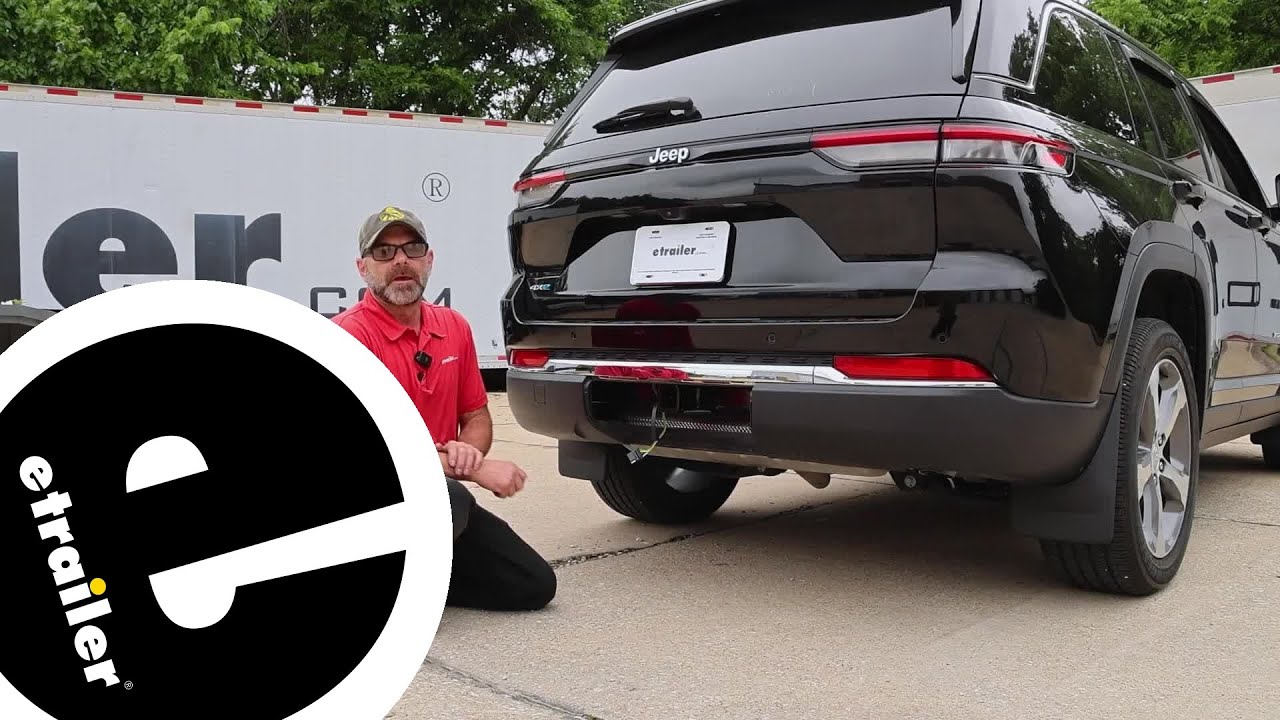
Hi, this is Scott with Etrailer. Today we're taking a look at and installing our Curt 4 Pole wiring for 2024 Jeep Grand Cherokee 4xe. All right, if you ever plan on pulling a trailer down the road with your Jeep, you're gonna need some type of wiring and this is gonna help you keep your trailer legal while you're going down the road. It's gonna give you all the signals you need. It's gonna give you your brake signal, your taillight signal, and your left and right signals. One of the things I really like about this one is, is say you're done towing with it and you just want to get everything put away.
This system is not gonna take away from the look of your vehicle at all. So all you have to do is tuck your wire up underneath it there and you can take your cover and pop your cover back on and that's gonna hide it away and you're not even gonna see the hitch or the wiring or anything at all. Plus it's also gonna help protect your wiring 'cause it keeps it outta the elements. So all in all, this is a really quality wiring setup for your Jeep, if you have any questions or comments about this setup, you can always leave a comment below. We'd love to hear from you.
As far as installation goes, it's really not too bad, especially if you're doing a hitch at the same time. I usually recommend if you're putting a hitch on, you might as well go ahead and do the wiring because it's easier to do with the fascia all off. Now if it's something you don't have time to do yourself, you can always take a look at our dealer locator and get something done for you locally. If it's something you feel like doing yourself, stick around, watch our video and we'll help you get it installed. Now to begin our installation, we're gonna have our hatch open and we're gonna need to get our taillights out.
Now we just want to get behind our little plastic panel and these are just gonna pull straight out. We're gonna have these two little clips, just pull those out and out of the way and we'll do that on both sides. Now to get our taillights removed, we're gonna take a T-30 star bit and just back out the screws for those. And once we have that out, just pull out to the side of our taillight and carefully pop that out. And once we have that out, pull back this red tab, push down on the black tab just in front of that, pull that out.
Now we can move our taillight assembly out of the way and we'll do the same thing on the passenger side. Now on the back of our fascia, we're gonna have this little plastic cap. We just want to get behind that with our plastic trim panel. And behind that, we're gonna have a 10 millimeter bolt. So get that removed. (tool buzzing) Now for this installation, we are taking the fascia off because we do have some more installations to do at the rear of our vehicle. Now this is something you can do by just going through the areas where our taillight housings are. You can fish your wires up through there, so don't worry that you have to take the whole fascia off to do this. It just makes it a little bit easier to be able to show you guys how we're getting this done. Now, behind each one of our fender wells, we're gonna have some eight millimeter screws we're gonna need to remove, (tool buzzing) and ours has the mud flaps, it's just gonna be the same procedure. Now underneath of our fascia, we're gonna have four 10 millimeter bolts. (tool buzzing) And now we can remove our hitch access panel off the rear as well. Now we need to get our trim pulled back and outta the way. All we're gonna do is just get our fingers down below it and carefully pull back on it and just work our way up. And there may be some little white clips behind there. If you just pinch those together, it makes 'em a lot easier to pop out, the little green ones you see, you're just gonna have to pull those out. And the main thing we want to do is get to this 10 millimeter bolt behind here. Now if this little clip pops off and it looks like that behind there, don't worry about that. You can get behind this with a trim tool, pop this back out and it'll slide back in this spot right here. Now that we have our trim pulled back, all we're gonna do is just put a rag or a paper towel back behind here and that's gonna hold that back so we can get at our 10 mil
Доступные форматы для скачивания:
Скачать видео mp4
-
Информация по загрузке: