This Took 8 Steps… But Look at the Result!
Автор: Dusty Workbench Art
Загружено: 2026-01-24
Просмотров: 124
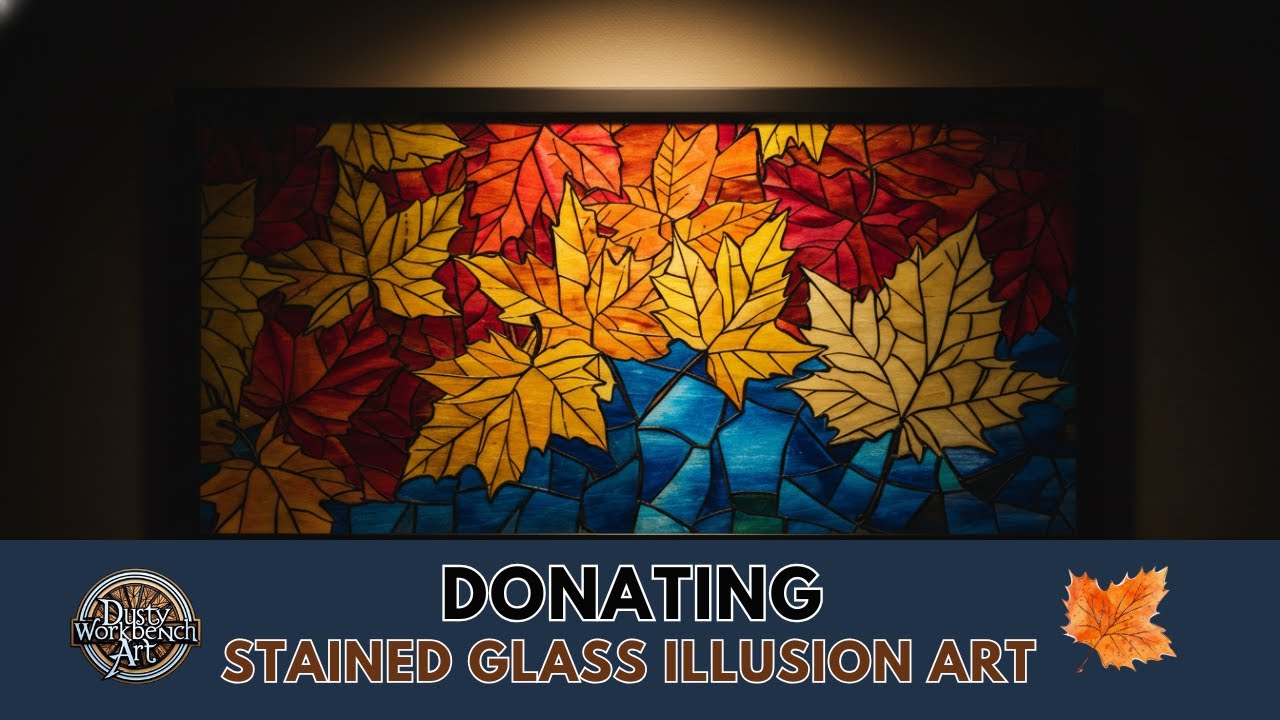
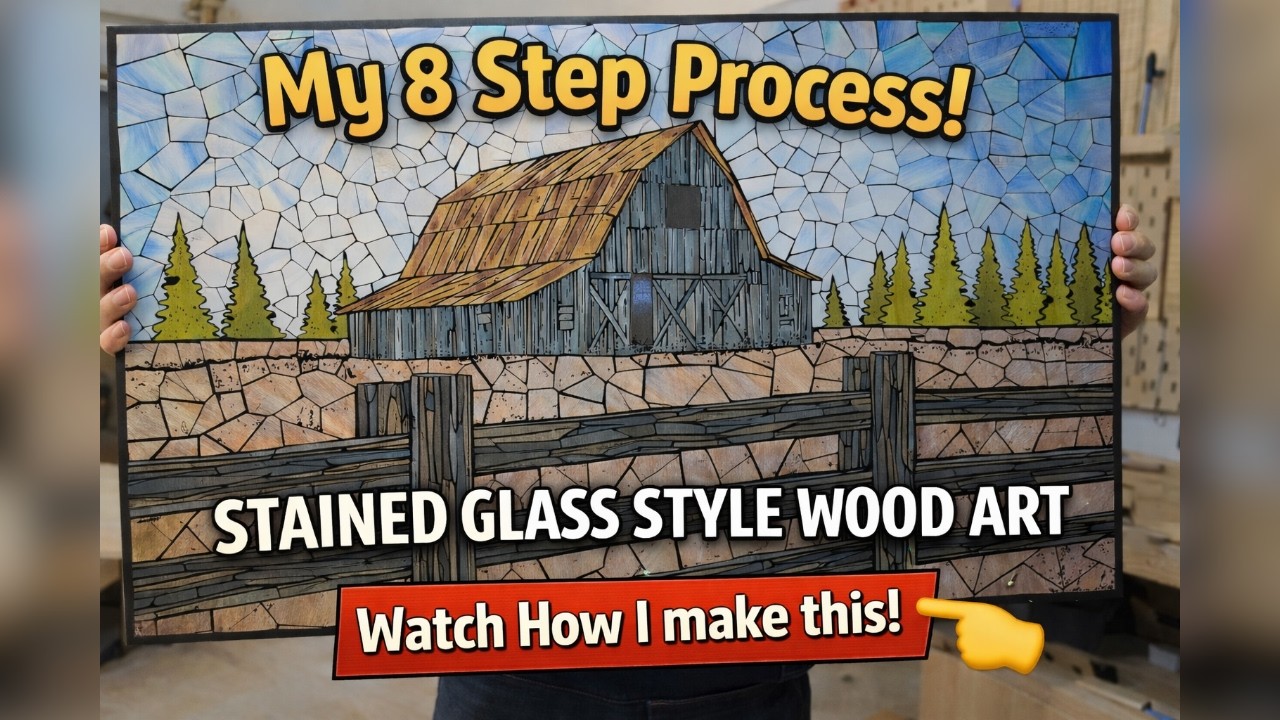
In this video I walk through my full 8-step process for creating my stained glass style wood art, using this rustic barn and old fence scene as the example.
I get a lot of questions about how these pieces are designed, cut, colored, assembled, and finished, so instead of just showing the final artwork, I decided to show the entire workflow from start to finish:
Design & concept
Image preparation and editing
LightBurn setup
Laser cutting
Transferring and layout
Staining and coloring
Gluing and assembly
Clear coat and final presentation
This “stained glass illusion” style is made entirely from wood, using a CO₂ laser, layered pieces, and hand-applied color to create the look of leaded glass.
If you’ve ever wondered how these are made, or you’re a laser owner looking for new artistic approaches, I hope this video answers a lot of those questions.
Let me know in the comments which step you found most interesting, and what you’d like to see broken down in more detail in future videos.
Some Affiliate links:
B7000 Glue: https://amzn.to/4r9BjRJ
Resin Pigment: https://amzn.to/4q2kx65
Thanks for watching
Paul
#dustyworkbenchart #artprocess #lightburn #lasercutting #co2laser
Доступные форматы для скачивания:
Скачать видео mp4
-
Информация по загрузке: