How to Replace the Encoder Strip on an Epson L805 Printhead | Step-by-Step Guide
Автор: Technical support
Загружено: 2024-08-14
Просмотров: 1469
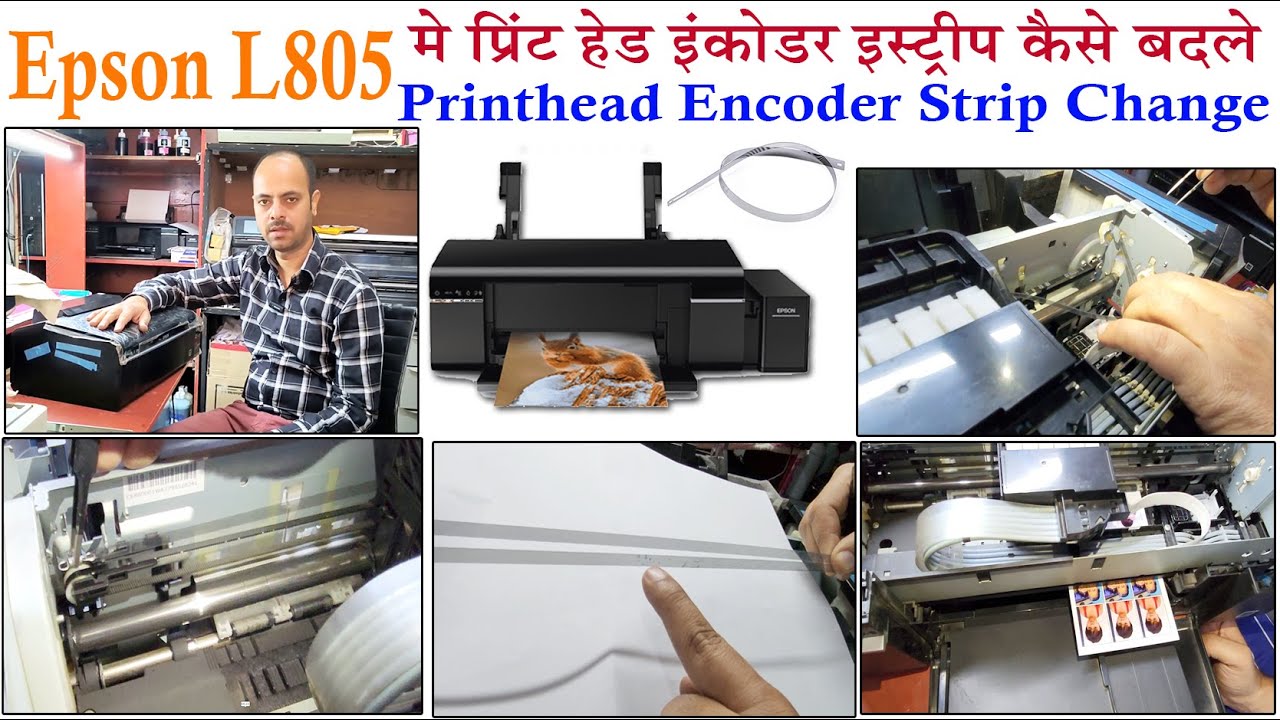
How to Replace the Encoder Strip on an Epson L805 Printhead | Step-by-Step Guide
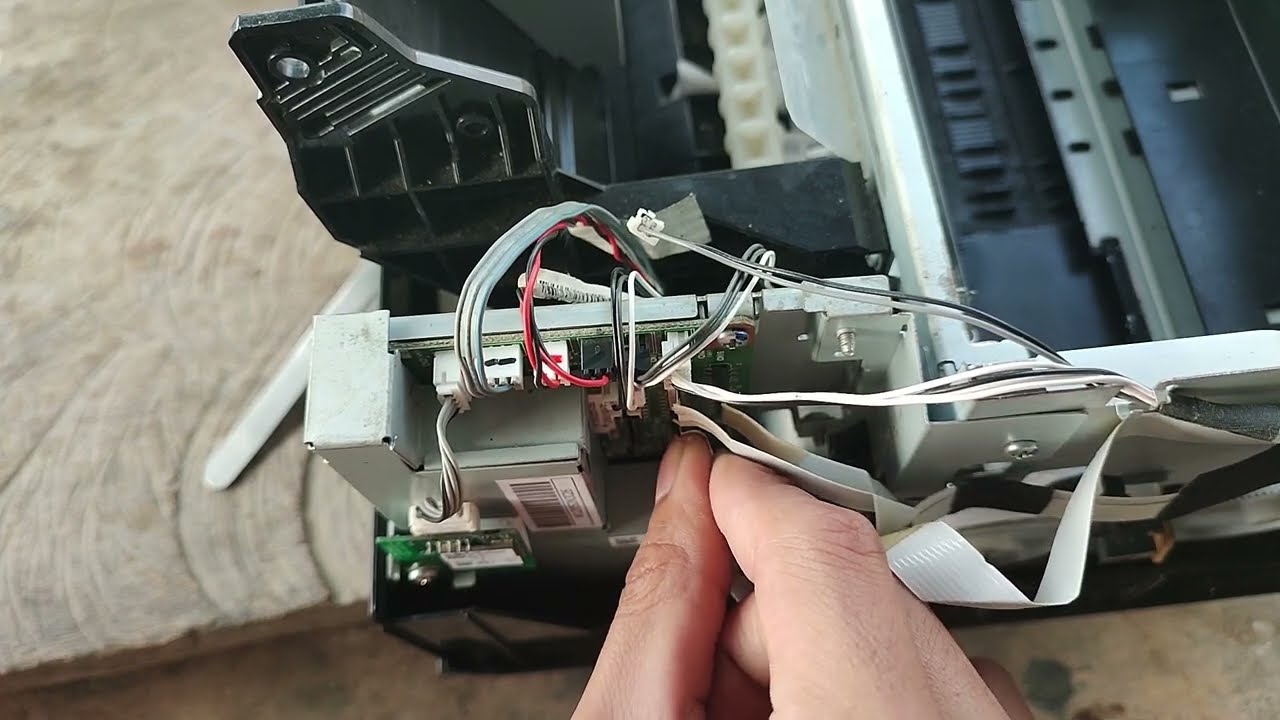
In this video, we'll show you how to replace the encoder strip on an Epson L805 printer. The encoder strip is a crucial part of the printhead mechanism, and over time, it may become dirty, damaged, or misaligned, causing printing issues. Follow along with our step-by-step guide to ensure a smooth and precise replacement.
What You'll Learn:
Tools needed for the job
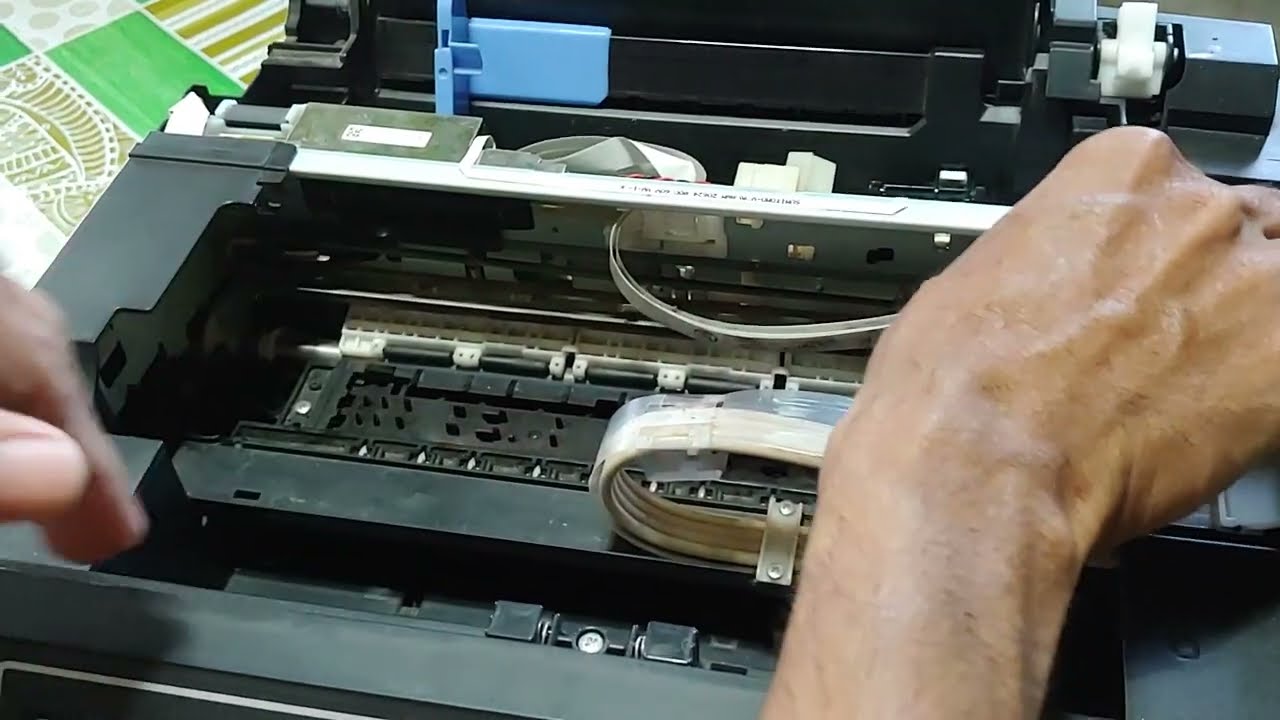
How to safely remove the old encoder strip
Cleaning tips to ensure accurate installation
Proper alignment and installation of the new encoder strip
Troubleshooting common issues after replacement
Why Replace the Encoder Strip?
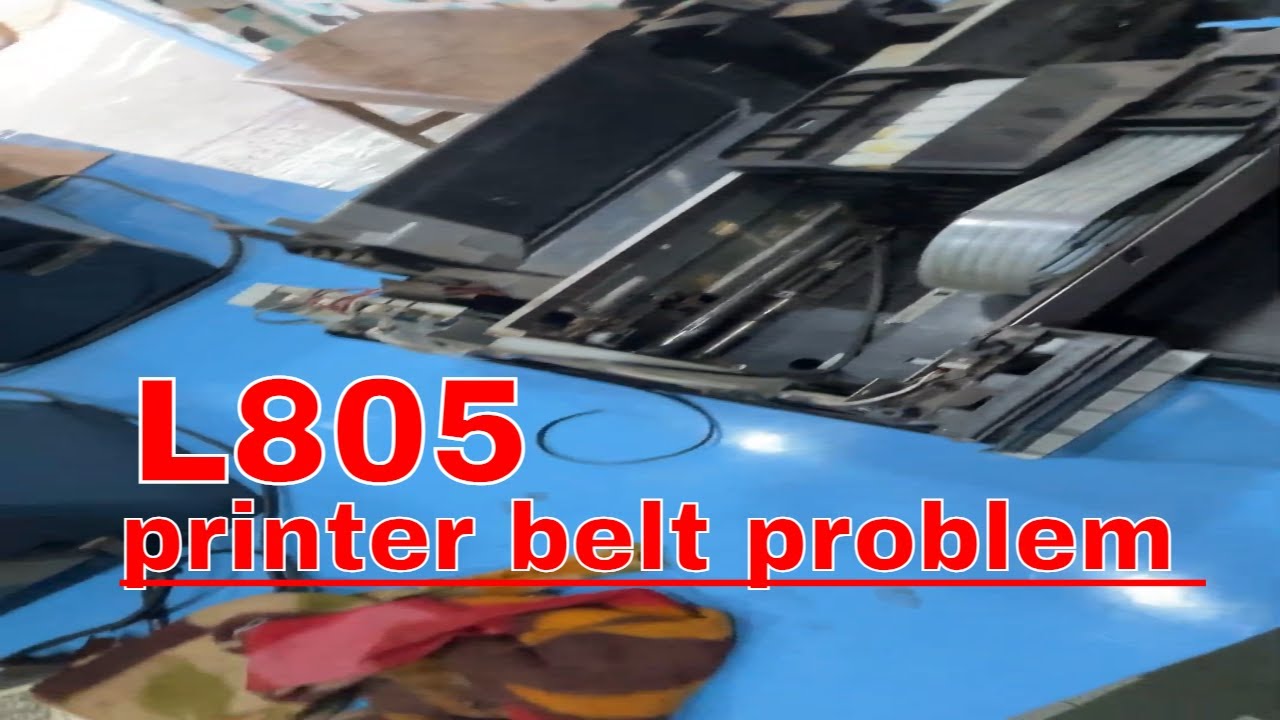
A faulty encoder strip can lead to misaligned prints, streaks, or even printer errors. Replacing it can restore your printer's performance to like-new condition, ensuring sharp and accurate prints.
Tools Required:
Small screwdriver
Tweezers
Cleaning solution (isopropyl alcohol)
Replacement encoder strip (specific to Epson L805)
Important Tips:
Always power off and unplug the printer before beginning.
Handle the encoder strip with care to avoid any damage or contamination.
Chapters:
0:00 Introduction
1:15 Tools Needed
2:45 Removing the Old Encoder Strip
5:20 Cleaning the Encoder Strip Area
6:50 Installing the New Encoder Strip
10:30 Aligning and Testing the Encoder Strip
12:00 Troubleshooting and Final Thoughts
Related Videos:
Epson L805 Printhead Cleaning Tutorial
How to Align Epson L805 Printhead
Epson L805 Maintenance Tips
If you found this video helpful, please like, share, and subscribe for more printer maintenance tutorials!
#EpsonL805 #PrinterMaintenance #EncoderStripReplacement #DIYPrinterRepair #EpsonPrinter #PrintheadFix

Доступные форматы для скачивания:
Скачать видео mp4
-
Информация по загрузке: