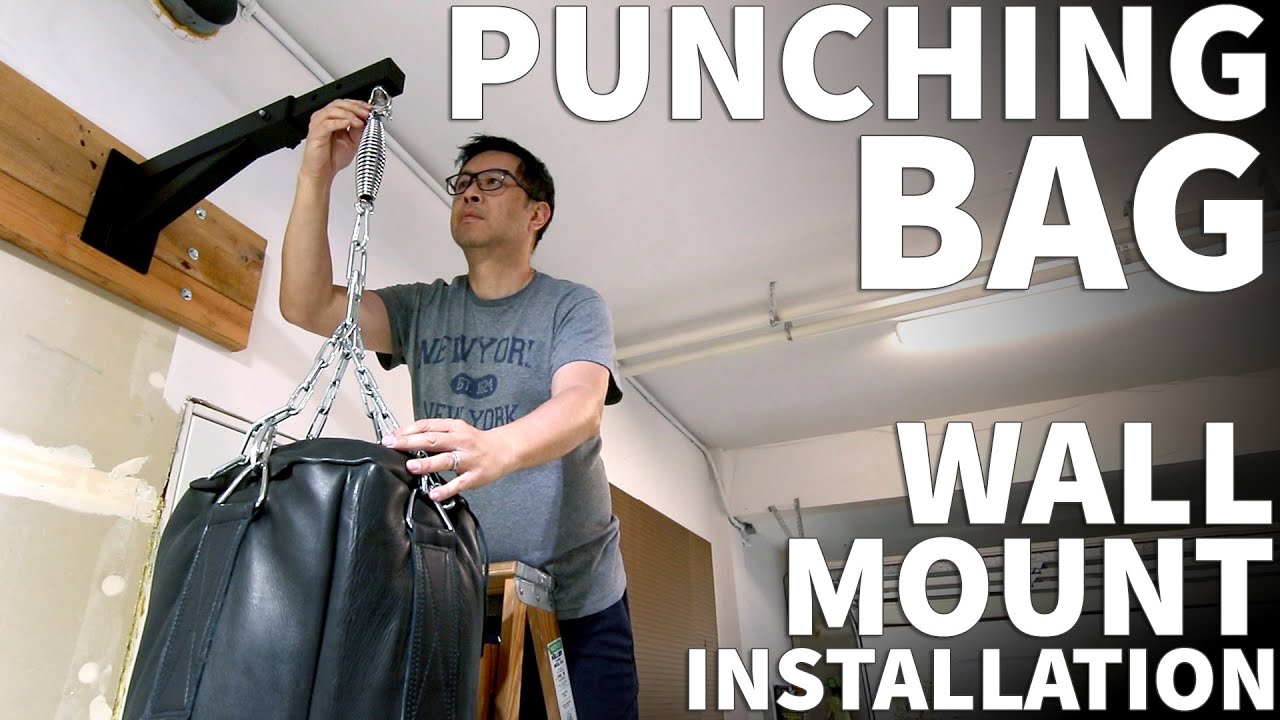
Punching Bag Wall Mount - Heavy Bag Wall Mount Installation
Автор: digitalcamproducer
Загружено: 2025-04-16
Просмотров: 13613
Punching Bag Wall Mount - Heavy Bag Wall Mount Installation
Product Links:
Benelabel Wall Mount: https://amzn.to/4jpbM3e
Delaware Punching Bag Spring: https://amzn.to/3XRL374
Socket Adapter for Impact Driver: https://amzn.to/4j1yZbL
Lag Bolts: https://amzn.to/4lrpdl4
Flat Washers: https://amzn.to/3XKNtV2
Chapters:
00:00 - Punching Bag Wall Mount Introduction
00:40 - How to Reinforce the Wall
01:37 - Attach 2x6 to Studs
02:52 - Punching Bag Wall Mount Installation
03:45 - Attach Punching Bag to Mount
In this video, I'll show you how to hang a punching bag with a wall mount. The total weight of my setup is around 80 pounds. But after you see my process, you'll have no worries about everything holding onto the wall.
The first thing I need to do is measure the height of the punching bag. Also I need to know the length of the chain. At this point I can now determine the height of where I'll place my mount. When I'm all done... the bottom of the bag will be about 20 inches off the ground. It's also very heavy which is why I have to use a 2x6 to reinforce the wall.
For this I'll use lag bolts drilled directly into the studs. I'm using a 2x6 that is long enough to cover 3 studs. After drilling the pilot holes, I'll simply screw lag bolts through the board and into the studs. I'll be using a total of 6 bolts for this piece. But because my punching bag mount is larger than the 2x6, I had to add an additional 2x4 just under it. But another 2x6 would work also.
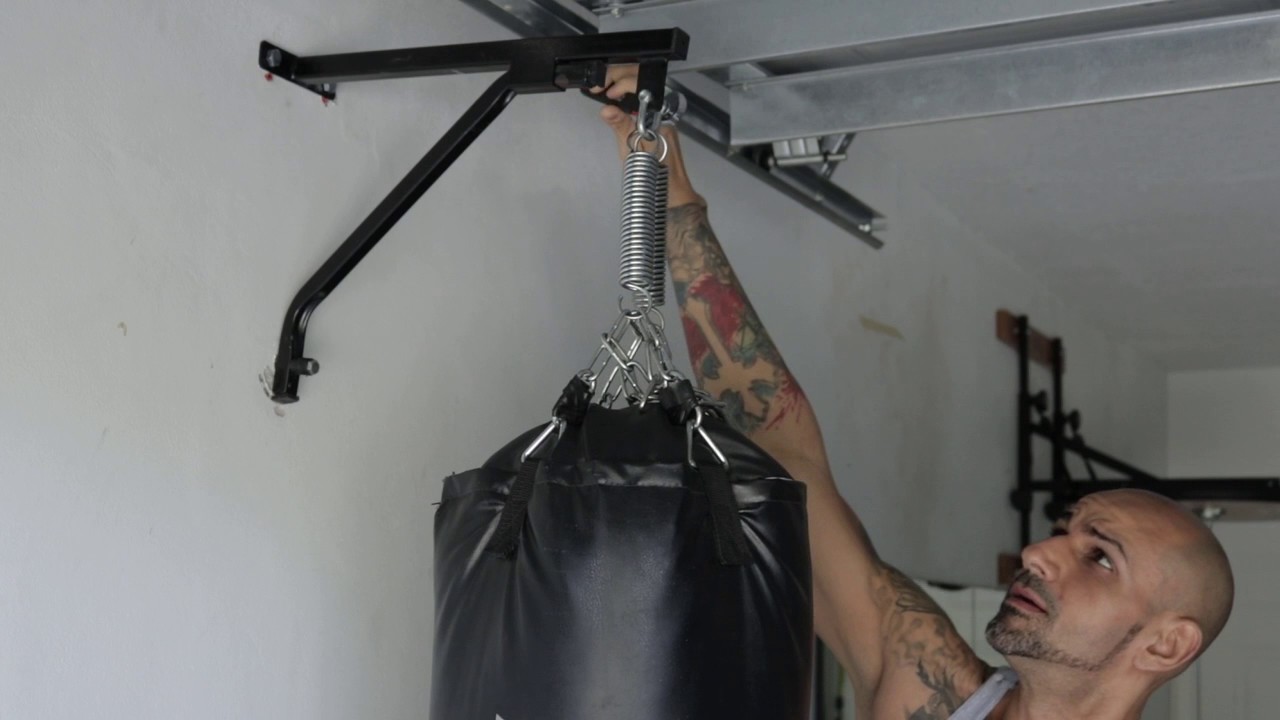
The wall mount I bought was about $45 and it's really heavy and sturdy. With this, I'll attach it to the reinforced boards on the wall. I'll start by marking the screw holes. The mount comes with its own hardware which makes this next part really convenient. After drilling the pilot holes I can attach the bolts. After they're all in, the punching bag mount is securely attached to the wall.
A couple of the features I like about this mount is the swiveling loop on the end... as well as the extending arm which allows me to position the punching bag a little further away from the wall. If this video was helpful please give me a thumbs up and hit the subscribe button to stay up to date on all my DIY videos!
Disclaimer: As an Amazon Associate I earn from qualifying purchases.
***Equipment I Use For My Videos***
Canon EOS M6: https://amzn.to/2pwQ0Vq
Canon EF-M 22mm f/2 Lens: https://amzn.to/31mLfLq
Tokina 11-16mm Wide Angle Lens: https://amzn.to/33TFaYH
Fotodiox EF to EOS M Lens Adapter: https://amzn.to/31u3AGq
Comica CVM-WM300A Wireless Microphones: https://amzn.to/31tbiAD
Aputure Amaran AL528W LED Light: https://amzn.to/2VRuwyK
Kamerar SD-1 Camera Slider: https://amzn.to/2VUB5Ax
AVermedia HDMI Game Capture Module: https://amzn.to/31phsSp
Доступные форматы для скачивания:
Скачать видео mp4
-
Информация по загрузке: