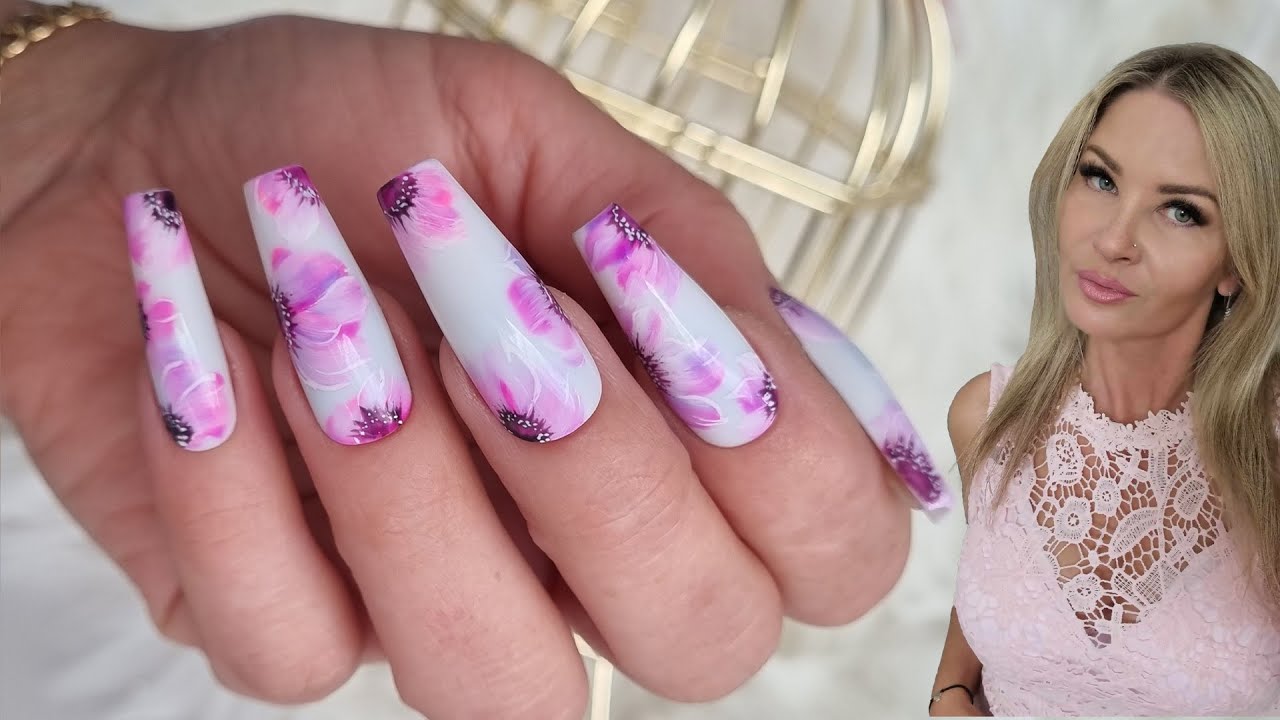
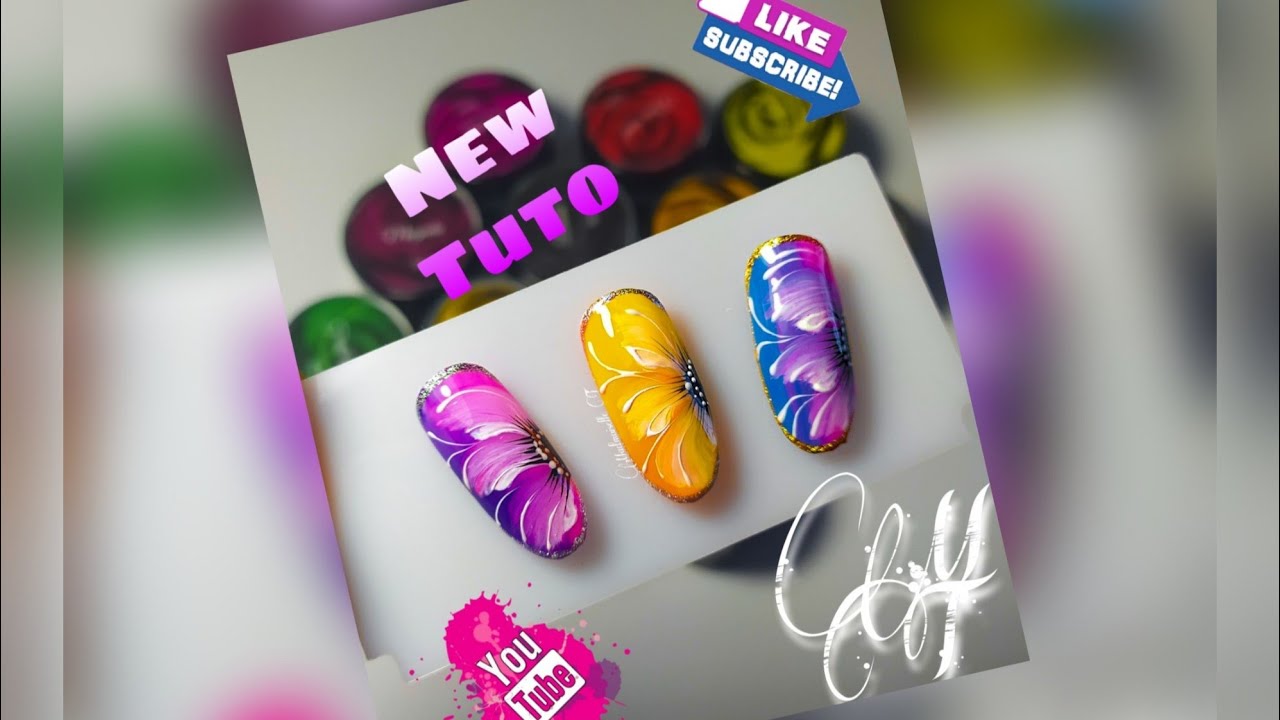
Nail Art - Wet on Wet Flower
Автор: Your Perfect Nails By Cassie
Загружено: 2021-04-22
Просмотров: 285
Hello
Here we have a new nail art tutorial Wet on Wet...
Here I have used Jet Set one Stroke colours as they are a thicker constancy to most nail gels, although it is possible with some brands of nail veneer, but for wet on wet thicker gels or gel paints work better.
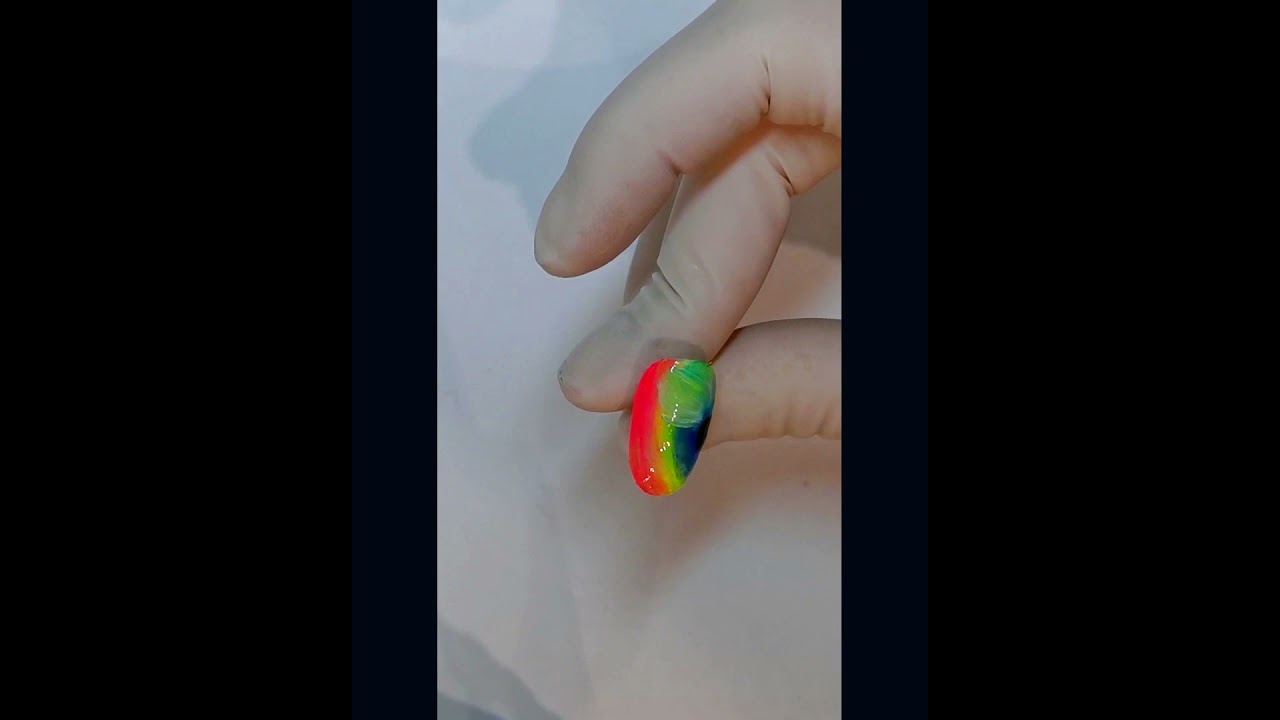
Here for this video you can use whatever colours you like and in whatever order !! Although most tend to use dark colours for the centre of the flower.
I only cure once I get the blended flower strokes how I want them hence wet on wet.
1 - Add what ever colours you like and blend them together without touching the centre dark colour of the flower.
2 - Once colours are blended take a small brush for the white and start with the edge of the petal and blend away into the other colours, you don't need to add more white at this stage you just need to blend a petal shape, continue to do this until you have all the petal's you want.
3 - When you have all you petal's, just lightly blend more white at the ends of the petal's to give more definition.
4 - With a very thin nail art brush lightly drag the centre of the flower out to the petal's.
When you are happy with all of the above you can cure....
5 - With the same thin nail art brush, you can just keep adding definition to the petal's until you are happy with them, also add the little pollen dots to the centre of the flower.
Again cure when you are happy with the effect.
Once you are happy with your flower design you just need to top coat and cure...
I hope you like the video and I hope it helps you with your nail art...
If you have any questions please just ask.
💋
Доступные форматы для скачивания:
Скачать видео mp4
-
Информация по загрузке: