etrailer | DIY 2013 Ford C-Max Installation for the Blue Ox Base Plate Kit
Автор: etrailer
Загружено: 2013-04-18
Просмотров: 4437
Click for more info and reviews of this Blue Ox Tow Bar Base Plate:
https://www.etrailer.com/Tow-Bar-Base...
Check out some similar Tow Bar Base Plate options:
https://www.etrailer.com/base-plates.htm
Search for other popular Ford C-Max parts and accessories:
https://www.etrailer.com/vehicle/2013...
https://www.etrailer.com
Don’t forget to subscribe!
/ etrailertv
Full transcript: https://www.etrailer.com/tv-install-b...
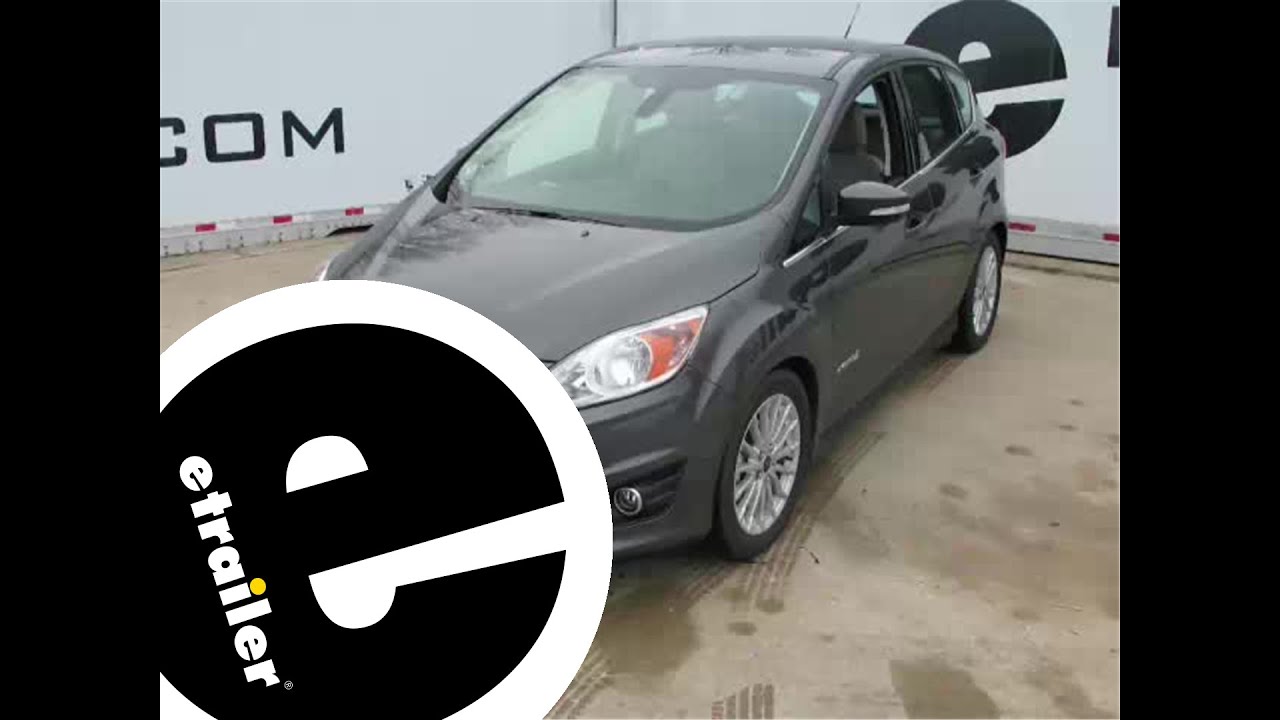
Today on this 2013 Ford C-Max , were going to install part number BX2639 from Blue Ox. First thing we need to do is get underneath the hood. Using a flat screwdriver were going to remove two pushpins from the top back edge of the face shield, theres two on the drivers side and two on the passengers side. Next were going to remove a torque screw, the one right behind the headlight from the face shield. Well do this on both sides. All right, now were going to go down to the fender wheel.
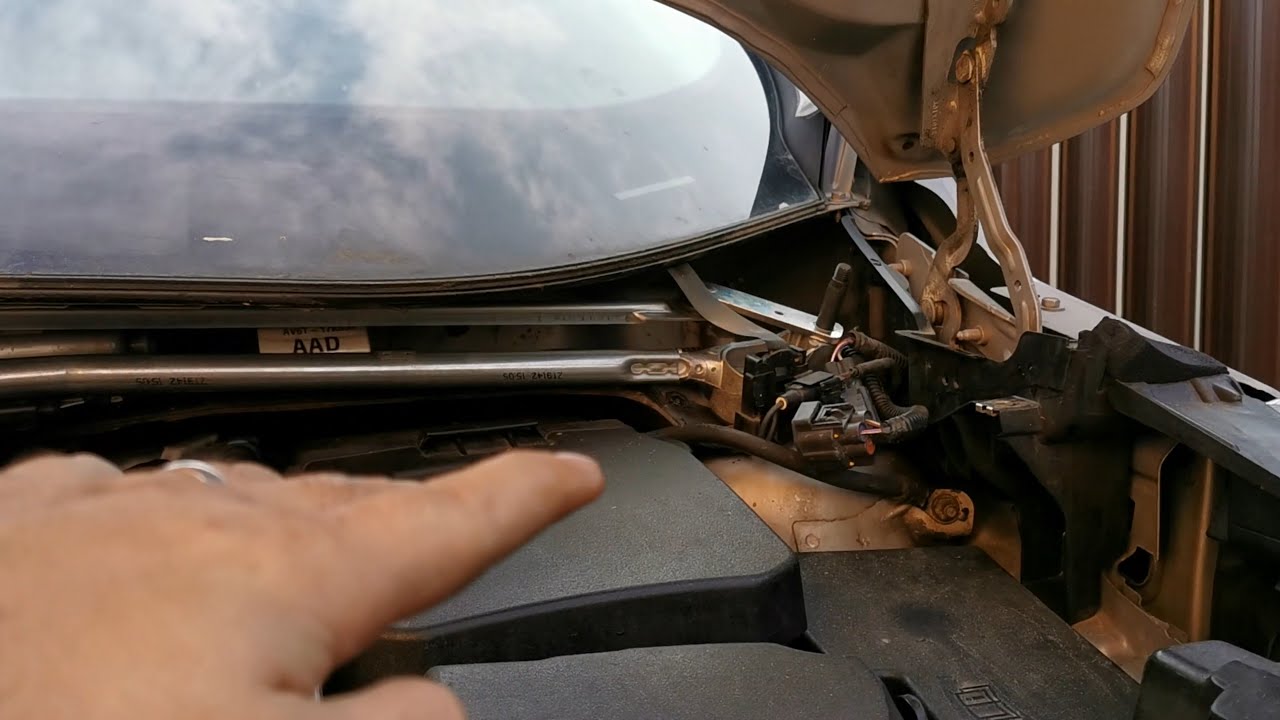
Therell be two screws along the inter edge of the wheel well, well remove those two screws and therell be a plastic pushpin above those two. From one side well go ahead and repeat the same process on the other side. Now well go underneath the bumper and therell be six more push pins underneath that we have to remove. To allow installation for the faceplate were going to have temporarily disconnect the washer fluid reservoir and well also go ahead and disconnect the lines. Were going to use a piece of rubber tubing to go over both ends of the pump to keep it from leaking out.
Well go ahead and unplug the electrical to it, well push the electrical lines out of our way, and then well go ahead and remove the fasteners; therell be two bolts on each side. Then well go ahead and work it away from the filler tube thats above it. The Phillip tube and the reservoir are two different pieces so they just slip together. Next well go ahead and remove the horn. There will be one bolt well have to remove to remove the horn and then well go ahead and disconnect the electrical.
Theres a small tap on the connector we have to push and then we go ahead and pull it apart. Now well go over to the drivers side of the vehicle. Well go ahead and remove the screw from the air box and then the metal tab thats connected to well push down and out of the way. Well probably have to pull a little more just until we get our base plate test fitted. Theres a wire harness above the screw that well go ahead and loosen up from the side of the vehicle as well.
Well have to move these pieces out of the way to allow installation for the base plate. Now we need to drill some access holes. Starting on our drivers side going through the bumper structure theres a square hole, behind that well go ahead and drill a hole out using the hole saw. Now we found out that this material is a hard material so we have to have a sharp drill bit to do the jobs; also you can use a high-speed rotary bit to make the hole as well. Now well make an access hole on the passenger side along the frame rail behind where the washer reservoir theres a small around hole that well go ahead a cut out. Now well go ahead and start testing our base plate to the frame. Well have to check to make sure that the base plate will fit into place. Well make sure that the metal tab on the drivers side is pulled out of the way so we can install the base plate. Well pull it down as needed to make clearance. Also on our front of the vehicle well have to trim the plastic for the shutters in front. Well hold the base plate up to it, make some marks on the plastic, and then well go ahead and remove the base plate. At this point we can go ahead and make our cuts into the plastic. With an extra set of hands well install the base plate and run some hardware through just to hold it up there. Next well go ahead and install the remaining hardware. The hardware will consist of the handle nut, the three-inch bolt, and a 3/8-lock washer. Well take the handle nut, run it through the access hole we drilled out earlier behind the hole were going to use, and then install our hardware. Well also use some Loctite on the hardware to help secure the bolts. Once all the hardware is loosely installed well check to make sure everythings level with the base plate and then well tighten them down for good and then torque the bolts down as specified in the instructions. All right, our base plates installed, now we need to do a little more trimming. On the passengers side well trim the plastic flange above the base plate for clearance to reinstall the washer fluid reservoir. At this point we can go ahead and install the reservoir. Well use one of the fasteners on the left hand side and then on the right hand side more towards the front of the vehicle well use new hardware that comes with the base plate kit an existing hole on the base plate to reattach your reservoir. Once everything is loosely inst

Доступные форматы для скачивания:
Скачать видео mp4
-
Информация по загрузке: