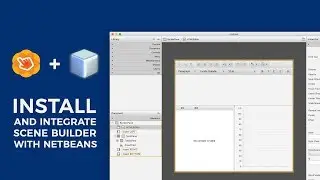
How To Install JavaFX Scene Builder 8.5.0 for JavaFX 8 on Windows 11
Автор: Ken
Загружено: 2024-12-07
Просмотров: 458
Using JavaFX 8 is a good choice for learning due to its stability, extensive documentation, and simpler setup compared to JavaFX 11 or higher. While JavaFX 8 will be supported until March 2025, it remains a reliable option for beginners before moving on to newer versions.
Update:
JavaFX for Java SE 8 will be supported until March 2025.
For more details, visit https://www.oracle.com/java/technolog....
The latest version of Scene Builder for Java 8 is 8.5.0, released on June 5, 2018.
Steps:
1. Download JavaFX Scene Builder 8.5.0 for Java 8
Download it from this link, https://download2.gluonhq.com/scenebu....
2. Install Scene Builder on Windows 11
For 64-bit Windows, the default installation folder will be:
C:\Users\your_username\AppData\Local\SceneBuilder.
3. Configure JavaFX Scene Builder with NetBeans IDE 23
In NetBeans, go to Tools, Options.
In the Options window, click on Java and then the JavaFX tab.
Set the path to the Scene Builder installation folder, and click OK .
4. Create a JavaFX Project in NetBeans and design the UI
Use the New Project wizard in NetBeans to create a JavaFX FXML Application (a project based on an FXML layout).
After the project is created, you can use Scene Builder to edit the FXML file.
5. Synchronize changes in the FXML file with the controller code
If you delete an element or change an fx:id or method name in Scene Builder, use the Make Controller command to update the controller code accordingly.
6. Run and test your JavaFX application
Click the green Run button to launch your JavaFX application.

Доступные форматы для скачивания:
Скачать видео mp4
-
Информация по загрузке: