Instrumentation in Root Canal Treatment | خطوات التحضير الميكانيكي لحشو العصب
Автор: DR Gamal Elsrogy
Загружено: 2025-10-19
Просмотров: 270
In this video, Dr. Gamal Elsrogy explains the Instrumentation Steps in Root Canal Treatment (Hashem Asim method) in a simple, practical, and clinical way.
You’ll learn how to prepare the canal efficiently, maintain its anatomy, and achieve perfect shaping for irrigation and obturation.
🔹 Topics covered:
• Access cavity and working length determination
• Glide path and preflaring
• Shaping with rotary files (sequence and taper)
• Irrigation during instrumentation
• Common mistakes and how to avoid ledge, transportation, or blockage
🎯 Perfect for dental students and general dentists who want to improve their endodontic skills.
📍Follow Dr. Gamal Elsrogy for more practical root canal tips and workshops.
⸻
🧠 Script / Text (you can say in the video):
English:
Today, we’ll talk about the steps of instrumentation in root canal treatment using Hashem Asim’s protocol.
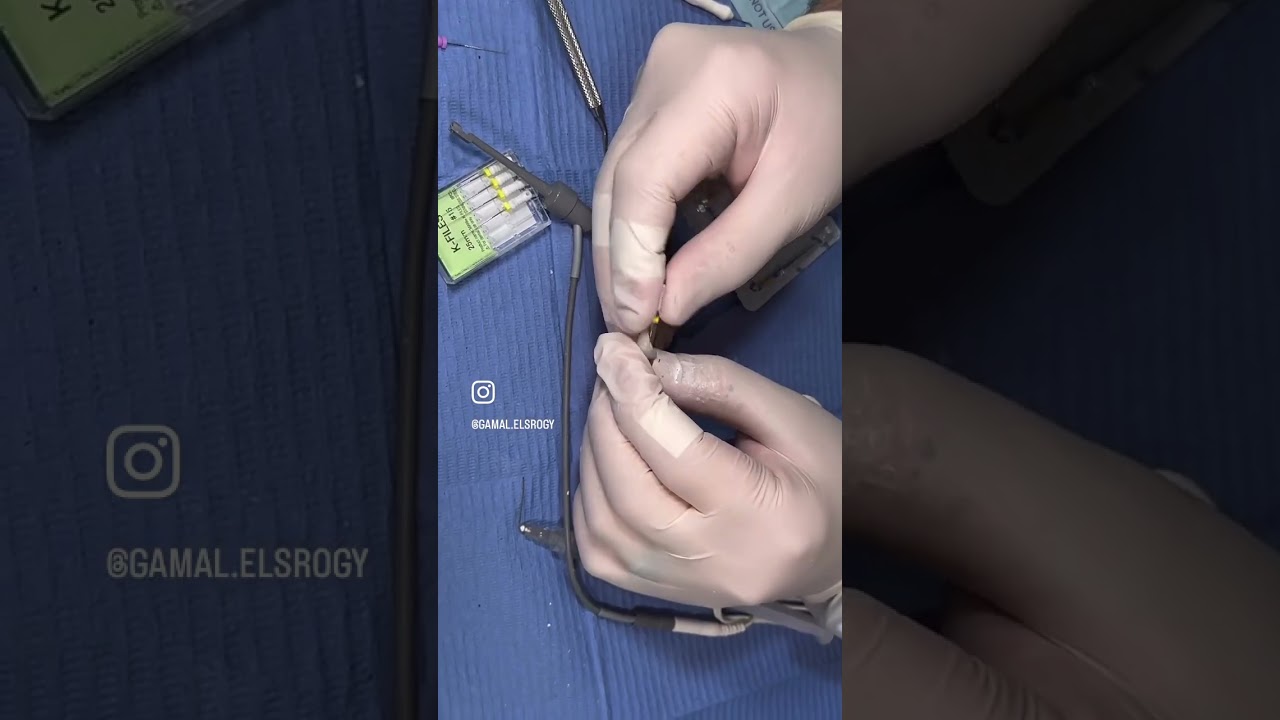
Step 1: After proper access cavity preparation and working length determination, we start with glide path creation using small hand files like #10 or #15 K-file.
Step 2: Once the canal is patent and smooth, we begin preflaring with rotary files to open the coronal part and reduce stress on the main instruments.
Step 3: Then, we perform shaping with our selected rotary system — usually starting with smaller taper files and moving gradually to the final shaping file.
Step 4: Throughout the process, irrigation is key — always irrigate between files to remove debris and avoid blockage or ledge formation.
Step 5: Finally, check the canal shape, confirm the working length, and make sure the canal is clean and ready for obturation.
Remember, instrumentation is not just about cutting dentin — it’s about respecting the canal anatomy and preparing a biological space for disinfection and sealing.
Доступные форматы для скачивания:
Скачать видео mp4
-
Информация по загрузке:


