Beginner’s Guide to Installing the Curt Trailer Hitch Receiver on a 2018 Toyota Highlander
Автор: etrailer
Загружено: 2018-03-12
Просмотров: 25823
Click for more info and reviews of this CURT Trailer Hitch:
https://www.etrailer.com/Trailer-Hitc...
Check out some similar Trailer Hitch options:
https://www.etrailer.com/fitguide.htm
Search for other popular Toyota Highlander parts and accessories:
https://www.etrailer.com/vehicle/2018...
https://www.etrailer.com
Don’t forget to subscribe!
/ etrailertv
Full transcript: https://www.etrailer.com/tv-install-t...
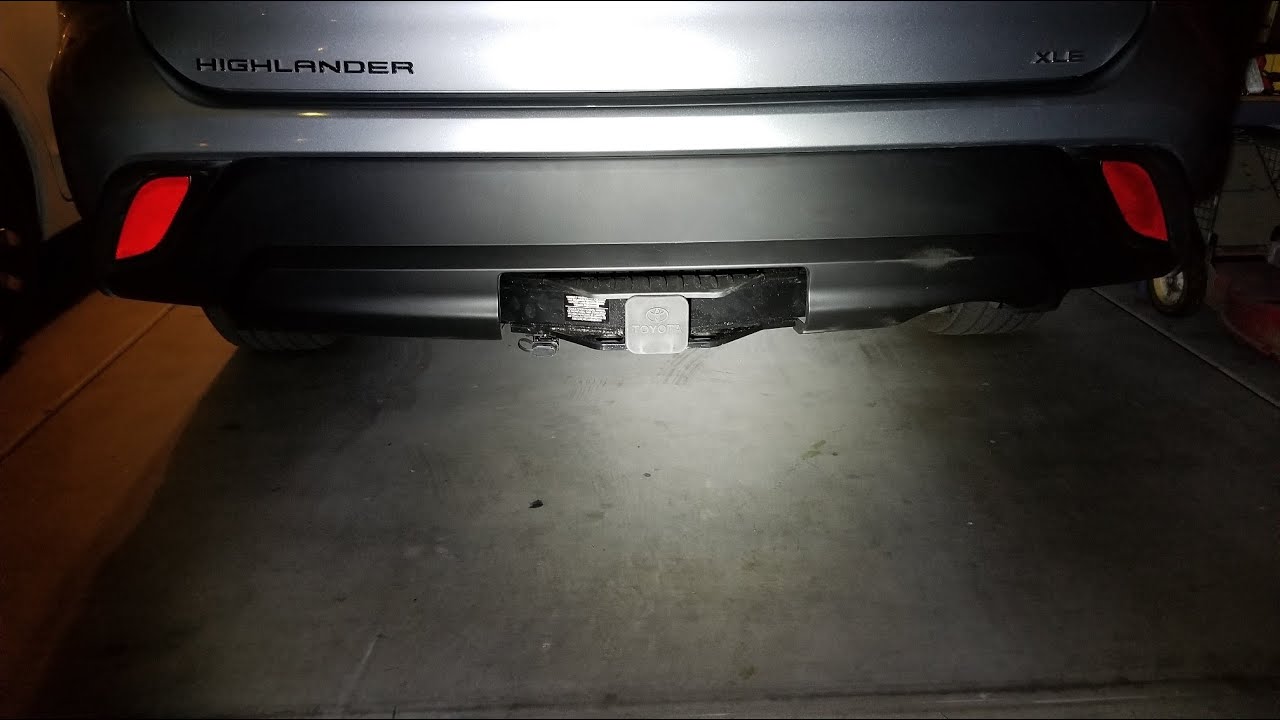
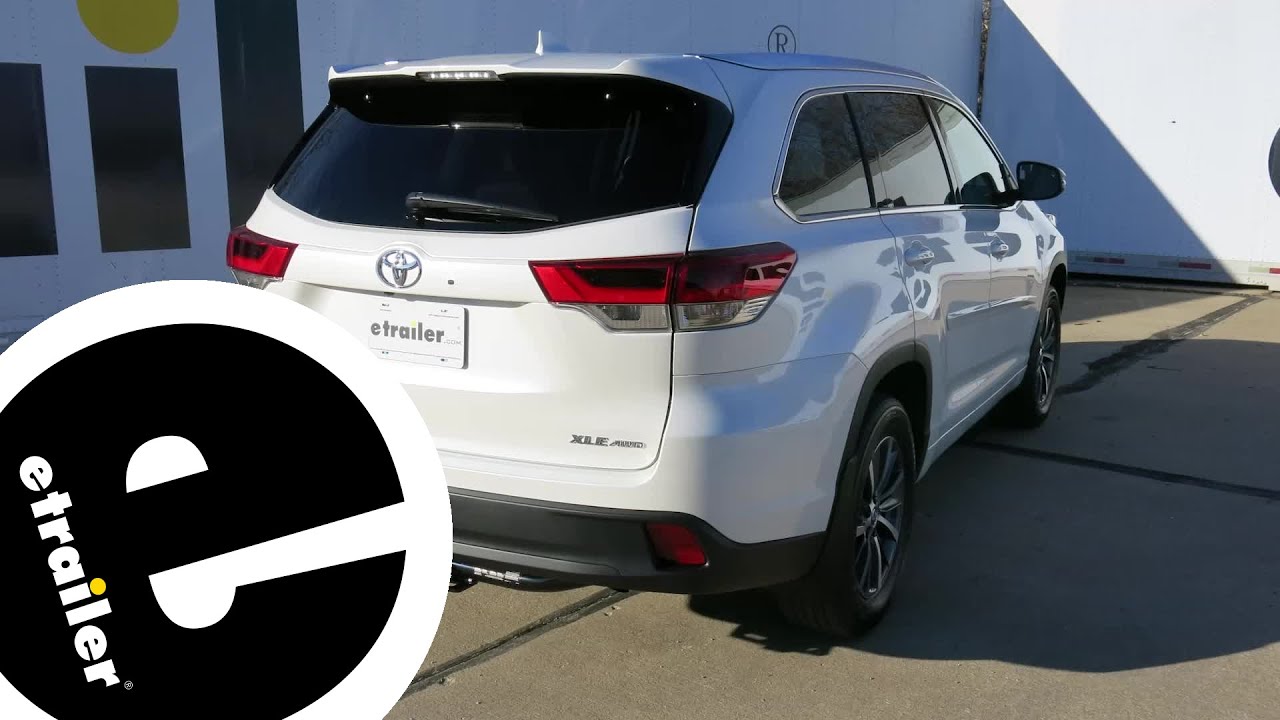
Speaker 1: Today on our 2018 Toyota Highlander we're going to be taking a look at and showing you how to install the Curt Class III Custom Fit Trailer Hitch Receiver, part number C13200.Here's what our hitch is going to look like. It is going to sit just right below the bumper and the cross-tube is going to sit right below the bumper as well, and it is going to be visible. The receiver tube is going to be pretty close to flush with the back of the bumper. Maybe just a quarter or an eighth of an inch, not sticking out much at all. We're not going other have to worry about running into it when we're walking behind our car.Our hitch is a Class III hitch, which means it's going to give us that two-inch by two-inch receiver tube opening and it's going to feature a reinforced collar not only adding to the nice look of it, but also giving it some added strength. Since it's a Class III, we're going to have a wide variety of accessories available.
The way we're going to mount all those accessories is going to be through the hitch pinhole here. It's going to accept a standard five-eighths pin and clip.Now, these aren't included in the kit, but you can pick them up on our website using part number PC3. The safety chain connection points are going to be a plate-style welded to the bottom of the receiver tube and as you can see they're going to have rather large holes. I can almost get my entire hand through. We're not going to have too much trouble getting most sized hooks on and off.
Just keep in mind that if you do have some smaller hooks coming from the side is going to be rather difficult because of the flange here. If you have some that are rather small as well it's not too bad, but there is a bit of a large flange through where you're going to have to try to get that hook over.Now our hitch is going to feature a 900 tongue weight along with a 6,000 pound gross trailer weight rating. It is designed to work with weight distribution systems as well. Its tongue weight is going to stay the same at 900 pounds but our gross trailer rating is going to get bumped up to 8,000 pounds. Now with all that in mind, I always recommend that you double check your Highlander's owner's manual and you never exceed the manufacturer's recommended weight.I'd like to give you a few measurements and that's going to help you in deciding for accessories for your new hitch, such as a ball mount, bike rack, or even a cargo carrier.
From the center of hitch pinhole to the outermost edge of the bumper it's going to be right about two inches. From the ground to the inside top end edge of the receiver tube opening, that's going to be about 16 inches. Now that we've seen what our hitch looks like and gone over some of features, let's show you how to get it installed.To begin our installation I went ahead and lowered my spare tire. Now, it's not necessary but it'll make it a lot easier for you to work underneath the vehicle, give yourself a little bit more head room. And you'll be able to see a lot easier.
On the driver's side here we're going to have to remove this plastic appearance panel to the very back. We're going to have a few push pins as well as a few bolts that are holding it in place. To remove the bolts on the outside of the panel here I'm going to be using a 10mm socket.For the push pins, you'll notice that there's some small notches going around the edge. You're going to want to grab a flat-blade screwdriver and go right in that notch and you're gonna pop out the center section of the push pin first. You're just going to release the tension and then we can remove the rest of it. Now there is going to be two more plastic retaining nuts on the inside towards our spare tire. These are going to be 12mm and these aren't going to fully come off but it should lower the panel while we loosen it. Then we can pull the panel out.We're also going to need to remove the passenger appearance panel that's underneath. We're going to have some more 10mm bolts holding it in place. Now right behind the muffler if we look up by the frame rail, there is going to be one that's going to be hidden so we don't want to forget that one. Then we're also going to have some plastic push pins that we're going to need to take out. On the passenger's side we're going to have this tow-hook here and we're going to need to remove the bolts that are holding it in place. You're going to want to grab a 17mm socket and we can pull
Доступные форматы для скачивания:
Скачать видео mp4
-
Информация по загрузке: