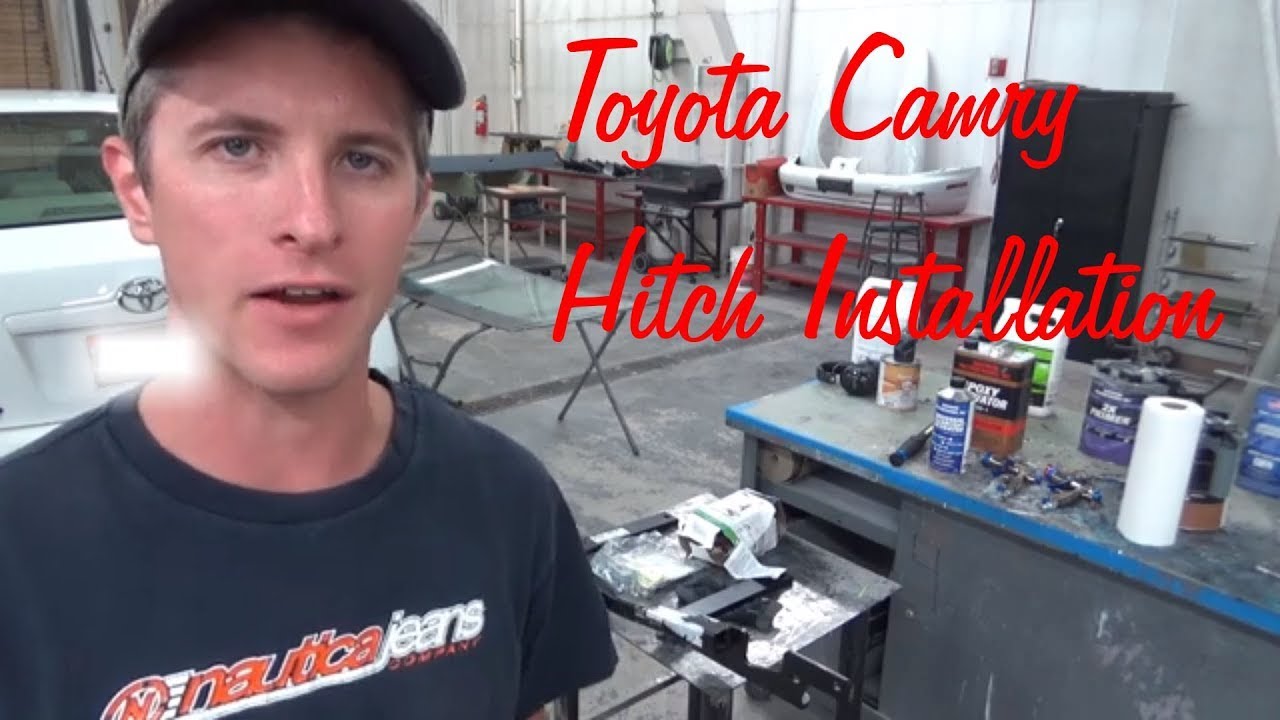
etrailer | DIY Install: Curt Trailer Hitch Receiver on your 2012 Toyota Camry
Автор: etrailer
Загружено: 2015-12-29
Просмотров: 8844
Click for more info and reviews of this CURT Trailer Hitch:
https://www.etrailer.com/Trailer-Hitc...
Check out some similar Trailer Hitch options:
https://www.etrailer.com/fitguide.htm
Click for more info and reviews of this CURT Trailer Hitch:
https://www.etrailer.com/Trailer-Hitc...
Check out some similar Trailer Hitch options:
https://www.etrailer.com/fitguide.htm
Click for more info and reviews of this CURT Trailer Hitch:
https://www.etrailer.com/Trailer-Hitc...
Check out some similar Trailer Hitch options:
https://www.etrailer.com/fitguide.htm
Click for more info and reviews of this CURT Trailer Hitch:
https://www.etrailer.com/Trailer-Hitc...
Check out some similar Trailer Hitch options:
https://www.etrailer.com/fitguide.htm
Search for other popular Toyota Camry parts and accessories:
https://www.etrailer.com/vehicle/2012...
https://www.etrailer.com
Don’t forget to subscribe!
/ etrailertv
Full transcript: https://www.etrailer.com/tv-install-t...
Today on our 2012 Toyota Camry, we're going to take a look at and show you how to install the Curt custom fit class two trailer hitch receiver. This has the inch and a quarter opening. Its part number is C12107. Now, here's what our hitch is going to look like once we get it installed. The end of our receiver tube might be about a quarter inch past the end of the bumper here. Not too much that you can see it's a pretty narrow hitch.
It's not one of those that's going to go all the way across on you. It's got a softer, round tube look. It's got nice, squared off safety train connection points, nice big open hole area there, and then you're going to have the inch and a quarter by inch and a quarter opening. This is a class two, so it's going to give us a 350 pound ton weight rating, which is how much downward force we can put right here. Then, it's going to give us a 3,500 pound gross trailer weight rating which would be the total of our trailer and everything that we've got loaded up. Now, you want to look into the Camry's manual to make sure it can handle loads like that.
If not, we're going to go off of whichever of those numbers are the lowest. Now, it's got the nice ring around the ends like the hitch. Mobilizers would go on there really well. Then it offers the half inch pin hole which is standard with the class two's. This is going to give us you know, availability to use the anti-rattle bolts, hitch pin locks, and things like that without any kind of issue.
Now, a few measurements that would be helpful in selecting your ball mount, bike rack, or maybe hitch cargo carrier would be from the ground to the inside top edge of the receiver tube opening. We've got about 11 inches. Then from the center of the hitch pin hole to the outer most edge of our bumper, it's about an inch and three quarter. Now, if your appearance panel that runs underneath the vehicle covers the driver's side frame wheel as it does here, we're going to need to pull it off. What we're going to do is start by removing three push pin fasteners. You've got one here.
What we want to do is pry that middle section out and then the larger section will come out afterwards. There's one right here on the corner and then one right here, just around from that one. We're also going to have some bolts to remove. We've got four right across the back here. (Drilling sound) We've got one right here behind the driver's side tire. (Drilling sound) Then one just above it a little bit closer to the middle of the car. Then underneath, we're going to have five. A lot of times they're just hand tight underneath here. They're kind of like little plastic nuts. They act kind of like Christmas tree fasteners, really. You want to back them out slowly. (Drilling sound) Then, we just kind of slide this on out and we'll set it aside so we can put it back up later. Now, we're also going to lower down our exhaust to give us some room. Before we do, we're going to put just a little hand buckle strap across here to kind of support the exhaust so it's not hanging on its own without those hangers to help. We've got two bolts right here we can remove just in front of the bend of the exhaust (Drilling sound) and then two more there at the very rear. Then we'll come here right behind our tailpipe and we can get our last hanger. (Drilling sound) Now, once I've got the to bolts here that hold in our heat shield, (Drilling sound) we'll take a look at how we need to trim it. Now for trimming our heat shield, we're going to face the arrow away from us. So, the larger curve will be in toward us. We're going to come over from the arrow to that first line that runs all the way across. I'm just going to mark it out there so you can see it. That will run all the way down to this outside edge. Then we're going to take off this area here. (Cutting sound)

Доступные форматы для скачивания:
Скачать видео mp4
-
Информация по загрузке: