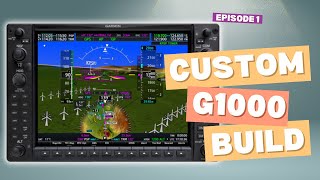
Building A Custom G1000 for MSFS | 6 Tips For PCBs
Автор: Flight Deck DIY
Загружено: 2024-11-08
Просмотров: 888
In this second video of the Flight Deck DIY series, I’m sharing some lessons I learned from designing my first PCB for a custom GMA 1347 audio panel. From integrating an Arduino Mega onto the board to tackling component costs and layout challenges, this project taught me more than I expected!
What you’ll learn in this video:
How I evolved from an external Arduino setup to a fully integrated PCB
Challenges I faced with sourcing cost-effective parts like tactile LED switches
Why I upgraded from a 2-layer to a 4-layer PCB
Key design tips to avoid common mistakes, like connector orientations and mounting holes
My biggest takeaways to help you kick-start your own PCB projects
If you’re passionate about DIY flight sim hardware or PCB design, this video will give you a behind-the-scenes look at the real-life challenges and learning moments of my journey. Remember, every project comes with its own lessons—don’t be afraid to make mistakes and start building!
Subscribe for more flight sim hardware insights, behind-the-scenes content, and tips for your DIY electronics projects.
🔧 Software Used: KiCad (open-source PCB design tool)
💡 Next Video Preview: Exploring the schematic and what components I didn't use for the integrated Arduino and why.
00:00:00 Welcome
00:00:10 Audio Panel
00:01:44 V1 PCB
00:02:02 Lesson 1
00:03:27 Lesson 2
00:04:51 Lesson 3
00:05:25 Lesson 4
00:05:52 Lesson 5

Доступные форматы для скачивания:
Скачать видео mp4
-
Информация по загрузке: