Xbox Turning on But No display | Broken HDMI Port | Gaming Console Repair Hamilton New Zealand
Автор: Tech Engineers & AppleFix Hamilton New Zealand
Загружено: 2025-09-03
Просмотров: 143
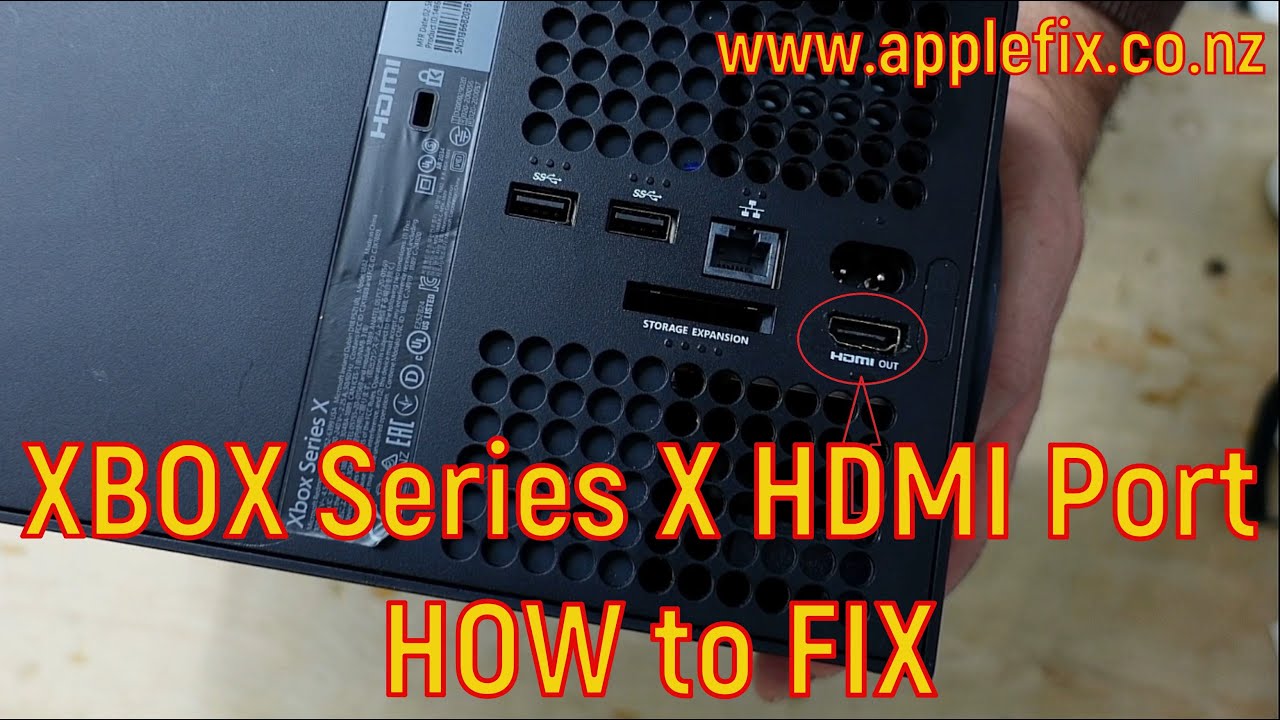
Xbox Series X Bork HDMI Port & Missing Tracks Repair. Tech Engineers & AppleFix Xbox Repair experts in Hamilton New Zealand. Call 078394188 or visit 937 Victoria Street Hamilton New Zealand
Below is a general guide to replace HDMI port on XBOX Series X
Important Warning and Disclaimer
This is an extremely advanced and high-risk repair. The HDMI port is soldered directly onto the motherboard with many very small, delicate pins. It requires:
• Expert-level soldering skills, specifically micro-soldering.
• Specialized and expensive tools (a high-quality soldering station, hot air rework station, microscope, flux, solder wick, etc.).
• A deep understanding of electronics disassembly and electrostatic discharge (ESD) safety.
If you are not a professional, attempting this yourself will almost certainly cause permanent, irreparable damage to your Xbox Series X motherboard. The cost of a professional repair will be far less than the cost of a new console if you ruin the motherboard.
For the vast majority of users, the only correct answer is:
Take it to a professional electronics repair shop that specializes in console repairs and has proven experience with HDMI port replacements.
________________________________________
The Professional Repair Process (for context)
If you are a technician or are determined to understand the process before seeking a professional, here is how it's done:
Tools and Materials Needed:
1. Xbox Series X HDMI Port Replacement (Must be the correct part for the model)
2. Precision Screwdriver Set (Including Security Torx bits, commonly T8 and T10)
3. Soldering Iron (Temperature controlled, fine tip)
4. Hot Air Rework Station
5. High-Quality Flux
6. Solder Wire and Solder Wick/Desoldering Braid
7. Microscope or Magnifying Lamp (Essential for seeing the tiny pins)
8. Isopropyl Alcohol (90%+) and a soft brush for cleaning
9. ESD-Safe Wrist Strap and Mat
10. Spudger / Plastic Opening Tools (to avoid scratching the casing)
11. Tweezers
Step-by-Step Guide:
1. Safety First:
• Unplug the console from all power sources.
• Wear an ESD wrist strap connected to a grounded point to prevent static electricity from frying the motherboard's components.
2. Complete Disassembly:
• This is a complex process. You must remove the outer shell, the internal covers, the power supply, the fan, and the heatsink to fully expose the motherboard.
• Tip: Follow a detailed teardown video guide on YouTube exactly. Take pictures at every step to remember screw locations and cable routing.
3. Remove the Motherboard:
• Once all cables and screws are disconnected, carefully lift the motherboard out of the chassis and place it on an ESD-safe mat.
4. Secure the Motherboard for Repair:
• Use a board holder or a helping-hands tool to keep the motherboard perfectly stable.
• Position your microscope over the HDMI port.
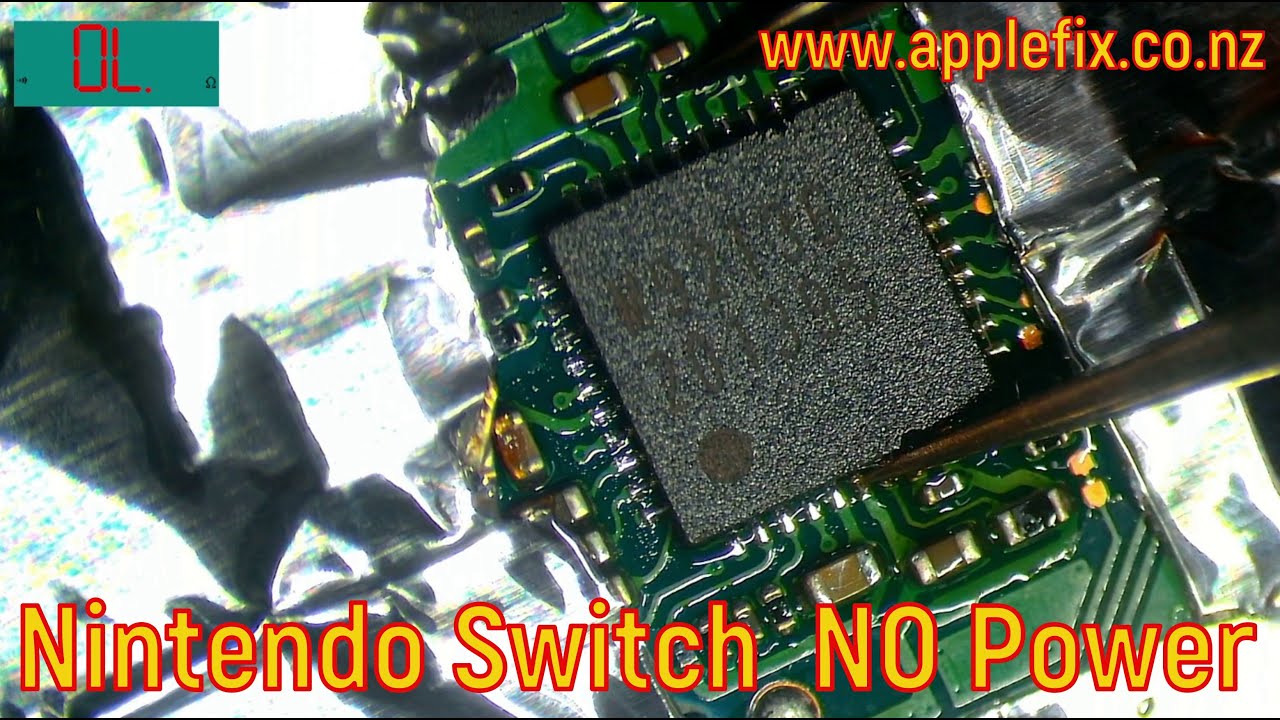
5. Remove the Broken HDMI Port:
• This is the most critical step.
• Apply a generous amount of flux around the solder joints of the old HDMI port.
• Use your hot air rework station (at around 350-400°C / 650-750°F) to evenly heat the metal shielding and pins of the port. Keep the nozzle moving to avoid overheating and damaging nearby components.
• Once the solder is molten (shiny and liquid), use tweezers to gently but firmly lift the old port straight off the board.
6. Clean the Pad and Prepare for New Port:
• There will be leftover solder on the connection pads. Apply more flux and use solder wick and your soldering iron to carefully remove all the old solder, leaving clean, flat, and separate pads.
• Clean the area thoroughly with isopropyl alcohol and a brush to remove all flux residue.
7. Install the New HDMI Port:
• Apply a tiny amount of flux to the freshly cleaned pads.
• Carefully place the new HDMI port into position. It must be perfectly aligned. The small legs on the sides should slot into their holes, and the port should sit flat against the board.
• Use a piece of kapton tape or a weight to hold it in place if needed.
8. Solder the New Port:
• First, tack one or two of the corner pins or the large shielding tabs with your soldering iron to hold the port securely in place.
• Then, using your fine-tip soldering iron and thin solder, carefully solder each of the ~19 tiny data pins. Under the microscope, you must ensure:
o Each pin has a good connection.
o No pins are bridged (connected by a tiny blob of solder). Bridged pins will cause a black screen or no signal.
• Finally, solder the four large grounding/shielding tabs on the sides and top of the port. These require more heat.
9. Inspect and Clean:
• Under the microscope, meticulously inspect every single pin for bridges or poor connections.
• Clean the entire area again with isopropyl alcohol to remove all flux.
10. Reassemble and Test:
If you dont live in Hamilton read info here to send your device https://applefix.co.nz/send-your-device/
Доступные форматы для скачивания:
Скачать видео mp4
-
Информация по загрузке: