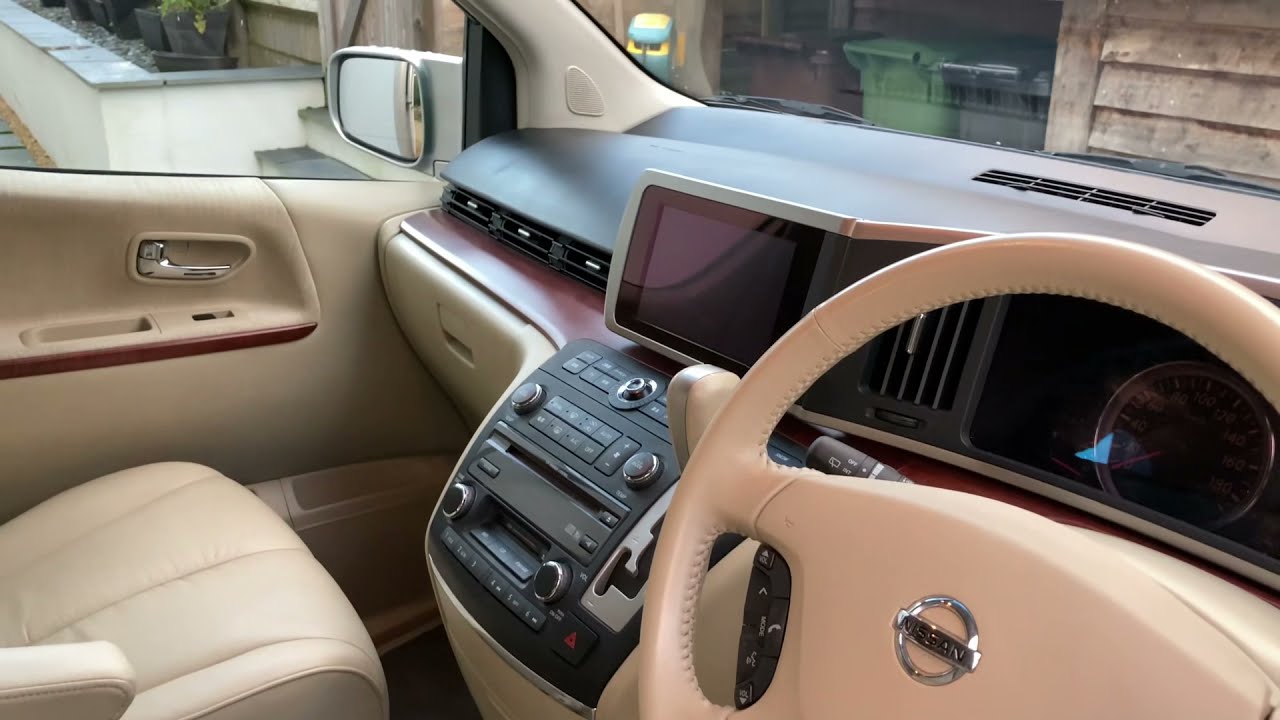
elgrand E51 S3 sliding electric door removal repair door card
Автор: Kevin Eaton
Загружено: 2025-03-02
Просмотров: 1641
how to replace the electric sliding door components on your Nissan Elgrand E51 S3
Hi Everyone, hope you are well.
Today, I tackled the fact that the electric door would not close properly - it would almost close, then just the last few cm's it would fail.
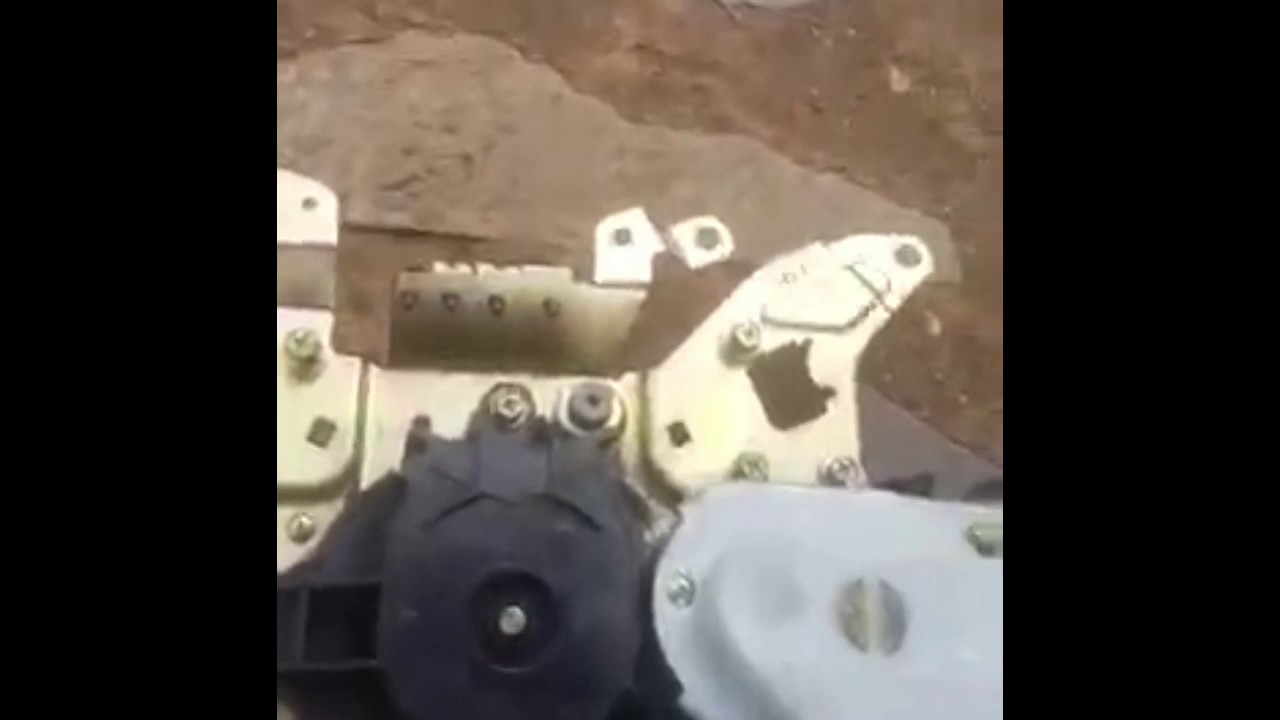
turns out it is the soft close motor (separate to the main motor that moves the door back and forth) – I replaced the whole assembly anyway thinking it would be easier. It probably was easier, but, our loom has attachments for power curtains and some door lights that someone had spliced previously – the new loom didn’t have these, and I was too chicken and was a bit pushed for time…. It’s not that difficult I would think to change the loom bits on the assembly for your own once you have the whole thing out.
I bought the entire motor assembly and bracket off ebay for 70 quid.
I did it on my own but could have used some help at some stages.
You will need
1)a socket set and some spanners, preferably ring spanners (10 – 14 mm)
2) A pair of flat nosed pliers
3) Side cutters
4) tie wraps to tie wrap on some of the cables as you will definitely break some of the little plastic mounts
5) a big flat screwdriver
6) some kind of thin wire with a hook on the end to get the clip off the door handle – I had a tool I use for laptops but you could use something like a thin bbq kebab skewer and bend the end up into a hook, or you might get away with long nosed pliers. be careful - it will ping off and go flying!
7) a tiny bit of luck
8) a dash of patience
9) About 2 hours of your life
REALLY IMPORTANT: this isn’t in the video at the start - before you start, make sure you undo the 3 bolts that hold the door catch on, open the door, and look from the back end of the van, you will see them. If you don’t do this, you can get into the situation, which I was in, later when the door is shut and you have the whole assembly undone, the door is closed, and you cant get to the damn things! Luckily I figured out that you can manually pull one of the cables to release it and so didn’t have to put it all back together again just to open the door.
The process is:
Remove the 3 bolts on the door lock
Move the back seats back as far as possible
Move the front seats forward as far as possible
Remove the plastic bit in the footwell
Remove the lower bolt and loosen the top one on the door grab handle on the pillar between the front door and the door you are fixing,
Close the door, get in the car
Remove the door handle on the inside – move the rubber bit behind the silver handle with a screwdriver or pliers to get access to the metal clip.
Remove lower curtain clips
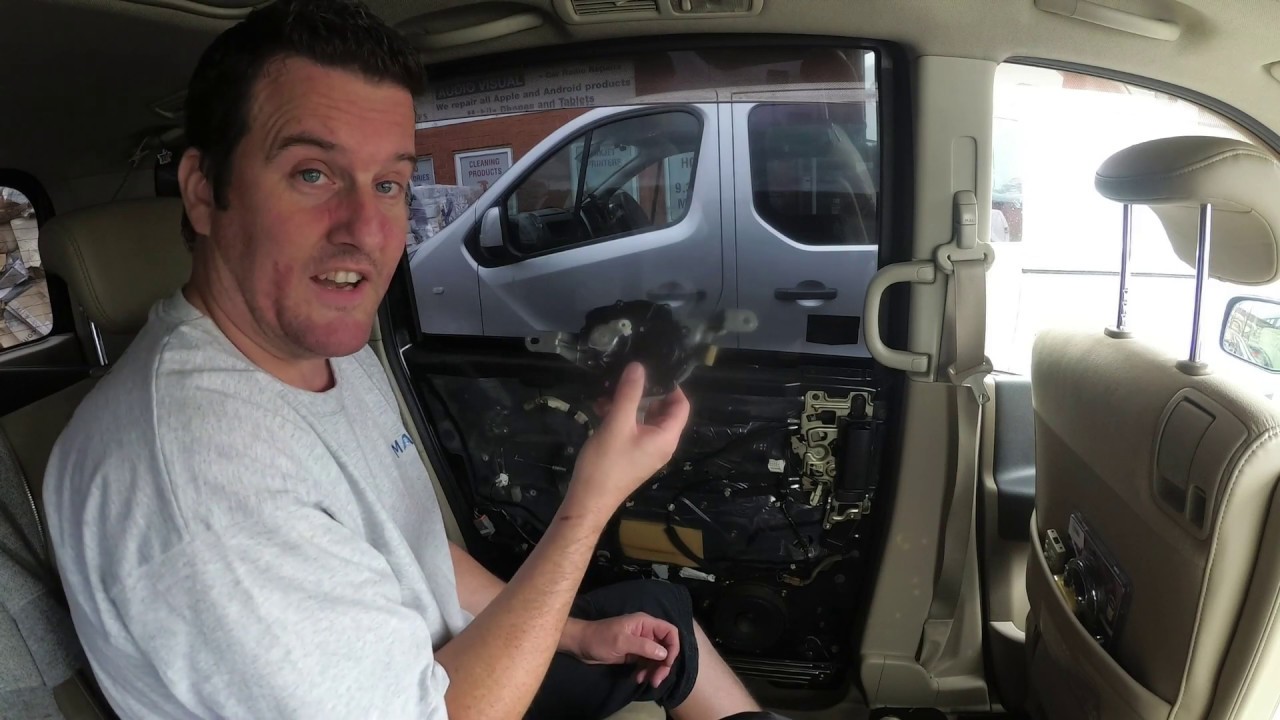
Remove the door card completely (I only did it partially at first but in the end had to take the whole thing off anyway – best to just get it out the way)
Unplug the various electric cables - depends on your loom and how much you are removing.
Unscrew the speaker and unplug the cable
Unscrew the whole main bracket
Remove the “break” cable from the main bracket that actuates the door and goes to the bottom of the door
Don’t forget to refit the break cable in the step above like I did otherwise you have to take the whole thing out again
Do the whole thing again but in reverse.

Доступные форматы для скачивания:
Скачать видео mp4
-
Информация по загрузке: