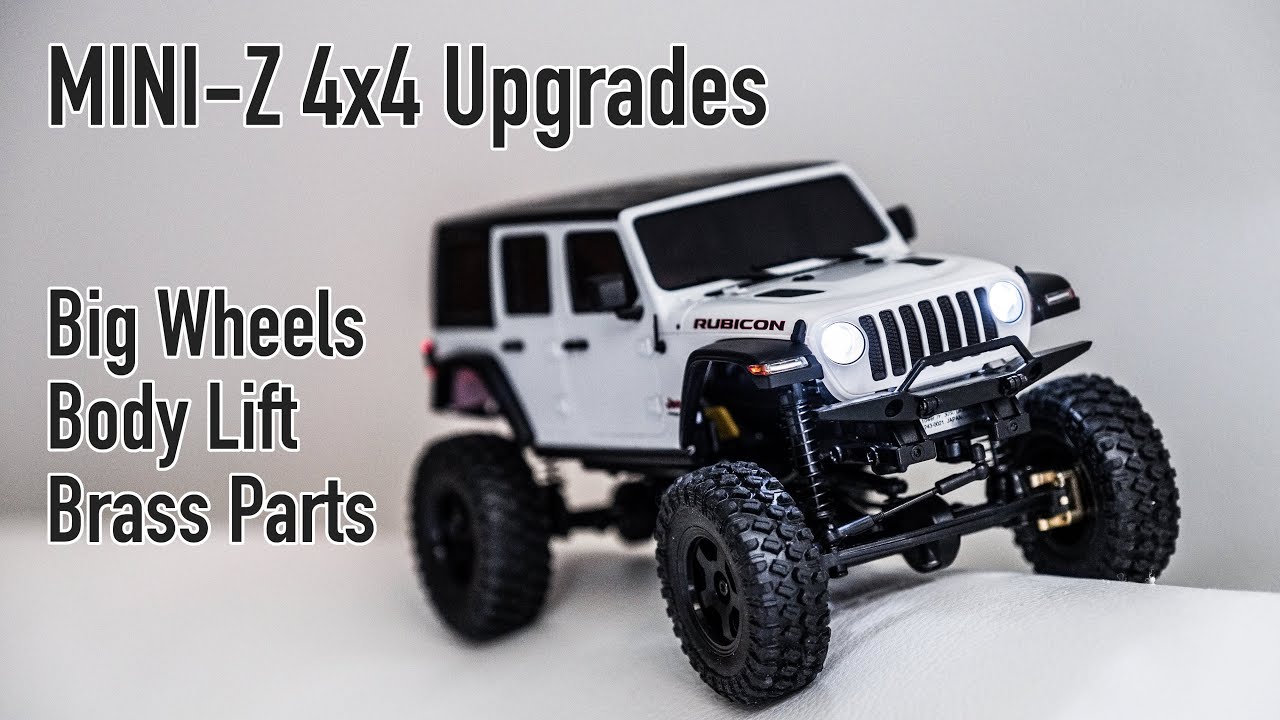
Kyosho Mini-Z 4x4 MX-01: How to Install Big Wheels and Other Parts You Need!
Автор: Sammybaka Mini RC
Загружено: 2022-02-03
Просмотров: 18092
Back in November when I decided to buy a crawler, I just wanted to have something I could drive indoor slowly and easily. But of course, I couldn't resist adding some upgrades. Let's see what I did.
Before installing upgrades, let's set a baseline in the form of the maximum side leaning angle. This is clearly not very scientific but it should still be interesting to see if these upgrade parts will improve this aspect of performance. Lean the truck towards one side as much as possible until it just about tips over. We will repeat this experiment later.
The most common way to increase a crawler's performance is lowering its center of gravity. I will add some brass weight at the wheel hubs to start. These are NexxRacing's front knuckles and rear caps. Both of the rear caps combine to weight 15g. This isn't as much as I thought, but hopefully all the weights down low will start adding up. The Nexx front knuckles are less substantial compared to the equivalent brass parts made by Kyosho or others. They combine for 7g only. Parts look well machined though.
Replacing the front knuckle requires detaching the shock from the axle in order to remove the knuckle. The bearing is retained via 3 screws. The Nexx part comes with appropriate machine screws. Everything fits perfectly here.
The rear cap installation is easier. Simply unscrew the stock plastic cap and screw in the brass part. Except there's a problem. The cap fits, but somehow it's just a little too thick on the flat surface. The inside of the stock rim doesn't clear the new cap. That's pretty annoying but fear not. I'm going to swap out the stock wheels anyway.
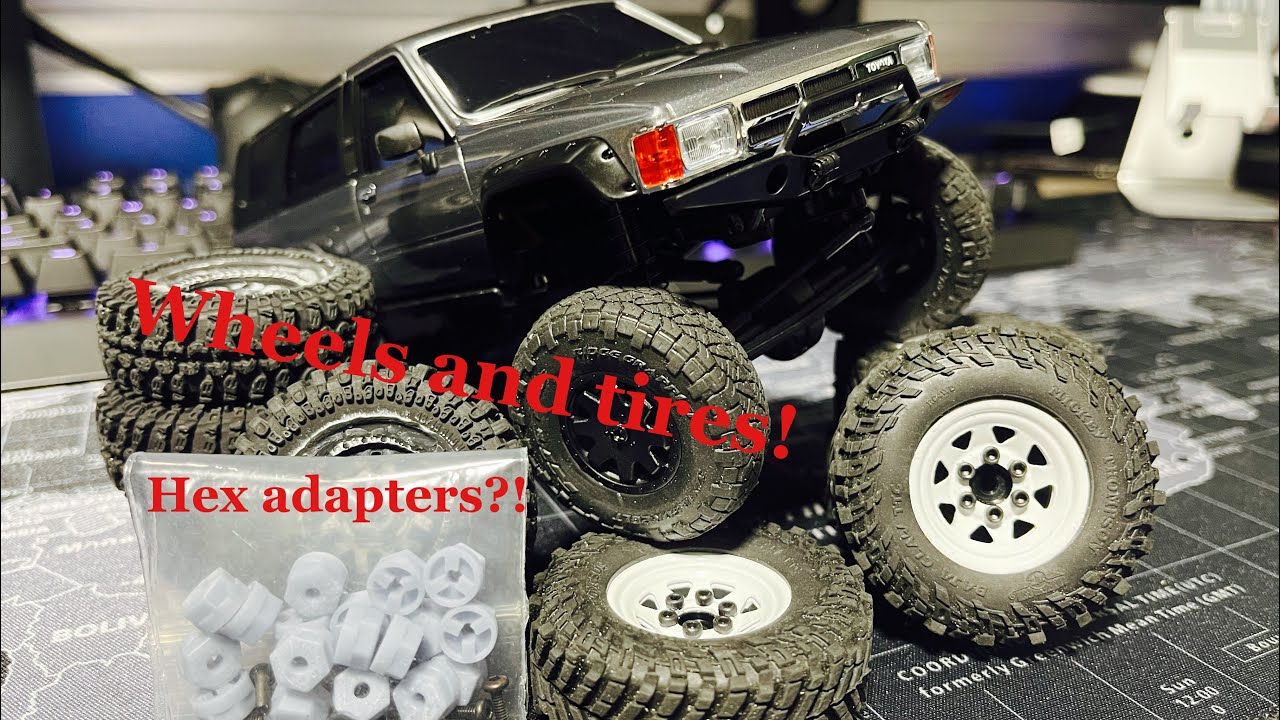
I picked up these 1" Injora beadlock rims and 49mm tires. They look pretty nice and aggressive. Just look at the size difference compared to the stock wheel! Despite its size, the stock wheel actually works quite well. It doesn't not weight much though at 6g. The aluminum Injora wheel checks in at a good 22g. That will further lower the center of gravity.
To mount these rims meant for SCX24, I need to add these brass hex adapters from eBay. The adapter further adds weight, as well as extending the track width of the truck. They fit perfect onto the Mini-Z mount. I'm sure the bigger tires and all the extra weight will stress the stock 5-wire servo, but how beautiful do they look? But because these tires at 49mm are significantly larger compared to the stock 42mm ones, we need to check wheel arch clearance. For example, at maximum suspension travel, the rear tires touch the front of the wheel arches. This is particularly a concern for the front tires because steering creates even more opportunities for the tires to touch. The front tires touch touch both the back of the wheel arches and the front bumper. As demonstrated here, these 49mm tires on 1" rims will cause rubbing during hard turns or with some articulation.
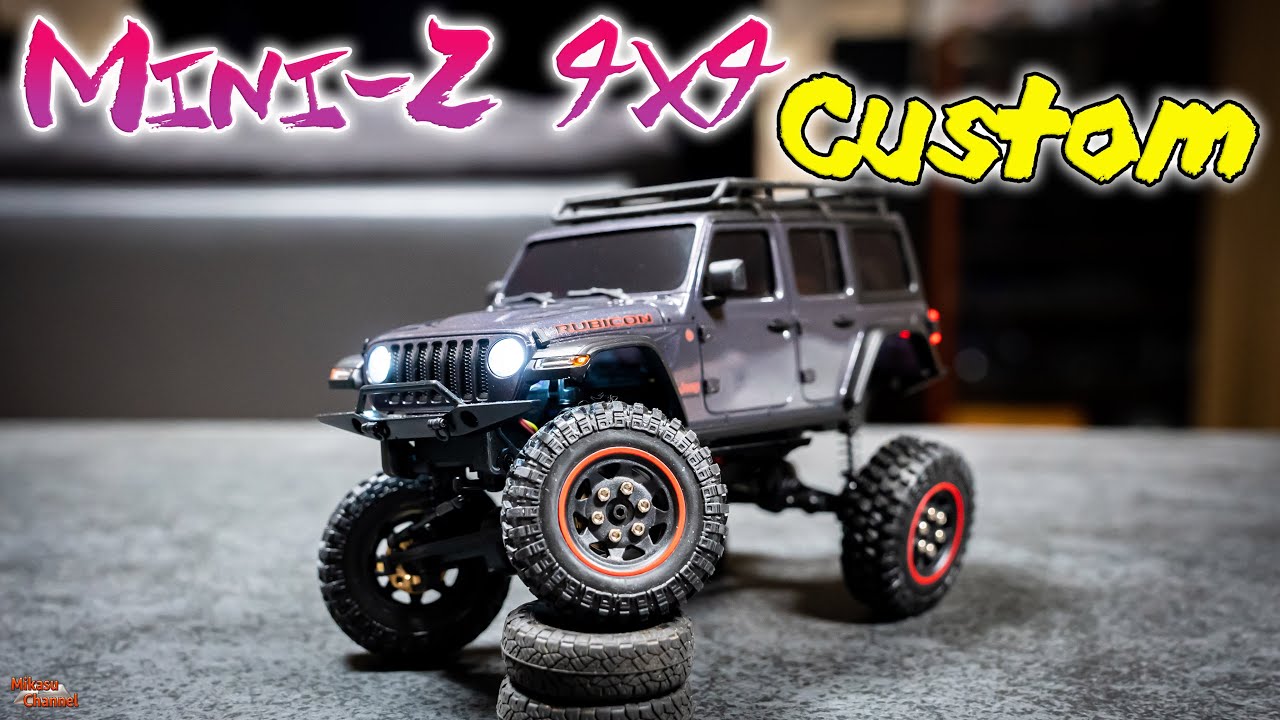
There are a few solutions for this problem. I picked up MXW009-3 which will lift the body and bumpers up by 10mm. It's possible to solve the tire rubbing problem by using longer shocks, widening wheel offsets, or limiting suspension travel. Raising the body does worsen the center of gravity, but at least the truck will look even more aggressive.
Body lift done! Even with the larger wheels and raised body, the scaled look remains. 10mm is enough to eliminate the most of the rubbing issue for these 49mm tires. Note there's still some touching here at full steering lock and full suspension travel. There's also a little bit touching at the front bumper. These cases are minor enough now that I'm happy to drive the truck around.
So after adding brass parts an alloy rims, how much does the truck weight now? In stock form including the batteries was 283g. The truck now checks in at 390g, an increase of 38%!
Okay, the remaining question is, does it crawl now? It's too cold to find an outdoor space to crawl, so I threw some pillows together on the couch. The servo needs to work noticeably harder than before, but it seems to be okay on this terrain. I'm quite pleasantly surprised by the performance I'm seeing here! There's not a ton of grip available on that fabric, but the truck grabbed on and climbed. So the truck has gained some performance and also cool factor.
We can come back to this side leaning angle test. Let's see if it can lean further after the upgrades. It's clear that the truck can now lean more.
Wheels: https://www.amazon.com/dp/B093PWMFR4?...
Hex Adapters: https://www.ebay.com/itm/403238962356
Body Lift: https://rc.kyosho.com/en/mxw009-3.html
Nexx Brass Front Knuckles: https://www.helidirect.com/products/n...
Nexx Brass Rear Caps: https://www.helidirect.com/products/n...
Доступные форматы для скачивания:
Скачать видео mp4
-
Информация по загрузке:


![Сравнение производительности! Запустите два джипа и сравните! [Джип Вранглер Безлимитный Рубикон]](https://imager.clipsaver.ru/ETdxp_aPC6Y/max.jpg)