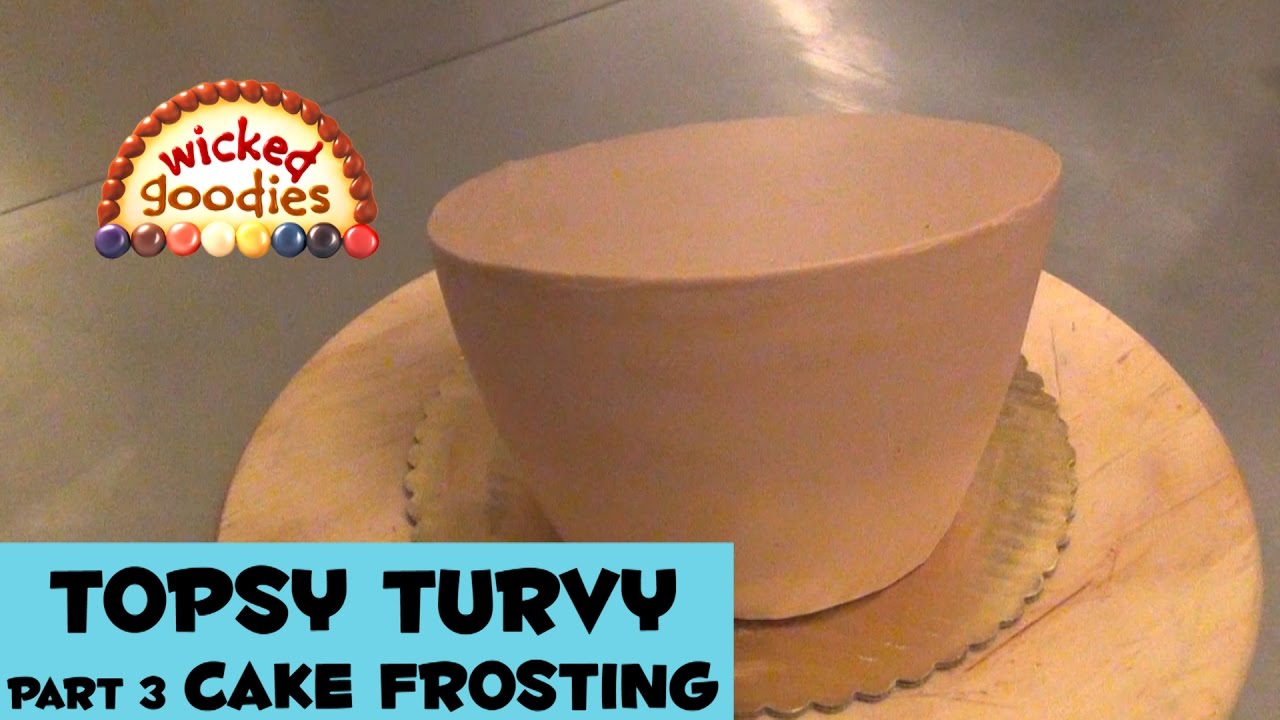
Topsy Turvy Cake Tutorial 3 - FROSTING
Автор: Wicked Goodies
Загружено: 2017-04-23
Просмотров: 22550
This is part 3 of 4
In this segment, I demonstrate how to frost a topsy turvy cake tier with buttercream using the upside down frosting method. http://www.wickedgoodies.net/2017/04/...
LINK TO PART 1: • Topsy Turvy Cake Tutorial 1 - INTRO
LINK TO PART 2: • Topsy Turvy Cake Tutorial 2 - CARVING
LINK TO PART 4: • Topsy Turvy Cake Tutorial 4 - DOWELING
Find Wicked Goodies:
BLOG https://www.wickedgoodies.net/
PINTEREST: / mywickedgoodies
INSTAGRAM / wickedgoodies
FACEBOOK / wickedgoodies
TWITTER / wickedgoodies
INSTRUCTIONS
The best way to frost a topsy turvy cake is upside down, because that positioning exposes the sides of the cake better, making them easier to access with tools.
1. So continue here as with the carving of the sides (as demonstrated in PART 2) by working on the cake upside down, keeping it sandwiched between two cardboards. Begin applying a crumb coat of buttercream frosting while pressing on the top of piece of cardboard with the opposite hand to maintain leverage with the cake. Do not frost on top of the cardboard and do not remove that top cardboard. Just hold it in place.
2. Once the crumb coat is complete on the sides, return the cake to the refrigerator for ten minutes or until the frosting is hard.
3. Next, apply a thicker finish coat. Note how much easier this is to do on an upside down cake. Now the finish will have spatula marks on it at this stage and that’s okay. Don’t waste time trying to perfect it. Instead, return the cake to the refrigerator for at least one hour or until the frosting is fully hardened.
4. Once the frosting is hard, whittle it down to a smooth finish by spinning the wheel while working the blade of a bench scraper up the sides. Clean off the blade periodically. You can also use the blade to redistribute frosting if a dent or hole needs to be patched or smoothed over.
5. Return the cake to the refrigerator for ten or more minutes, until the frosting is fully hard again.
6. Once the frosting is set, run a small offset spatula around the base of the cake to release it from its working platform. Press down against the board when doing this so as not to cut into the buttercream finish. Then flip the cake right side up. Clean any excess frosting off of the platter.
7. Remove the top piece of cardboard then add a thin crumb coat of buttercream to the top. Chill the cake until the crumb coat is hard.
8. Add a second, thicker layer of buttercream, filling in the gap where the cardboard was. As long as the cake is well-chilled, it should hold its edge. Once the top is all filled in, use a medium offset spatula to level it off. Then, clean up the sides, making them smooth. A lip should form around the top edge. Level that off. At this point, it’s important to clean the spatula after every swipe. Use only the outside edge of the blade as that yields a smoother finish with less jagged spatula marks.
9. Return the cake to the refrigerator for at least one half hour before proceeding with the doweling and decorating.
Musical soundtrack is "Fretless" by Kevin MacLeod (incompetech.com)
Licensed under Creative Commons: By Attribution 3.0 License
http://creativecommons.org/licenses/b...
Доступные форматы для скачивания:
Скачать видео mp4
-
Информация по загрузке: