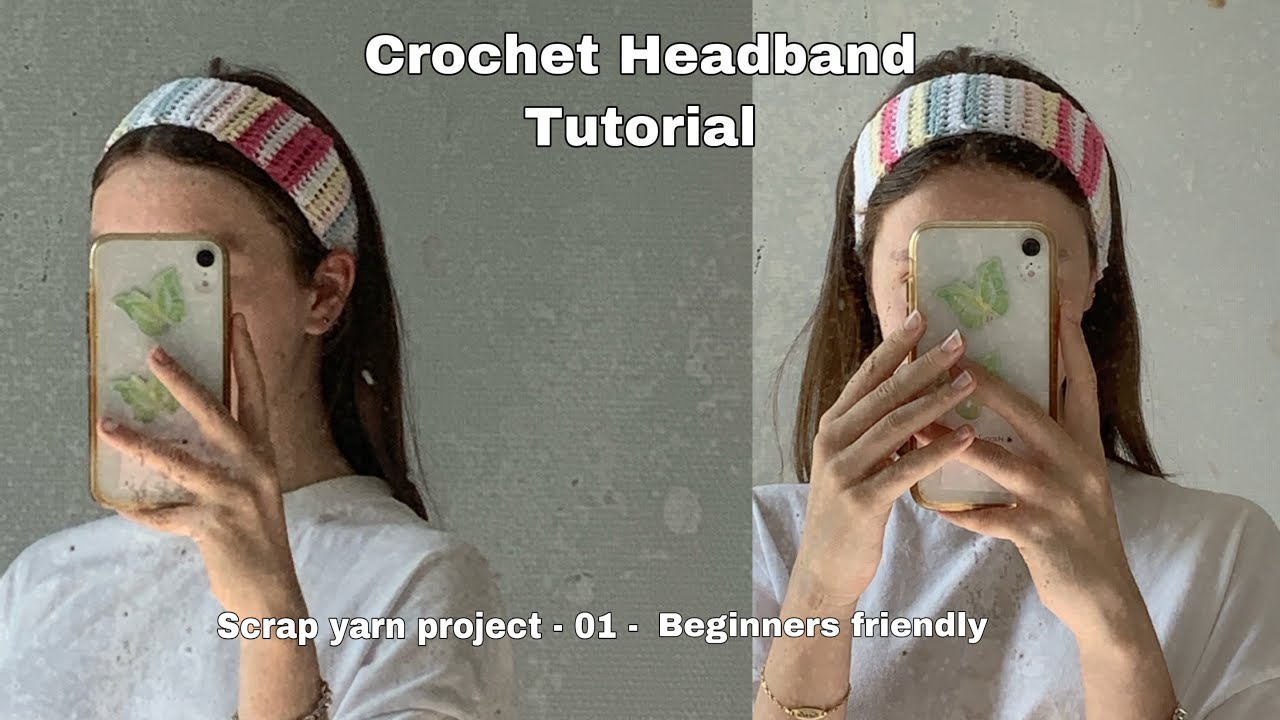
Crochet how-to: Striped HEADBAND tutorial 🍥 Diagonal stripes & colour changes
Автор: Triple Capricorn
Загружено: 2023-08-07
Просмотров: 13341
𝓗𝓮𝓵𝓵𝓸 𝓮𝓿𝓮𝓻𝔂𝓫𝓪𝓭𝔂. Follow along with my written pattern below to work up your own stripy headband. 👼🏻
❦ Follow along for never ending cosy content
Subscribe ✷ youtube.com/c/dearrainietv/?sub_confi...
TikTok ✷ / triple.capricorn
Instagram ✷ / triplecapricorn
Shop & support ✷ https://ko-fi.com/triplecapricorn
✷ Notes on the pattern
During rows where colour changes are required, carry the previous yarn beneath your stitches for more seamless transitions. Try not pull on the yarn too tightly, and remember to change colours in the last yarn over of a stitch. After a colour change, work over previous yarn for an additional 2–3 st.
The project is also worked flat, please chain one (1) to turn after each row.
Tension: 22 stitches x 30 rows
✷ Abbreviations (US terms)
ch: chain
dec: decrease
inc: increase
st: stitch/stitches
sc: single crochet
sl st: slip stitch
☆...☆: pattern repeat
✷ Instructions
1. Starting the tie
With your A colour, begin by working 41 ch as the foundation ch, turn, and work 40 sc. Once you’ve worked the row of sc back along the foundation ch, you’ve completed one tie, read onto the instructions for the body of the headband–do not turn your work.
*Crafter’s tip*: I prefer working sc into the back bumps of my foundation ch, as it creates a neater edge. I learnt this crochet hack from TL Yarn Crafts ( • 25+ CROCHET HACKS FOR BEGINNERS [Pro-Tips ... ) and have used it ever since! You’re welcome to also try this out for your own headband.
2. Working the body of the headband
Row 1: Work additional 2 sc in the last st (completed in previous step).
Rows 2–9: Sc in each st and ☆inc in the last st☆ to total 3 st in the row. At the end of row 9, you should have inc to 10 st in the row.
Rows 10–13: Sc in each st (10 st) for the next 4 rows.
Row 14: You’ll be introducing the B colour in this row – sc 8 in A colour, 2 in B colour. Consider this to be the right/front side of your work.
Row 15: You’re now facing the wrong/back side of your work. Sc 4 in B colour, 6 in A colour.
Row 16: Sc 4 in A colour, 6 in B colour.
Row 17: Sc 8 in B colour, 2 in A colour. In the last st, yarn over with your B colour.
Rows 18–22: Sc in each st in B colour (10 st), cut off A colour, leaving ~10 cm, and continue on with B colour over next 5 rows. For row 22, change to A colour to yarn over in the last st.
Row 23: Sc 2 in A colour, 8 in B colour.
Row 24: Sc 6 in B colour, 4 in A colour.
Row 25: Sc 6 in A colour, 4 in B colour.
Row 26: Sc 2 in B colour, 8 in A colour. Cut off B colour, leaving ~10 cm.
Rows 27–32: Sc in each st in A colour (10 st).
Row 33: Sc 8 in A colour, 2 in B colour. Note that this row signals the start of a new stripe, and follows the same pattern as described from rows 14–22.
Row 34: Sc 4 in B colour, 6 in A colour.
Row 35: Sc 4 in A colour, 6 in B colour.
Row 36: Sc 8 in B colour, 2 in A colour, make sure to carry B colour to end of row and change to it on the yarn over in the last st. Cut off A colour.
Rows 37–41: Sc in each st in B colour (10 st). For row 41, change to B colour to yarn over in the last st.
Row 42: Sc 2 in A colour, 8 in B colour.
Row 43: Sc 6 in B colour, 4 in A colour.
Row 44: Sc 6 in A colour, 4 in B colour.
Row 45: Sc 2 in B colour, 8 in A colour. Cut off B colour.
Rows 46–50: Sc in each st in A colour (10 st).
Row 51: Sc 8 in A colour, 2 in B colour.
Row 52: Sc 4 in B colour, 6 in A colour.
Row 53: Sc 4 in A colour, 6 in B colour.
Row 54: Sc 8 in B colour, 2 in A colour. Change to B colour to yarn over in last st. Cut off A colour.
Rows 55–59: Sc in each st in B colour (10 st). In row 59, change to A colour in last yarn over.
Row 60: Sc 2 in A colour, 8 in B colour.
Row 61: Sc 6 in B colour, 4 in A colour.
Row 62: Sc 6 in A colour, 4 in B colour.
Row 63: Sc 2 in B colour, 8 in A colour. Cut off B colour, this is the final colour change!
Rows 64–68: Sc in each st in A colour (10 st).
Row 69: Sc in first til second last st, ☆dec in last st☆ in following 7 rows. By row 76 you should have 2 st remaining.
3. Ending on the other tie
Row 72: Now at 2 st in the row, sc into first st and begin working ties by ch 40. Work 40 sc back along ch and sl st into last st in row to finish. Tie off and weave in tail ends. 🥳
✷ Chapters
00:00 - Welcome
00:42 - Project overview
01:55 - Materials & tools
02:18 - Starting the ties: Foundation chain
03:43 - Headband body: Row 1
04:13 - Rows 2–9
05:11 - Rows 10–13
05:39 - Row 14: Intro’ing B colour
06:48 - Row 15
07:49 - Row 16
08:43 - Row 17
09:46 - Rows 18–22
11:08 - Row 23
12:14 - Row 24
13:00 - Row 25
13:57 - Row 26
14:48 - Rows 27–32
15:09 - Row 33
15:49 - Rows 34–68
17:21 - Row 77 & second tie
19:30 - Showcase & outro
✷ ✷ ✷
Welcome to #CrochetDiaries – a log for one designer’s experimentations as a budding crochet nut! Watch me wrangle with yarn, hook, and camera to (hopefully) bring you informative, creative content and tutorials.

Доступные форматы для скачивания:
Скачать видео mp4
-
Информация по загрузке: