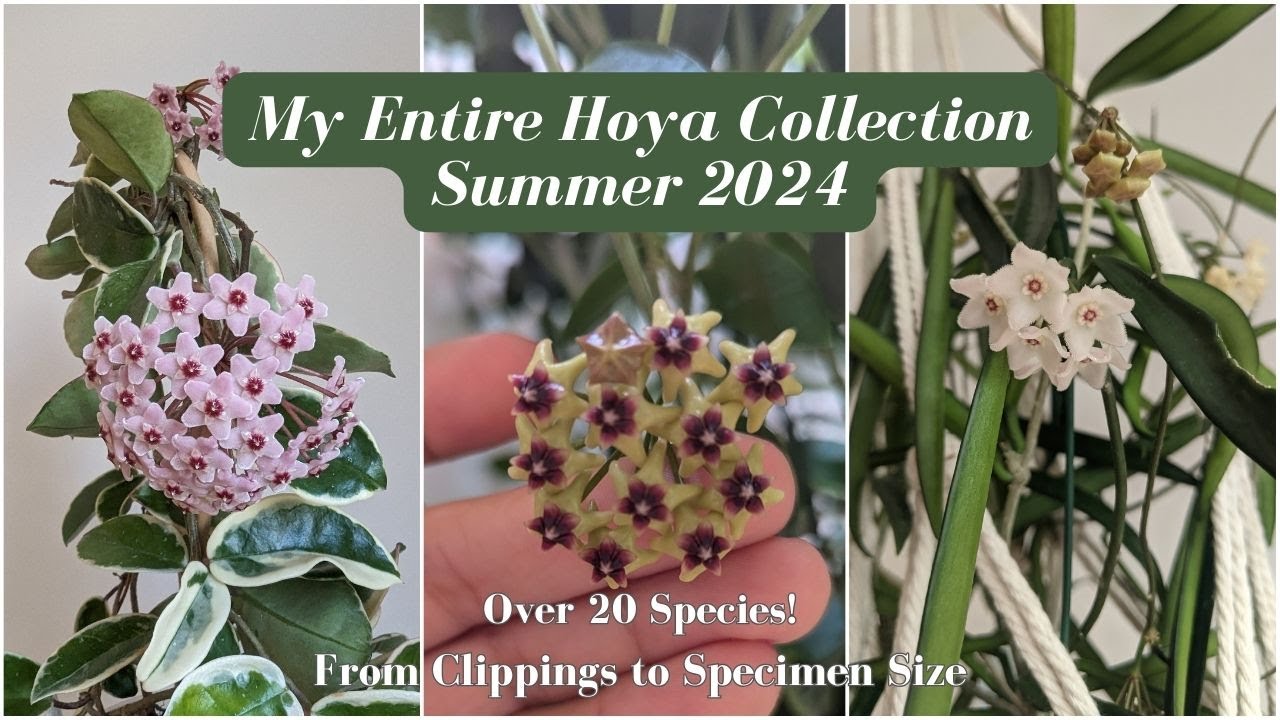
How to Propagate Hoya Plant [Endless Hoya Plants!]
Автор: Strong Echo
Загружено: 2025-01-15
Просмотров: 249
How to Propagate Hoya Plant [Endless Hoya Plants!]
About StrongEcho
We rent a plot in a greenhouse in the Netherlands, grow foods for ourselves, family, and friends and always make sure we have a nice surplus to share with our community. Learn more: https://strongecho.com/
How you can support us to help feed more people:
Sponsor as an organization, send an email to team @ strongecho.com
Buy your gardening tools and books via us and help us create an extra income to increase our impact:
https://strongecho.com/top-gardening-...
https://strongecho.com/top-gardening-...
Simply buy us a coffee: https://buymeacoffee.com/StrongEcho
Like, subscribe, and leave a comment to help us increase our reach so we can teach more people how to grow food for themselves, loved ones, and community.
---------------------------------
Chapters:
00:05 Taking Hoya Plant Cuttings
00:23 Putting Water in a Glass for the Cuttings
00:31 Placing the Hoya Plant Cuttings in water
02:00 Day 5 - Hoya Plant Cutting first Roots
04:39 Hoya Plant cuttings with developed roots
05:12 Preparing the soil for new Hoya Plants
06:09 Planting the new Hoya Plant cuttings
Get ready for some plant magic today we're diving into the fascinating and slightly addictive
world of propagating hoya plants
Imagine taking one little cutting and turning it into a lush leafy masterpiece it's easier than you think
more exciting than watching paint dry and way more rewarding whether you're a seasoned plant whisperer or someone who just managed to keep their first succulent alive this is for you.
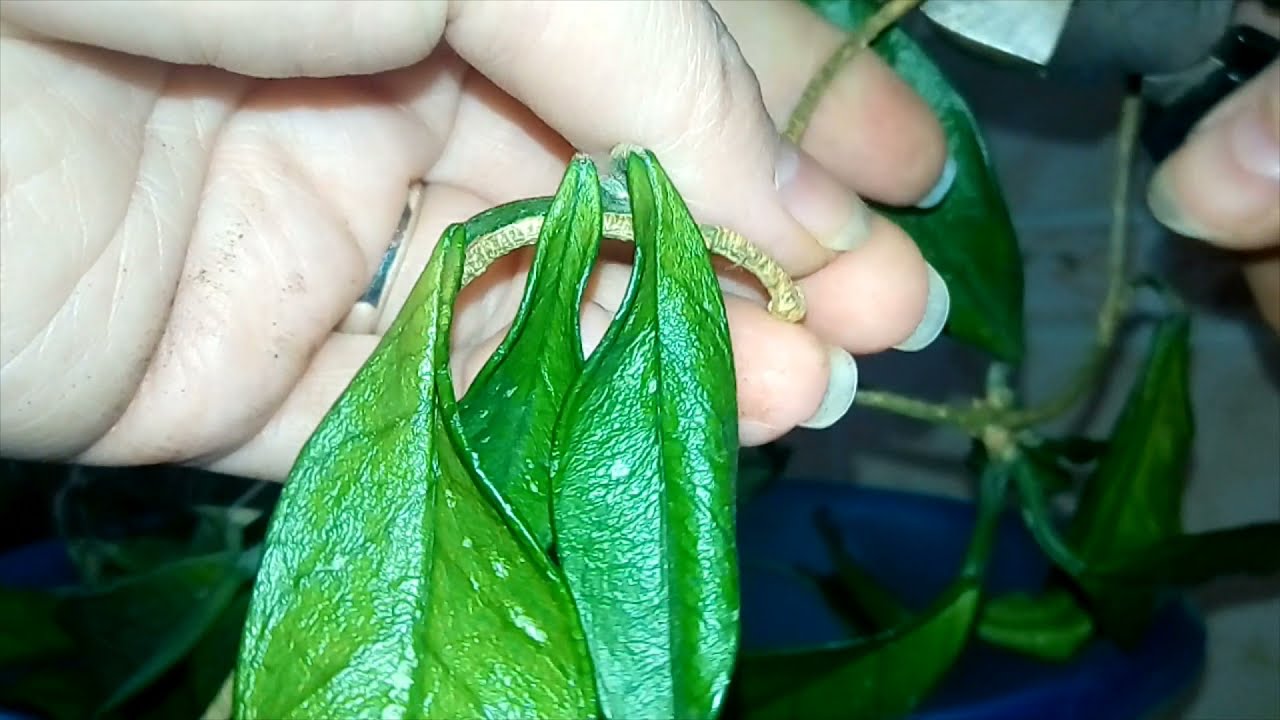
Let's get started and grow something truly amazing now propagating a Hoya plant is like baking a cake act instead of flour and eggs where working with water patience and a little bit of plant wizardry the first step the cuttings these should come from a mature plant and include at least one node this little bump where the leaves grow is essential because it's the spot where roots will begin to form if you didn't take the cuttings yourself inspect them carefully make sure they're fresh
healthy and free from pests no mushy leaves or funky discoloration allowed.
Think of it like choosing the best ingredients for a recipe quality matters once you've got your cuttings it's time for the fun part water propagation this is where the magic really begins.
Grab a clear glass container yup it's got to be clear so you can watch the roots grow right before your eyes fill it with clean room temperature water no fancy water needed here just good old tap water will do the beauty of a clear container is that you get to see the roots develop without disturbing the cuttings.
Pop the cuttings in making sure the nodes are submerged in water the leaves should stay dry
we want those roots to do all the work now here's where things get a little slow at first
but don't worry patience is key for the first 24 to 48 hours the cuttings are simply adjusting to their new watery home it might seem like nothing is happening but behind the scenes the plant is doing some serious behind the scenes work.
The nodes are absorbing moisture rehydrating and getting ready to start producing roots it's like the plant is having a spa day and getting prepped for the big job by day two or three things start to get a little more interesting you may notice that the nodes look a bit puffier as if they're filled with water
that's a good sign this is when the plant cells are starting to divide preparing to grow those first tiny roots.
If you look really closely you might even spot tiny little bumps forming on the nodes those are the very first signs of new root growth by day 5 to 7 the real fun begins tiny white roots start to sprout from the nodes these roots are delicate almost translucent and look like little hair like strands
at this stage they're fragile but they're the key to your plant's future survival around this time you might also notice the leaves looking a little more perky it's a subtle sign but when the leaves firm up
it means the cutting is absorbing moisture and doing well it's like the plant is flexing its roots.
Between days eight and 12 the rooting process continues to gain momentum those thin fragile roots begin to get stronger and longer ready to dig deep into soil you may see even more roots
sprouting from the same node or notice tiny shoots at the tips of the cutting this is when your plant's energy is fully engaged in root growth making the transition to soil much easier.
At this point the cutting is looking less like a fragile baby and more like a budding superstar
ready to take on the world by day 16 or 17 your cutting is ready for its big move the roots
should be long enough to support the plant in soil and they'll be looking much more substantial
they're sturdy strong and more than capable of thriving in the earth when it's time to remove the cutting from the water.
You Can Grow It!
#hoyaplant #hoyaplants #indoorplants
![How to Propagate Hoya Plant [Endless Hoya Plants!]](https://imager.clipsaver.ru/dAwg8jSy7eA/max.jpg)
Доступные форматы для скачивания:
Скачать видео mp4
-
Информация по загрузке: