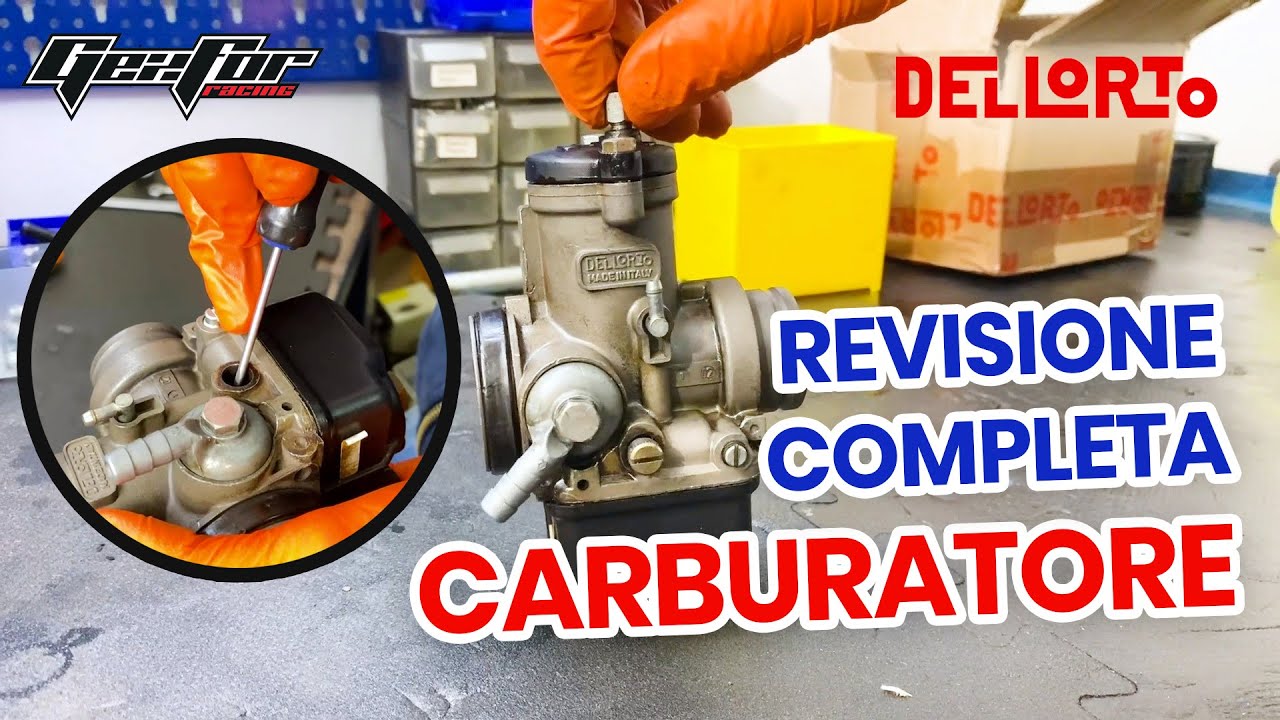
Dell'orto VHB Carburettor rebuild and cleaning
Автор: The Demented Monkeys
Загружено: 2019-04-14
Просмотров: 23627
This video shows how to clean and rebuild a vintage dell'orto VHB 28 SA Carburettor. The procedure's pretty much the same for every VHB carburettor and the rebuild kit includes parts that you may not need for your specific application. WARNING: Don't overtighten the jets and the other brass screws and use a properly sized screwdriver. (skip to 03:07 if you already know how to disassemble and clean a carb.)
Timeline:
00:04 Step 1: Carburettor disassembly ( 00:013 Float and Fuel Valve assembly - 00:19 Idle Jet, Atomizer, Starter Jet - 00:30 Idle Stop Screw - 00:36 Fuel Banjo and Fuel filter - 00:44 Idle Jet needle adjuster - choke and top cap not shown)
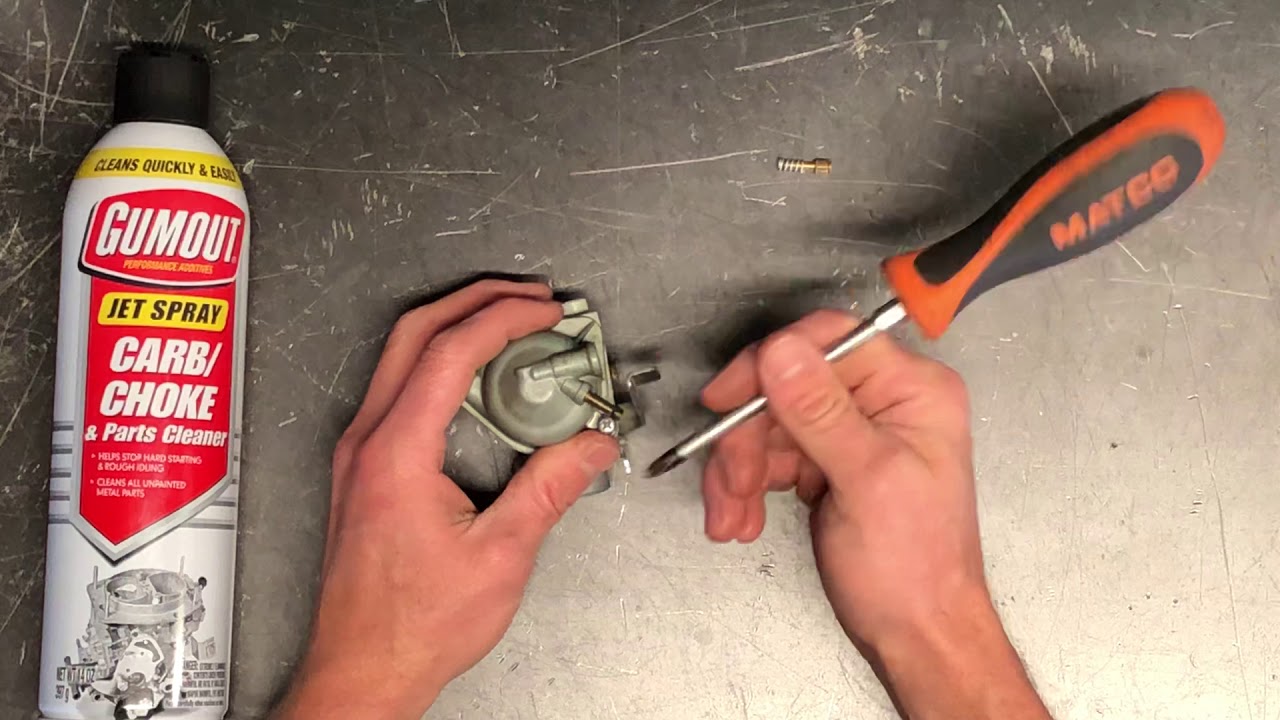
00:49 Step 2: Parts cleaning. Gasoline or acetone work equally fine. Acetone may ruin the o-rings and cause them to swell, only use it if you are going to replace them.
02:33 Step 3: Blow dry everything. Make sure to blow air inside every jet and fuel \air passage in the carburettor body. That's where most of the unwanted grime tends to form nasty deposits.
Now on to the actual rebuild:
03:07 Step 4: Atomizer (AKA Emulsion tube) reinstallation
03:20 Step 5: Idle jet reinstallation
03:27 Step 6: Starter Jet o-ring replacement and reinstallation.
04:08 Step 7: Idle Stop Screw and Idle Jet Needle O-ring replacement (the little dudes are often missing, don't worry if your carb didn't come with them) and reinstallation
( 04:53 )A good starting point for the Idle Jet Needle is fully tightened minus 1 or 2 turns
04:59 Step 8: Reinstalling the enricher \ choke (it's actually an enricher, it doesn't choke the intake)
05:08 Step 9: Reinstalling the Float Assembly. Make sure to gently tap on the retaining pin and inspect the rubber tip of the fuel valve to check for wear.
05:28 Step 10: Float Bowl o-ring replacement. Slightly lubricating both the seat and the o-ring helps.
05:58 Step 11: Seal the Bowl with the Main Jet and Main Jet Holder assembly. Replace the Jet Holder's fibre gasket (06:15 Inspect the carburettor to see if the bowl and main body sit flush to each other!)
06:25 Step 12: Top cap paper gasket replacement.
06:53 Step 13: Reinstalling the fuel strainer and the fuel banjo with a fresh fibre washer.
07:22 Job Done!
Outro music: Tribal Percussion by DL sounds
Link to download page: https://www.dl-sounds.com/royalty-fre...
Link to license: https://www.dl-sounds.com/license/

Доступные форматы для скачивания:
Скачать видео mp4
-
Информация по загрузке:


![Anatomia di un Carburatore - Pulizia Dell'Orto VHST 28 - [Video LUNGO !!]](https://imager.clipsaver.ru/9u_43o3pgKI/max.jpg)