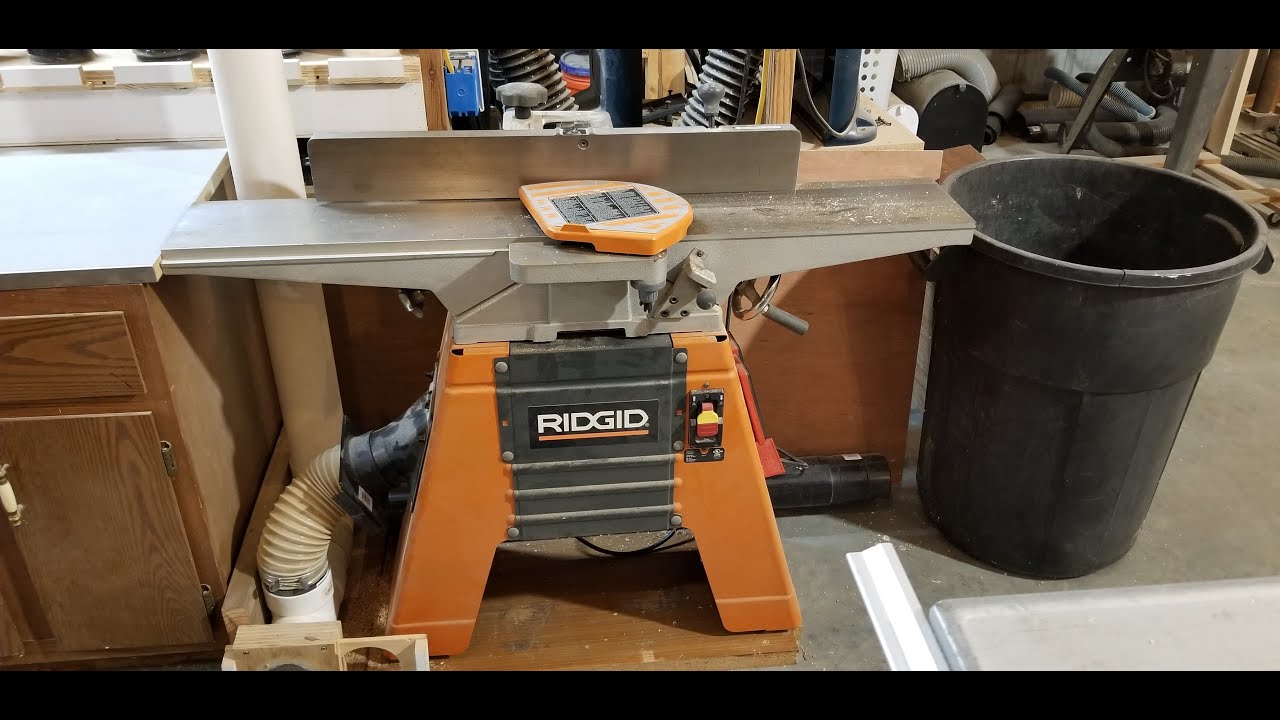
Replacing Ridgid Jointer blades, and properly aligning them
Автор: Real Guy Reviews
Загружено: 2021-02-28
Просмотров: 10196
Replacing the blades on your 6” wide Ridgid Jointer is a simple and easy to do process. As long as you follow the steps below you can complete the task in about 30 minutes and be working again. You’ll need to gather some tools to complete the job
Tools:
8mm Wrench
Allen Wrench set
Blaster Spray lubricant
https://joylink.io/mT5gjQ4
New replacement blades
https://joylink.io/IlcrOCe
Or these
https://joylink.io/GnQy612
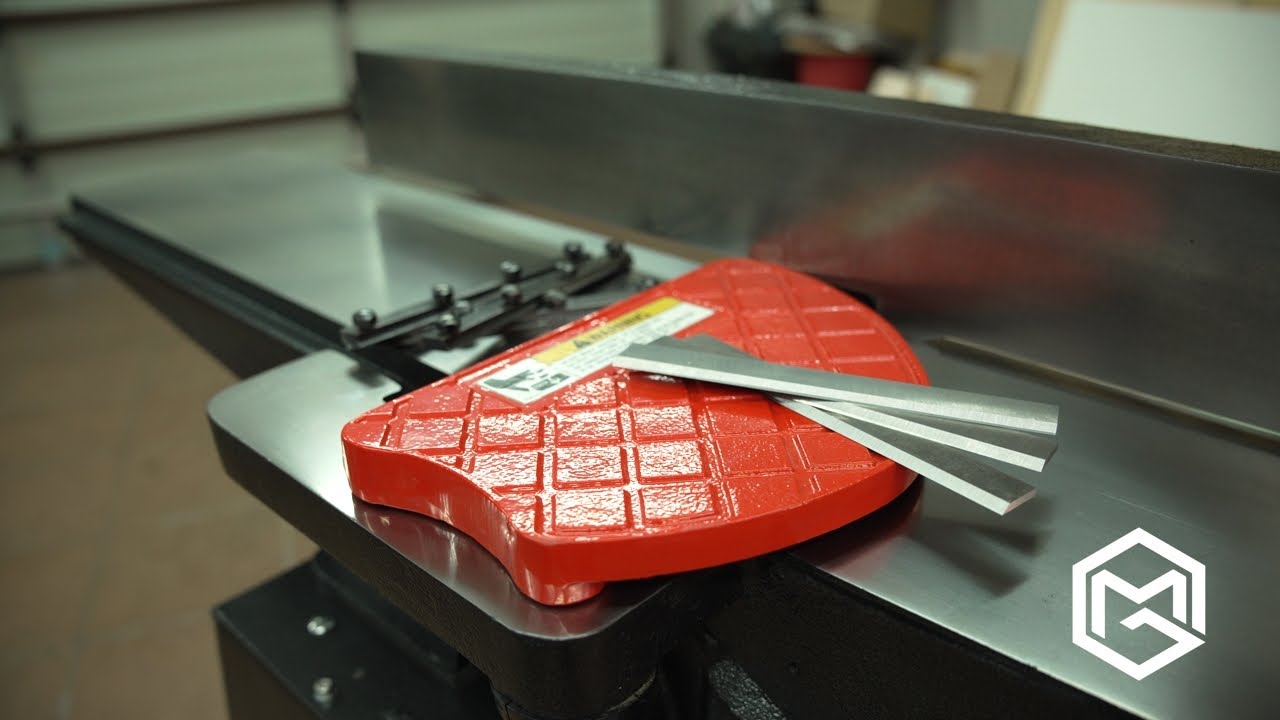
Jointer Pal (This is the easiest way to setup the blades)
https://joylink.io/Sd0vgvl
Small brush for cleaning out debris
1. As with any repair work make sure your power is off and the Rigid Jointer is unplugged.
2. Lower the infeed table on the Ridgid Jointer and push the fence out of the way.
3. If needed lightly spray each of the bolts with some spray lubricant, rotate the cutterhead by hand and give each one a little spritz. In our shop we use “Blaster” since that is what my Grandpa used and who can argue with grandpa.
4. Rotate the cutterhead being careful not to cut yourself on the blades, spray and loosen each of the bolts with an 8mm wrench and remove the old blades and bar. Set them aside
5. There are two set screws behind the blade that will also need loosening with an allen wrench. These are used to raise and lower the blade for proper positioning.
6. Take a small brush and clean out the area and make it free of any sawdust, debry, critters, and cheerios that may have fallen in there.
7. Repeat the removal process with all three blades on the cutter head.
8. Next is to install the new blades for the Ridgid Jointer and properly align them to the correct height. Place a new blade and the tightening bar into the slot. The blade should be installed so that the blade angles forward.
Using your jointer pal tool we can now set the jointer blades to the proper height.
9. Set your jointer pal on the outfeed table and space out the bars so you have access to the middle two nuts but the bars are still in contact with the blade. The magnets should be partially on the outfeed table and across the cutter head, but NOT in contact with the infeed table.
10. Align the jointer pal so it hangs over the centerline of the cutter head or the peak height of the blade when it is rotating.
If you have this installed properly, the magnets on the jointer pal will be touching the outfeed table and the blade at the same height and you should be able to push the blade down and the magnet will bring it back up.
Once you have your blade aligned for the proper height adjust it so the blade extends past the bed 1/16th of an inch on both ends.
11. Tighten the center two nuts, remove the jointer pal and tighten the remaining nuts.
Repeat on the remaining 2 blades.
As you rotate the cutter head, clear any debris that may have fallen in the head, give each nut and hex but a final tighten and you are all set.
Plug the machine back in and give it a try.
If you click on the link in this description it will take you to Amazon, and if you make a purchase then I will get a small %. I would greatly appreciate it. There is no additional cost to you.

Доступные форматы для скачивания:
Скачать видео mp4
-
Информация по загрузке: