etrailer | Installation: Roadmaster Direct-Connect Base Plate Kit on a 2017 Smart fortwo
Автор: etrailer
Загружено: 2020-06-22
Просмотров: 5784
Click for more info and reviews of this Roadmaster Tow Bar Base Plate:
https://www.etrailer.com/Tow-Bar-Base...
Check out some similar Tow Bar Base Plate options:
https://www.etrailer.com/base-plates.htm
Search for other popular Smart fortwo parts and accessories:
https://www.etrailer.com/vehicle/2017...
https://www.etrailer.com
Don’t forget to subscribe!
/ etrailertv
Full transcript: https://www.etrailer.com/tv-install-r...
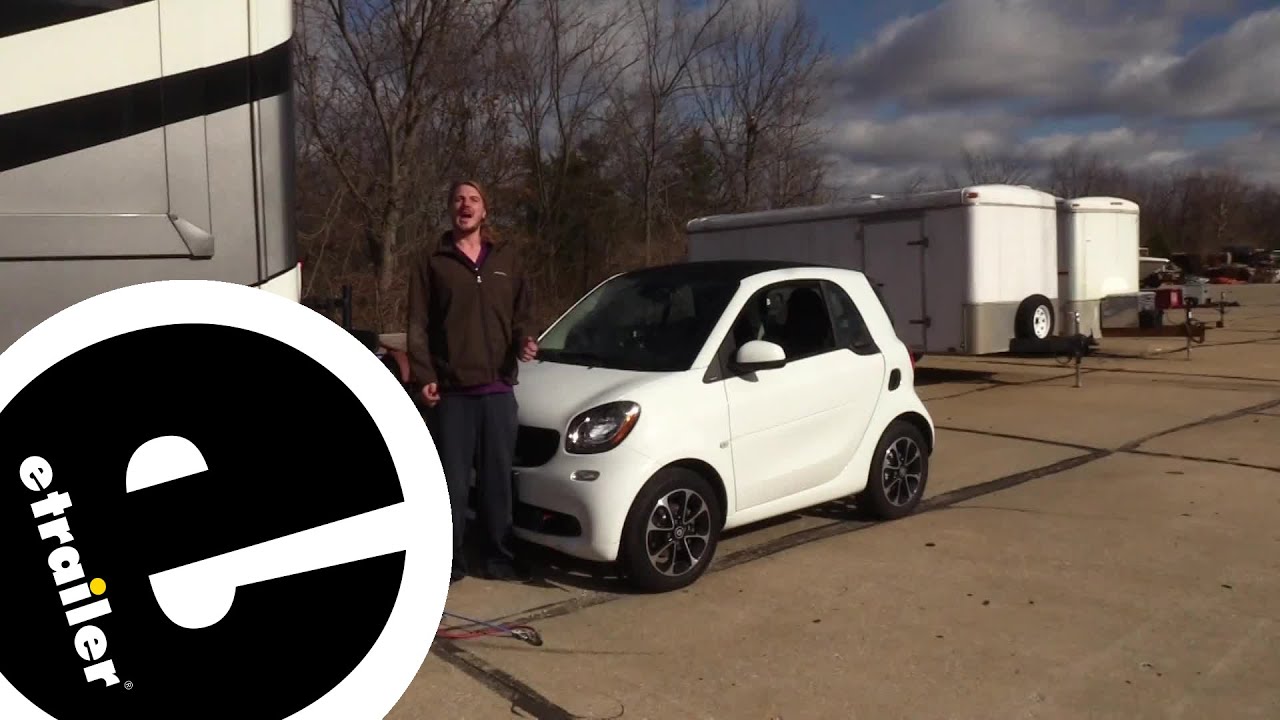
Hi there smart car owners. Today on your 2017 Smart fortwo, we're going to be taking a look at and showing you how to install Roadmaster's direct-connect base plate.There's five main components you'll need when flat towing your vehicle behind your motor home. You'll need your base plate, which is your connection point for your tow bar that is installed on your vehicle. You'll need your tow bar, which is the connection between your vehicle and your motor home.You'll also need your safety cables, which is a supplemental connection in addition to your tow bar. You'll need your diode wiring, which takes all the lighting signals from your motor home, transfers it to the lights at the back of your vehicle so that way everybody behind you knows your intentions when going down the road.If you don't want to go with diode wiring, you could also go with magnetic lights and wiring, which operates similarly, it just doesn't use the existing lights on your vehicle. You'll also need your supplemental braking system.
This will apply the brakes in your vehicle when you hit the brakes in your motor home, using the existing brakes on the car to help it come to a safe stop.This is what your base plate is going to look like when it's installed. The arms are going to pass through your bumper here and you're also going to have places for your safety chains and your wiring right down here in the front all behind the honeycomb portion of your grill.Now what I really like about this base plate is that these arms are removable. By pulling the pin we can then twist the arm and slide it out. Now we don't have anything we need to worry about our knees bumping on, our shins when we pass by, and it gives us a more factory look.You can see here there is some modifications you will have to make to the fascia in order to accommodate the base plate, but it provides you with your connection point to hook up your tow bar and it blends in fairly well with the black powder coat finish.Next to the arm here you've got your breakaway switch, because unlike some of the other base plates out there, Roadmaster has provided a mounting location for your breakaway switch which makes it convenient when you're adding your braking system.They've also added a mounting location for your wiring, so when you're adding your lighting as well as your braking system or charge wires, you've got a connection point for your wiring to mount up. Then it's also tucked up nicely underneath your license plate so it kind of keeps it hidden and it makes everything nice and convenient.Now when you're ready to attach your tow bar, since this is the direct-connect base plate, any other Roadmaster tow bar will hook directly to it without any types of adapters.
Our arm here will simply line up in between the direct-connect portion.The pin will slide through the base plate as well as the tow bar. Then on the other side we'll line up the pinholes and then we can lock it in place. We'll repeat this on the other side. Once we've got them both connected we can hook up our safety chains on our vehicle side there.On your motor home side, on your safety cable, you want to ensure that are crossed left or right to create a cradle so in the event of a catastrophic disconnect it will keep your components up off the pavement from digging in. Then we can hook up our wiring, and then you also want to hook up the tether for your breakaway cable.Now that we're completely hooked up between our vehicle and our motor home, we can place our vehicle into tow mode and we're ready to hit the road.We'll begin our installation by removing in the hood.
You'll have release latches on each side. You want to pull those out, and that will release the hood. When you flip it up you'll find straps on the backside. The straps on the backside are held in by four bolts. We're going to be using a 10 millimeter socket to remove these four bolts.Now we can get our hood a little bit further off, we just need to disconnect our washer nozzle.
That is most likely easiest done here on the hood, you could also do it further down here at the 90 degree elbow. You just give it a good tug to get it off. If you're having a difficult time and you can spray a little bit of silicone on there and that can help it slide off a little bit easier. Now that we've got everything disconnected from the hood we can set this aside where it won't get damaged.Nex
Доступные форматы для скачивания:
Скачать видео mp4
-
Информация по загрузке: