How to Sew Flange Binding / Peeper Binding Tutorial
Автор: Sweet Pea Machine Embroidery Designs
Загружено: 2019-08-02
Просмотров: 19970
All Sweet Pea Links: https://linktr.ee/swpea.machineembroi...
This description contains affiliate links. We may earn a commission if you make a purchase, at no extra cost to you.
📌Tools We Recommend:
🌸 Gingher Curved Embroidery Scissors: https://geni.us/ss285
🌸 505 Basting Spray: https://geni.us/wHQhw5v
🌸 Double Sided Tape: https://geni.us/R9Hg
🌸 Embroidery Hoops: https://geni.us/NCJBzV
🌸 Juki Patchwork Foot: https://geni.us/jYB9S5
🌸 Little Foot TPT (That Purple Thang): https://geni.us/nDrKATX
🌸 Expert Point and Press Tool: https://geni.us/2jHpk55
🌸 Olfa Rotary Cutter: https://geni.us/c3hzh
🌸 Clover White Seam Ripper: https://geni.us/BFHBC
Martyn Smith from Sweet Pea Machine Embroidery teaches peeper binding perfect for any quilt. Video uses blocks from the mandala blocks and tote bag:
https://swpea.com/products/mandala-bl...
Other example where we use peeper binding is the brand new Stained glass window design: https://swpea.com/products/stained-gl...
To make the binding, measure the length and width of the runner/ hanger and add them together and then multiply by two and add an extra 10” for corners.
Cut strips of fabric to make up this length (ideally the fabric should be cut across the piece: selvage to selvage for the best binding finish.
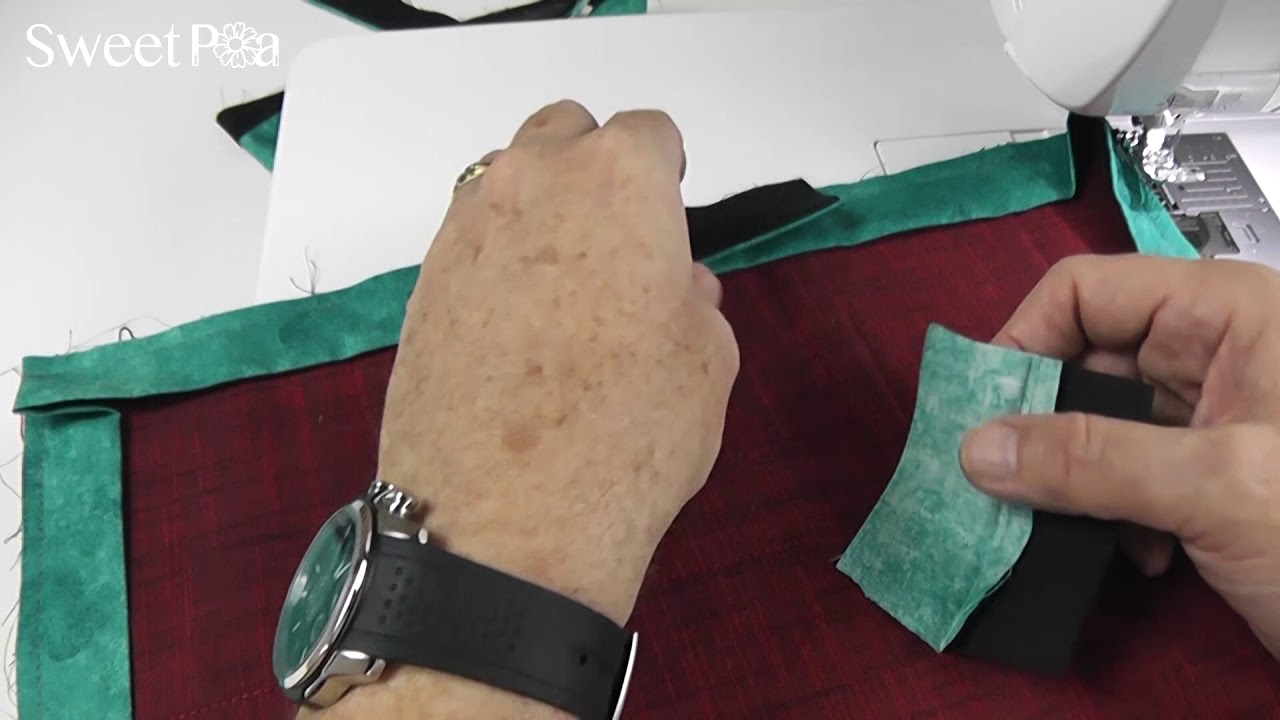
For a peeper binding you will require 2 different fabrics, one that will “peep” out from the binding to add contrast and one for the binding itself. We’ve cut the peeper at 1 ¾” wide and the outer binding colour at 1 ½” wide.
The cutting widths are totally variable to what you desire but there does need to be a ¼” difference between the 2 strips. The finished width we have used will provide a generous ½” binding on the edge.
JOINING STRIPS - Lay your fabric strips right sides together as shown. Sew a diagonal seam from corner to corner (45 degree angle), trim the corner, and repeat until all the binding strips are sewn together into one long strip.
Repeat the steps above for the other strip of fabric.
To make up the peeper binding strip, lay right sides together and stitch exactly ¼” from the edge trying to keep this stitching as straight and even as possible.
With an iron (working on the right side of the fabric as it’s much easier) press the closed seam allowance to the side from the peeper fabric. Press the whole length.
With wrong sides together fold widthways and press the peeper edge keeping the raw edges as even as possible.
The peeper binding is stitched onto the underside of the runner/ hanger and then folded around to the topside and stitched into position. To ensure perfect corners we suggest you mark the ¼” seam intersections on the 4 corners of the runner/ hanger.
Create a 45 degree angle at the beginning of your binding by flipping the end across to the side of the binding, as in the photo below. This will give a smooth finish when finally joining the 2 ends together. Our peeper side of the binding is facing up.....
Written instructions continued in stained glass download.
Доступные форматы для скачивания:
Скачать видео mp4
-
Информация по загрузке:


