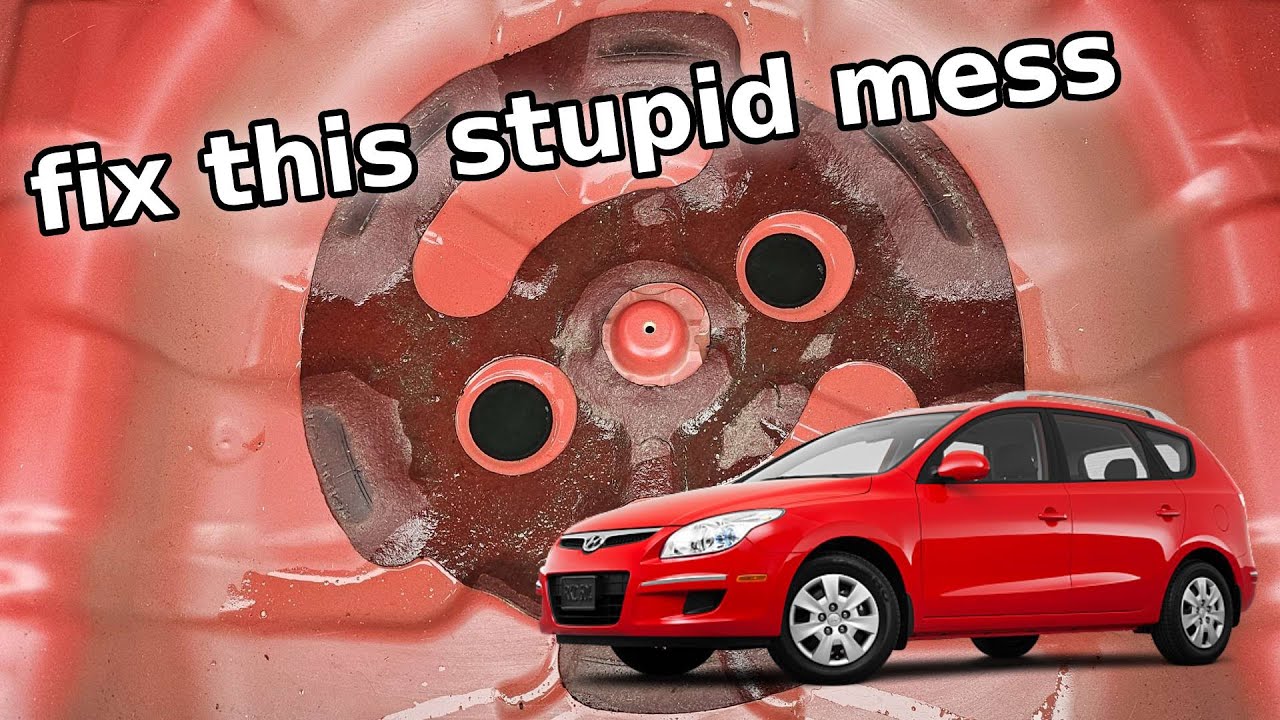
Water leak in Hyundai i20 (2014)
Автор: Graeme Vetterlein
Загружено: 2023-01-14
Просмотров: 12184
The links are:
Original post:
https://www.reddit.com/r/Cartalk/comm...
Photos:
/ jqufy1
----------------------------------------------------------------------------------------
Hi, we just bought (in January 2023) a 2014 Hyundai I20 from a dealer. There are
some issues with AC etc but the main shocker was finding the boot full of water.
It mostly collected in the spare wheel holder.
We drained it out but 24 hours later it was again full. The rear seats were also
damp and the were rusty drain plugs (used during the paint dipping process I
believe.) under the rear seat.
It took a lot of effort but I believe we found the issue.
-------------------------
Taking off panels there was evidence of water almost everywhere. Some if this,
no doubt, was condensation from all the water sitting in the boot and the rear
seat.
I happened upon an article on reddit:
https://www.reddit.com/r/Cartalk/comm...
Looks like the user with the solution has been deleted, his photos survive here [ https://drive.google.com/drive/folder... ]
Suffice to say we had the same issue but I did a lot of testing (2 people for
about 6 hours) and took some stills and videos. I also a used USB endoscope
extensively but it turned out to be of limited use.
----------------------------
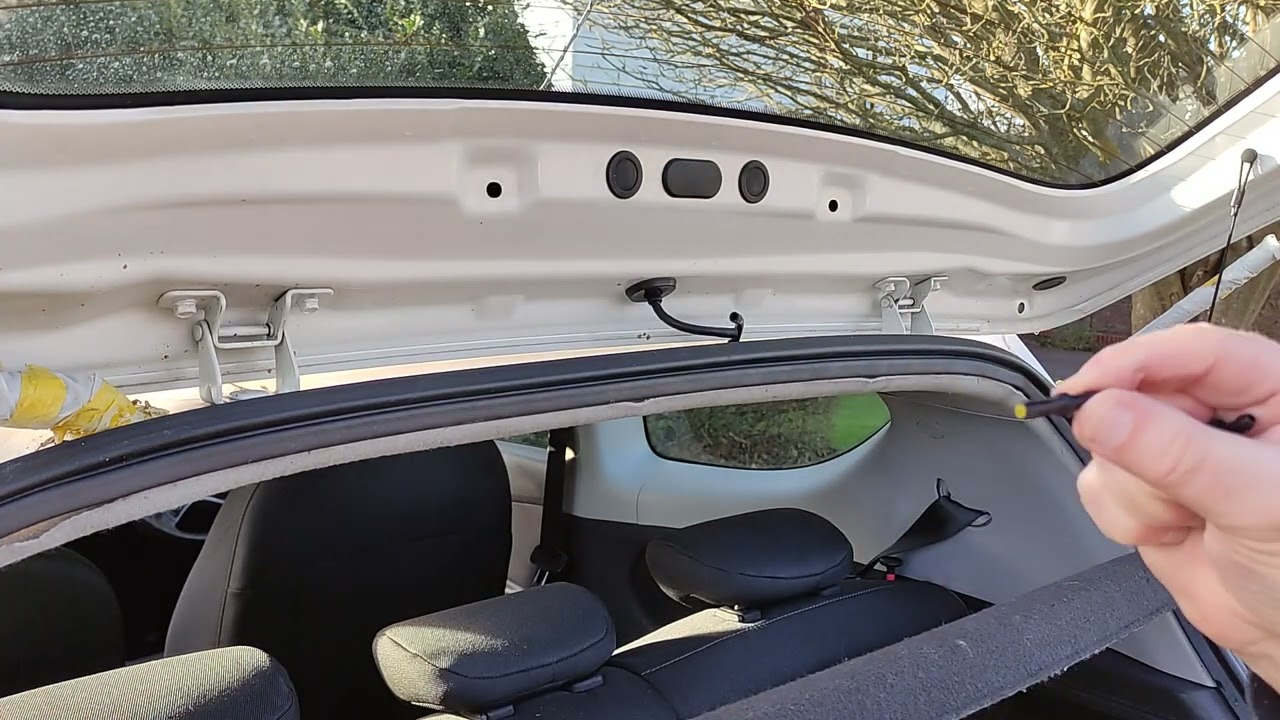
To cut to the chase, I think the root cause is a robot welding error (so it's
systematic, I suspect many I20 will suffer this problem):
The fault is near the tailgate hinge on the RHS (UK Build). There is a spot
welded joint. On the LHS you can see how it is supposed to work, the two panels
have exactly the same curvature, they are spot welded together. The joint is made
water tight with a sealant then the the whole body is dipped in paint an the filler
is hidden.
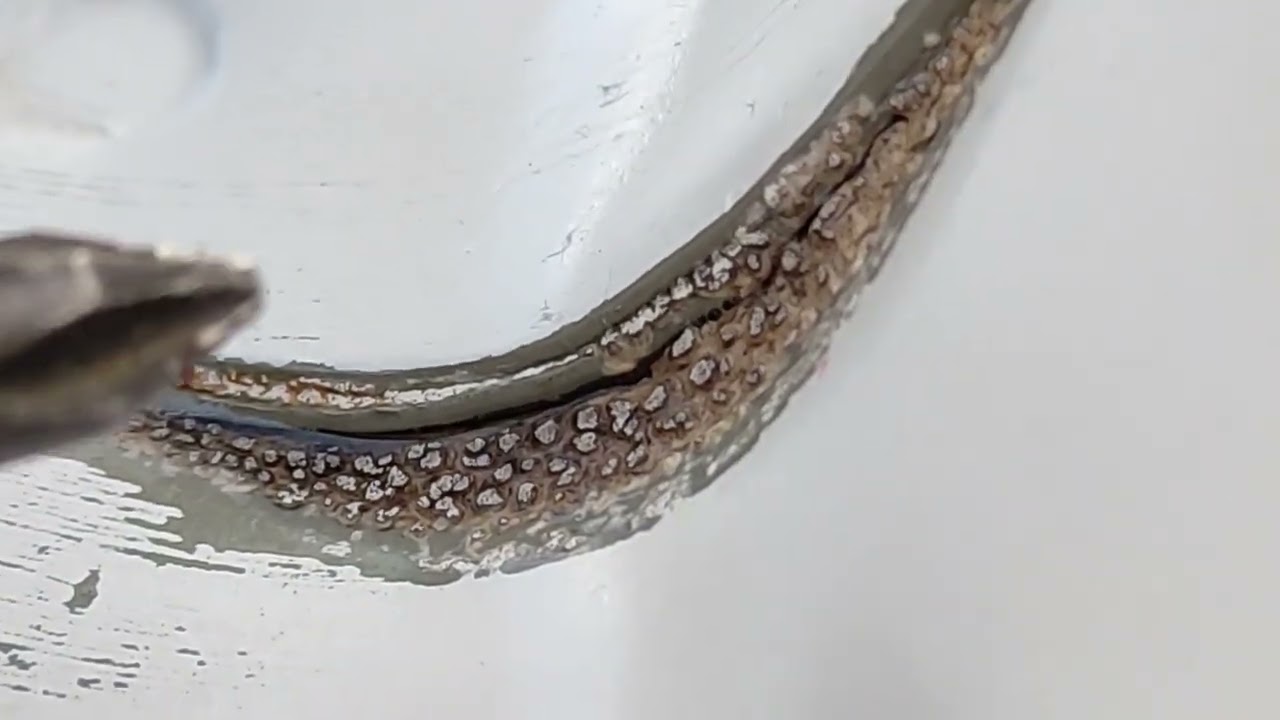
On the RHS however the curvature of the two panels is different. As a result
quite a lot of filler then makes it water tight and the paint again covers it
up. However due to the size of the gap the sealant is subject to movement, this
in turn causes the paint to "craze" and break up, this in turn exposes the
sealant to the elements. As a result it gets dirty. So if you see a dirty joint
it has already, or is about to fail. Compare it to the LHS.
------------------------
We carried out lots of test with a hose and watering can, using putty to block
the gutters etc, to hold water in place. When we finally found the root cause
the water streamed in at a steady rate from a small water reservoir formed of
putty over this joint. Even at this point I doubted that was the root cause, no
gap was visible, just some dirt. Even viewed from inside, via the endoscope did
not show any gap. Finally a lot of external light and a macro setting on the
camera showed a tiny "crack" . It was a black split in blackened sealant so
almost invisible. Of course the watershed of half the roof is collected in the
RHS gutter and funnelled over this point, which is why it causes so much water ingress.
----------------------------
So how did I fix it?
It was all thoroughly wet by now, so we first dug out as much of the failed
filler as possible. You can see from the endoscope video a copper flex being
used to "wire brush" the joint, this show where the split appears inside the car
body, it's hidden by folds and structures inside the bodywork (which is why we
could never see the leak).
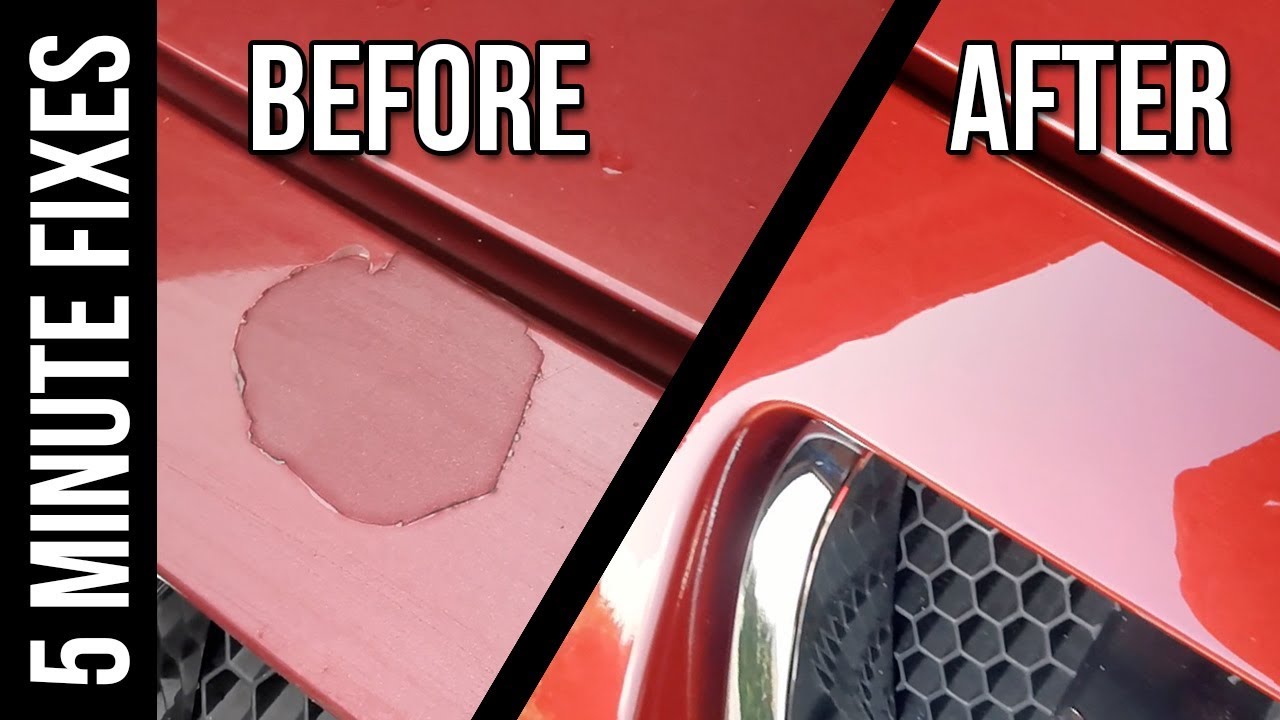
Next we dried out the joint with a hot air gun before
cleaning with methylated spirit. Take care not to scrape off the primer and
expose bare metal (to rust). We injected the joint with "Gutter Sealant" just
because I had some. This has the advantage of never setting, so avoiding the
cracking problem but as it's a bit messy (for the same reason) we covered it in
a bitumen paint, I'll probably cover in a white material for aesthetics.
----------------------------- clip7
After a couple of days, the Bitumen paint had dried and the car had sat though
another 2 days of rain. Looking in the boot, all appeared dry. You can see the
liberal use of sealant at the back of the boot.
So I removed the masking tape which had helped make the paint lines straight.
Masking tape is designed to be low adhesion so you can use it in home decorating
to protect wallpaper and other paint, it peels off without damaging the
surround. In this case, however it managed to peel off the car paint, meaning
the pain here must be very poorly attached to car. Much less than indoor
skirting board for example. Car paint is usually pretty tough as it has to take
quite a beating compared to indoor paint.
----------------------------- clip6
I also had a broken radio aerial. Taking this off, it has a hole though the centre
where the plug goes, now it's broken it's just an open hole on the root. I
filled this with hot glue and ordered a new aerial base.
Доступные форматы для скачивания:
Скачать видео mp4
-
Информация по загрузке: