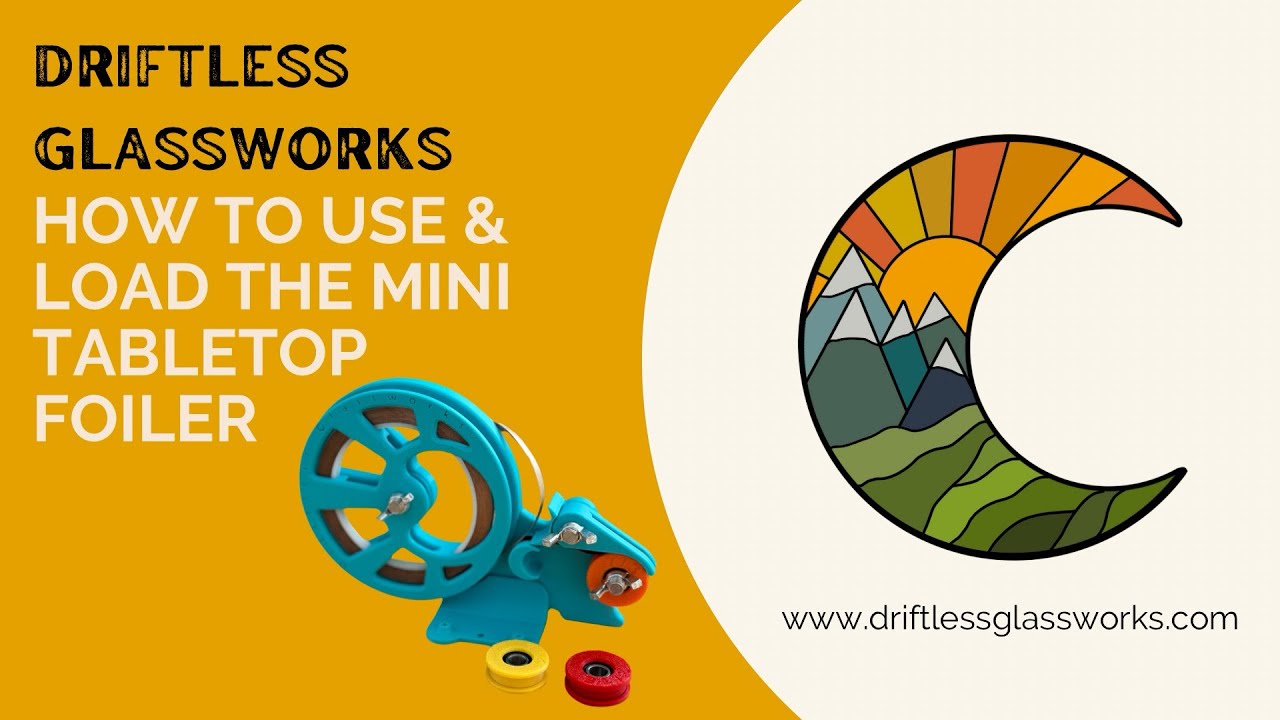
How to load the Mini Table Top Foiler from Driftless Glassworks
Автор: DRIFTLESS GLASSWORKS
Загружено: 2024-04-11
Просмотров: 3620
Driftless Glassworks Tabletop Foiler
For purchasing and tutorials visit www.driftlessglassworks.com
1. Prepare Your Workspace:
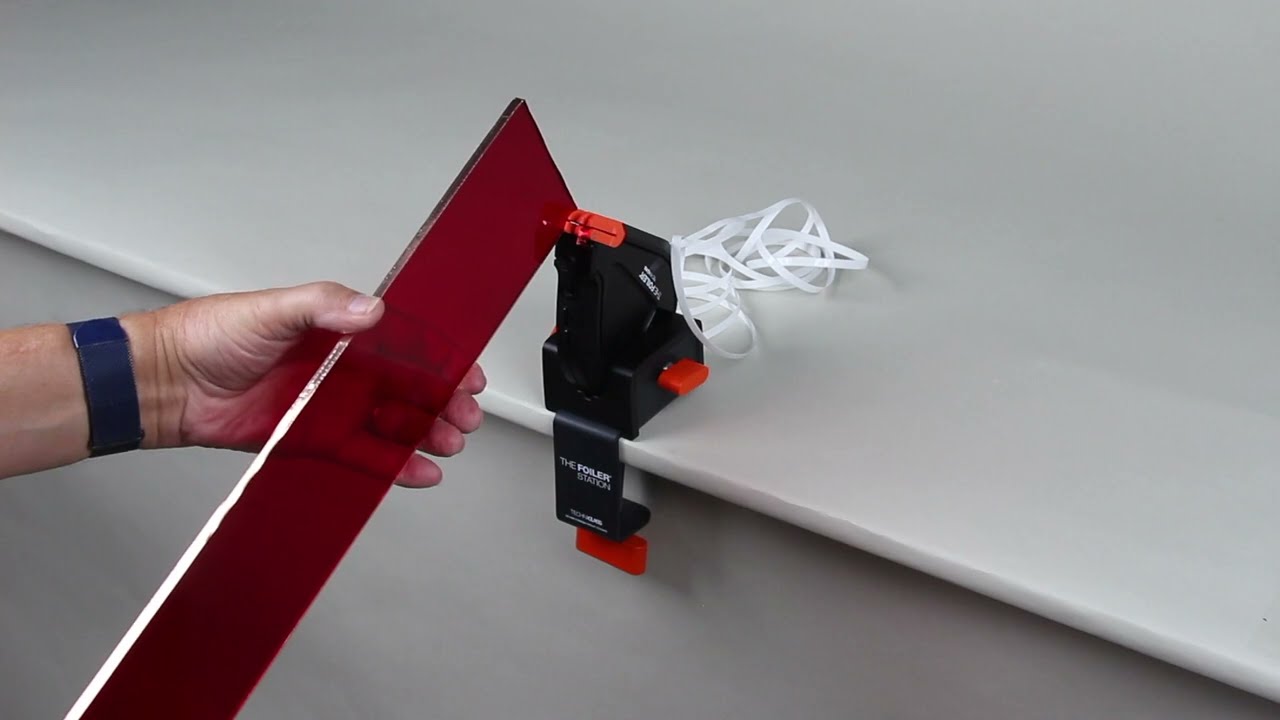
Ensure that the Driftless Glassworks Mini Tabletop Foiler is securely attached to a stable surface with a clamp, pins, or screws fastened to the base.
2. Clean the Glass:
Wipe each glass piece with glass cleaner or isopropyl alcohol to remove dust, dirt, or oils. Clean glass ensures proper adhesion of the copper foil.
3. Setting up the Foiler:
Determine which foil size you want to use. Place the correct applicator disc on the front bolt, place the washer on, and then secure it with the wing nut.
Unscrew the foil holder and load the foiler with the desired foil size following the direction indicated on the foil-holding disc.
Loosen and lift the centering guides while loading the foil.
4. Loading the foiler:
Separate the foil. The paper backing gets pushed back towards the top of the foil disc. Place the foil between the moons with the sticky side up and place the end of the foil on the applicator disc at the front of the Mini Foiler.
5. Foiling:
Move the centering guides back down over the foil-holding disc.
Apply foil to your pieces by placing the glass in the centering channel and the applicator disc. Watch as you apply the foil to ensure an even application of foil as glass thickness may vary. Using scissors, trim the foil with a small overlap.
6. Burnishing
After foiling all edges, use a burnishing tool to press the foil against the glass firmly. This ensures good adhesion and helps achieve smooth solder lines.
Check out the Mini Tabletop Foiler from Driftless Glassworks at www.driftlessglassworks.com
Доступные форматы для скачивания:
Скачать видео mp4
-
Информация по загрузке: