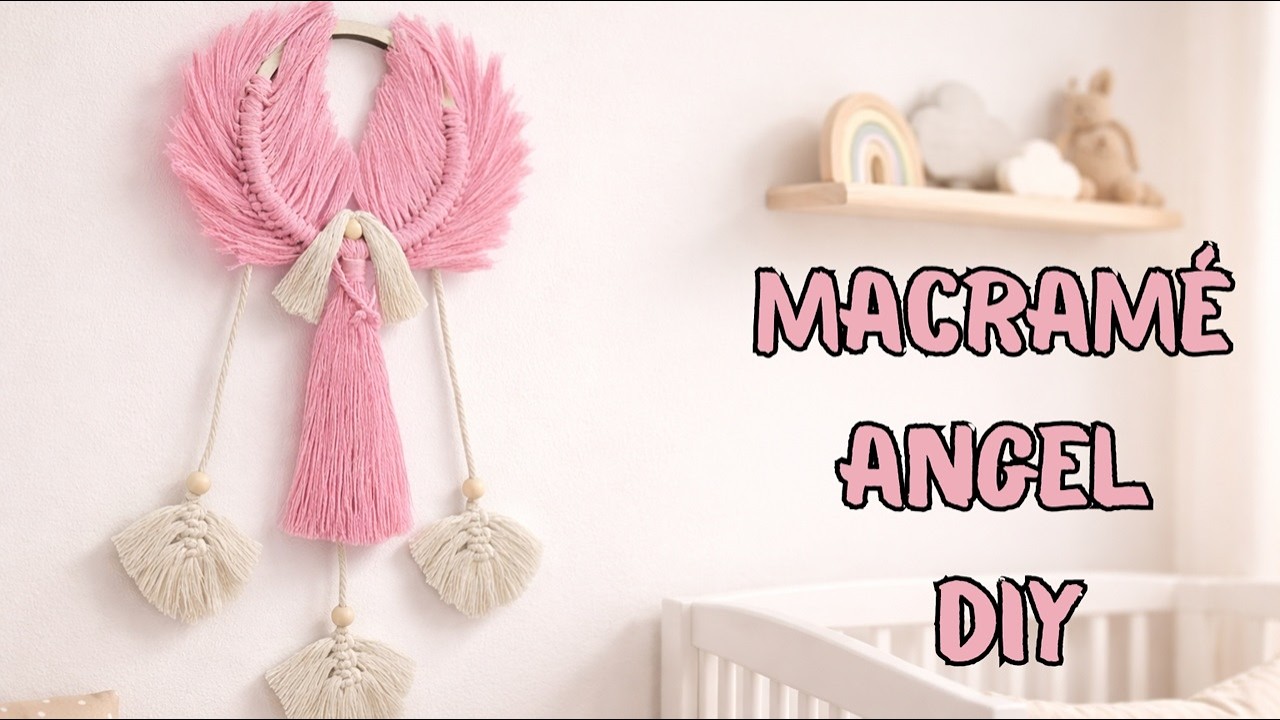
DIY Macrame Angel | Knotting & Feathered Wings Tutorial
Автор: ArteConAmor
Загружено: 2026-01-11
Просмотров: 52
Create a fluffy-wing macramé angel that instantly makes any room feel cozy
In this step-by-step tutorial I’ll show you how to build the wings, shape them so they hold their form, and finish the angel with clean tassels and beads. Perfect for nursery decor, boho interiors, or a handmade gift.
Materials:
• Wooden ring, 16 cm in diameter
• Pink cotton macramé rope, 3 mm:
– Wings: 24 cords × 20 cm
– Body: 6 cords × 40 cm
– Arms: 1 cord × 20 cm
– Wrapping cord: 1 cord, 30 cm
• Beige cotton macramé rope, 3 mm:
– Hair: 3 cords × 15 cm
– Decoration:
• 1 cord × 40 cm
• 2 cords × 30 cm
• 18 cords × 10 cm
• Cord for attaching the head - 20 cm
• Wooden beads 4 pcs
• Glue mixture (PVA glue + water, 1:1), container and brush
• Scissors, measuring tape, comb
• Hot glue gun
More details:
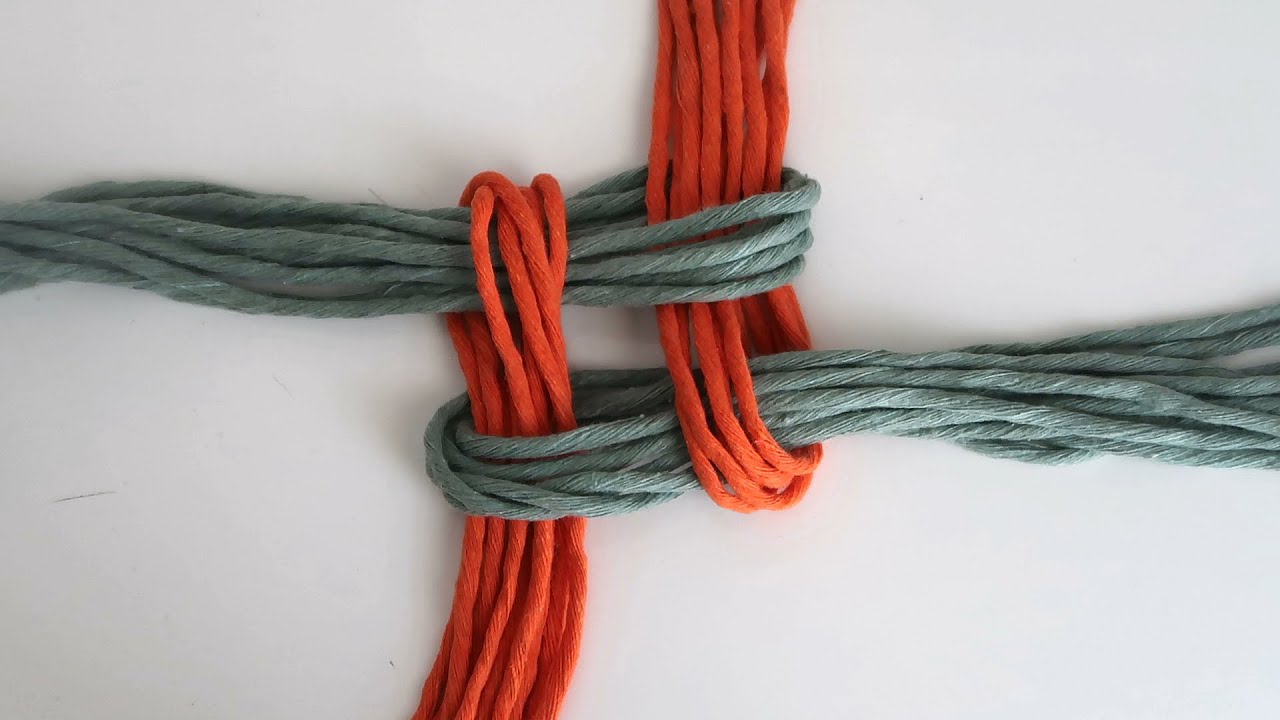
1.For the wings, the 24 cords (20 cm each) are divided into 3 bundles, resulting in 18 pairs per side.
2.Important: When forming the angel’s body, don’t forget to insert the 20 cm cord inside, this will become the arms. Then tie the body securely.
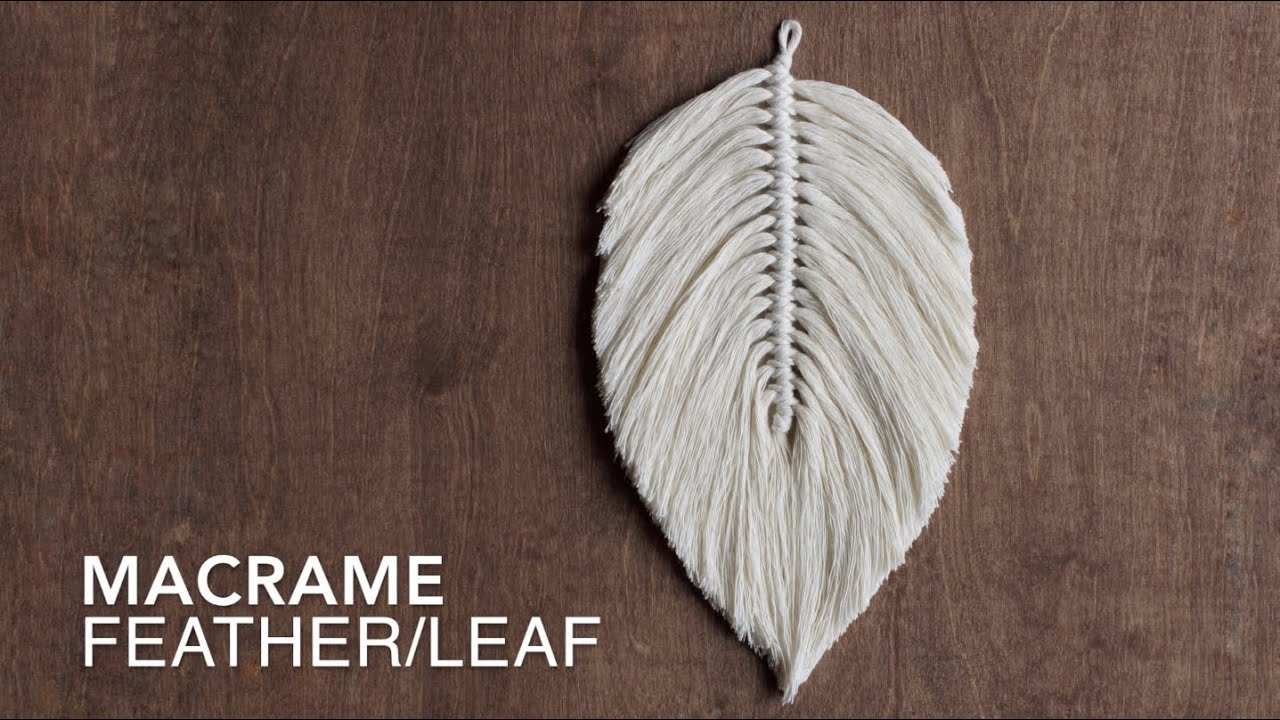
3. Glue mixture: Mix PVA glue and water in a 1:1 ratio. Use a container and brush for application. Carefully brush through the wing cords to shape them so they stand properly and don’t droop. The wings will set nicely after about 24 hours of drying. Do the same with the decorations.
Subscribe for more macramé tutorials + DIY home decor.
My profiles: @ArteConAmorMacrame
Tiktok -
/ arteconamor677
#macrame #macrametutorial #macrameangel #diydecor
Доступные форматы для скачивания:
Скачать видео mp4
-
Информация по загрузке: