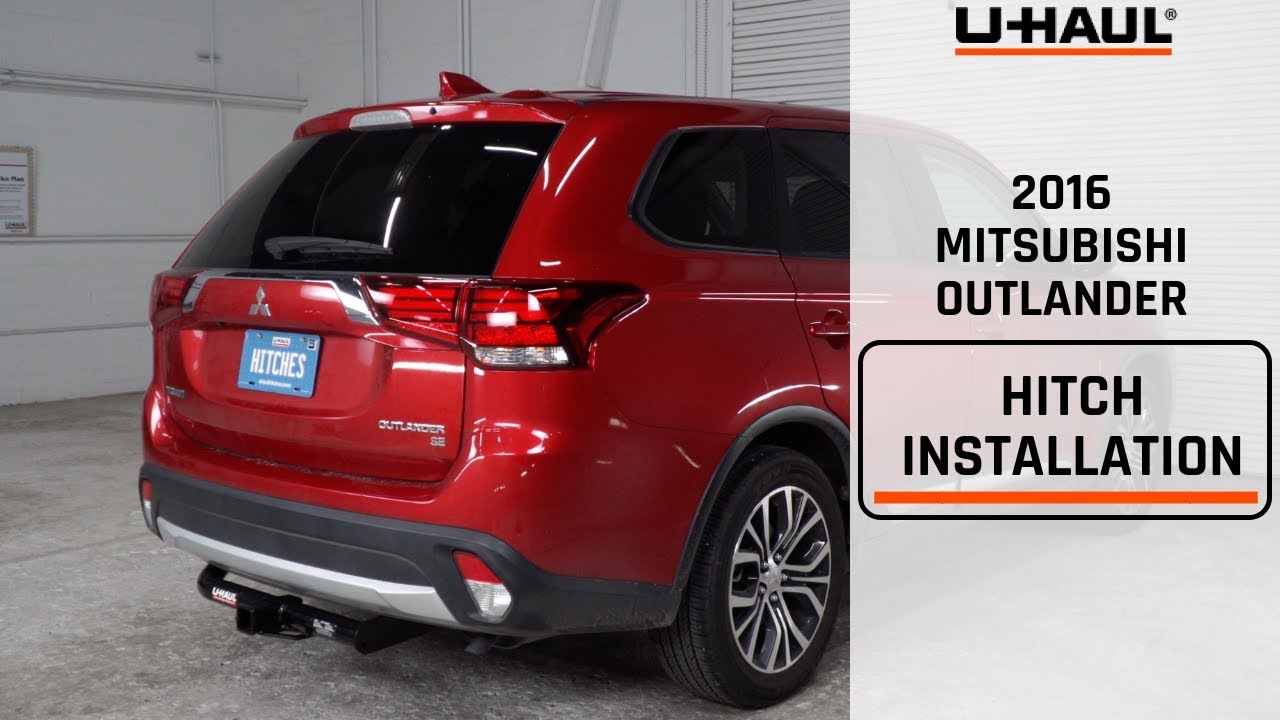
Installing the Tekonsha T-One Vehicle Wiring Harness on a 2024 Mitsubishi Outlander Sport
Автор: etrailer
Загружено: 2025-06-27
Просмотров: 245
Click for more info and reviews of this Tekonsha Custom Fit Vehicle Wiring:
https://www.etrailer.com/Custom-Fit-V...
Check out some similar Custom Fit Vehicle Wiring options:
https://www.etrailer.com/fitguidet1.htm
Search for other popular Mitsubishi Outlander Sport parts and accessories:
https://www.etrailer.com/vehicle/2024...
https://www.etrailer.com
Don’t forget to subscribe!
/ etrailertv
Full transcript: https://www.etrailer.com/tv-Install-T...
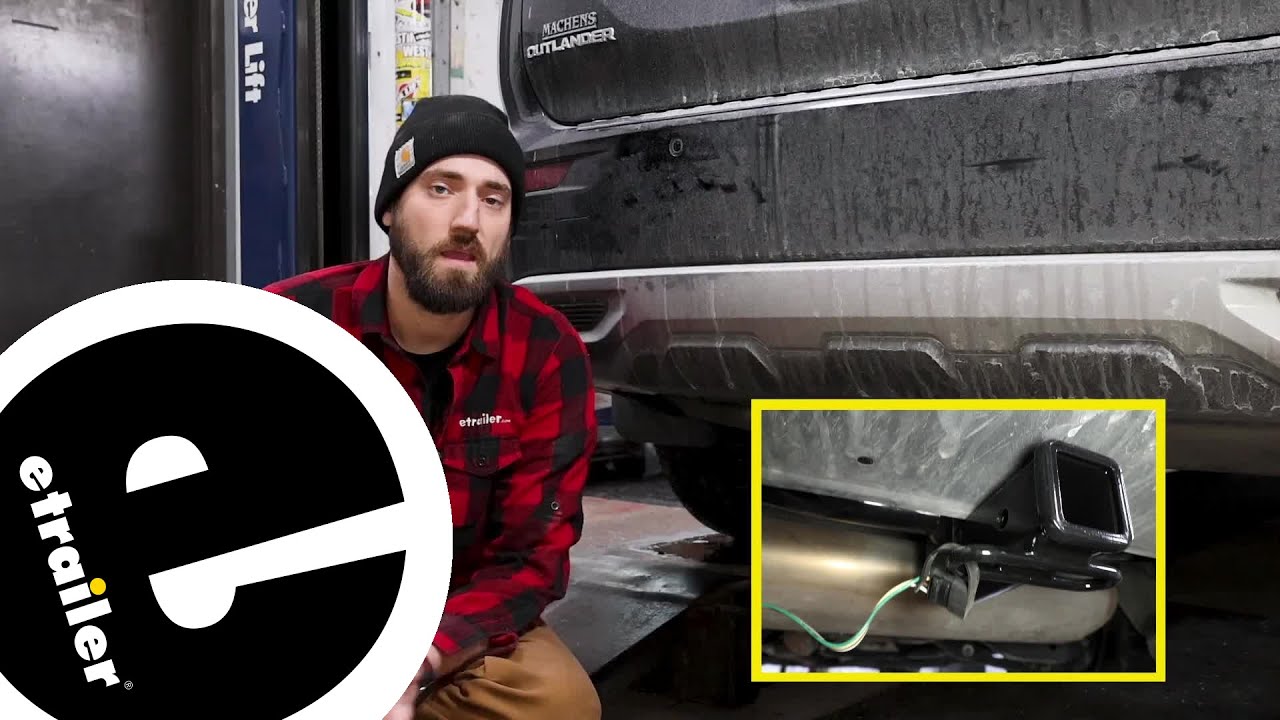
Hello, neighbors, it's Brad here at etrailer. And today we're taking a look and installing the Tekonsha T-One trailer wiring harness on a 2024 Mitsubishi Outlander Sport. Now this is gonna be a custom installation that's gonna allow you to use factory style connections to plug into your taillights, and you're gonna have to run some power up to the battery to get this to give you your running lights, turn signals, as well as brake lights to the lights on your trailer or maybe an accessory that you may have loaded onto the back. It's a great addition if you do have a hitch because even if you don't plan on pulling a trailer, if you are at a position where maybe you have to for a once or twice, you are gonna need this to be safe and legal. So adding it in, especially with only, you know, plug and play essentially on your taillights is really a great thing to do, and it's really not that hard of an installation. You're also gonna have internal fuse protection as well as module protection, meaning it's really never gonna give you any issues.
Even if your trailer has faulty wiring, it's not gonna damage anything on the vehicle side. So as far as getting installation on your Outlander Sport, follow along and I'll show you how to get it installed. Before we get our harness installed, let's just kind of take a look at what we have going on. Our yellow and brown wire, we're gonna see that we have factory style connections, and that's gonna make this plug and play, at least when it comes to tapping into the taillights. And our yellow and brown, this is gonna be the driver's side.
And the module that it's attached to, this is kinda the brains of the operation and all the wires go from there. That's also gonna live on the driver's side. So we have a little bit longer wire, but with similar style plugs as our yellow and brown. This is gonna be running to the passenger side, and that's gonna run along the threshold and plug into the taillight. So the remaining wires that we have are gonna be the four-pole, which is gonna be how we plug into the trailer or those accessories.
And we also have a white ground wire with a ring terminal. That's gonna attach to a factory ground somewhere, or we can use a self-tapping screw to make that ground. And then finally, this black wire that's a little pre-stripped, this is gonna attach to the black spool of wire that's included in your kit and run up to the battery to get the 12-volt power. So to begin snapping in our connectors and getting this all installed, we're gonna wanna open up our hatch and we're gonna take the cargo tray cover out. This is gonna give us access to be able to pull our threshold out.
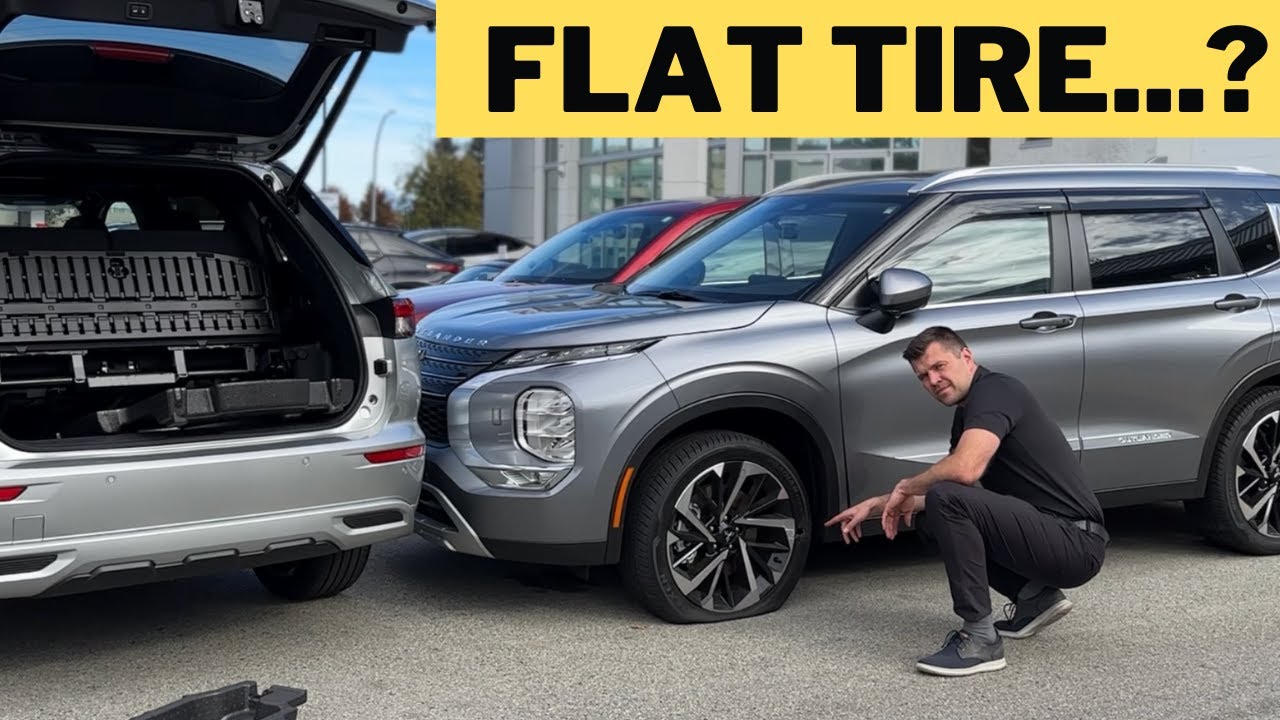
So now we're gonna get our threshold popped off. And generally, it's just a series of clips along the top, but this is gonna interlock into this side plastic and we need to get that removed to get to the taillight. So to pop this out, just grab on the bottom edge of here, (panel popping) and just kind of pull up. If you can work on each side first, that generally works pretty well. So we can see that we just have the four snap clips. It may take a little pressure, take your time. If you need to, you can also use a trim panel tool to kind of wedge underneath the weather stripping and pop that up. But with this popped out, we can set it aside. On each side, you're gonna find a storage tray, and it's attached with a small plastic push pin. And this is a nice style actually. You push on the center button. And once that pops down, you can generally just pull it out by hand. So just a screwdriver, and then this should slide out fairly easily. Now we're gonna head to the plastic that we have here. And if you fold down the little cargo hook here, that's gonna give you access to a screw that's located here. And there's also one that's gonna be up top. Now you can use a Phillips head screwdriver or a 10 millimeter socket to get those removed. (drill whirring) (drill whirring) Now we do need to remove this styrofoam that has our spare tire tools, and that's just gonna be a Phillips head screwdriver. There should be one that's located here and then one that's located back here. And once we get this out, it's gonna allow us to pull this plastic back and have a lot of room to

Доступные форматы для скачивания:
Скачать видео mp4
-
Информация по загрузке: