Subaru Brat Polycarbonate Body
Автор: JF-RC
Загружено: 2021-10-17
Просмотров: 712
Hi RC Enthusiasts
Welcome to my channel and thank you for taking the time to view this video.
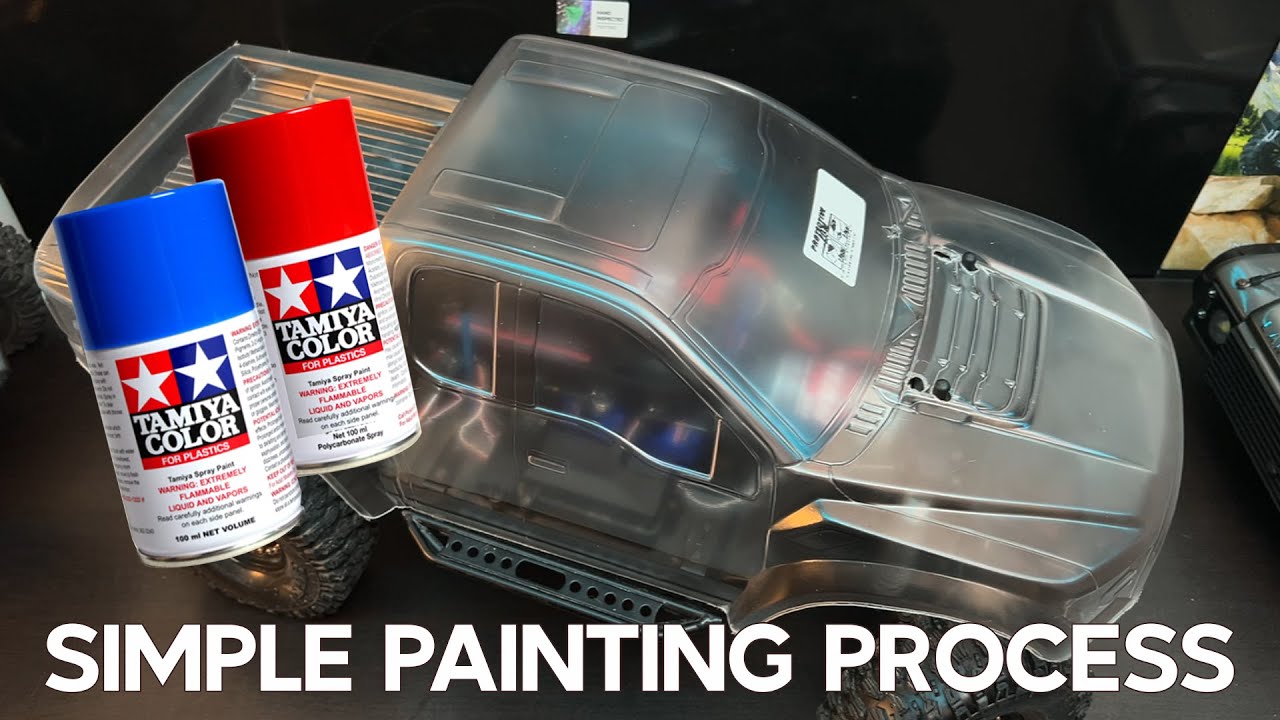
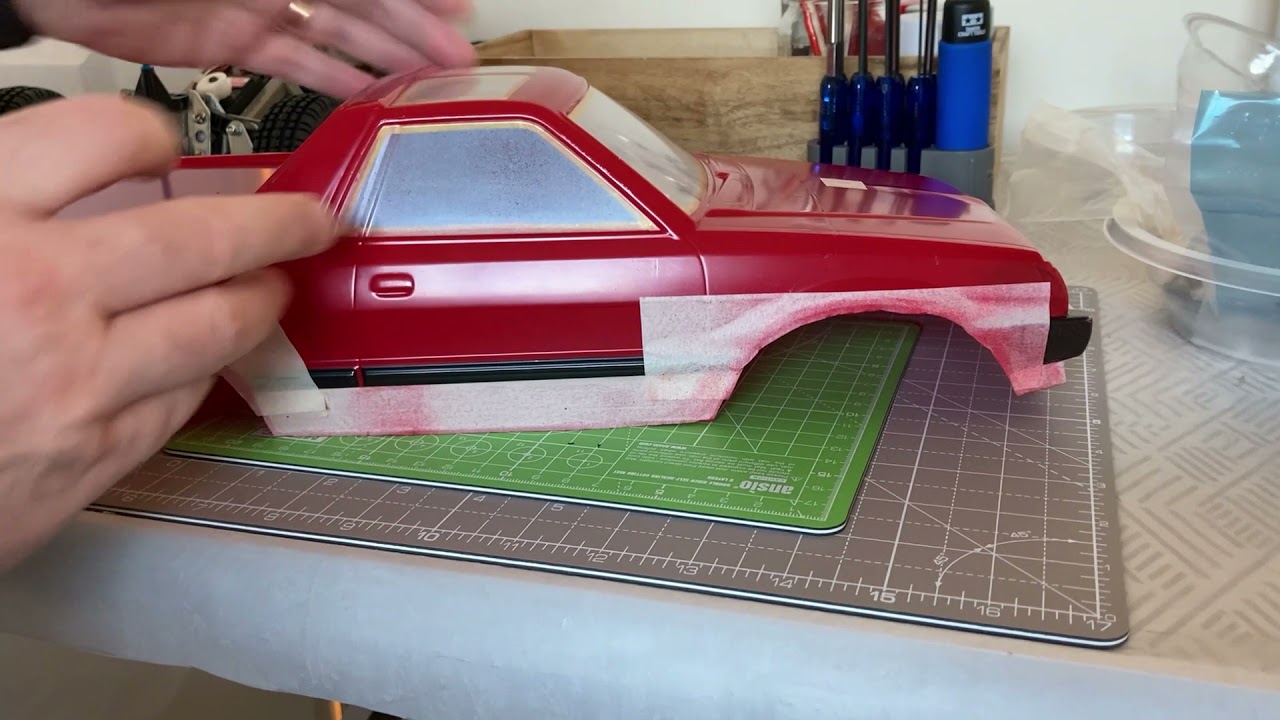
In this video, I am concentrating on the polycarbonate body (Lexan). This part of the build is where you slow down the pace and concentrate on the details of how the body is going to look. You need a lot of patience for this part of the build.
You need to cut the body out carefully, then gently sand the cut edges to the required lines, using progressively finer wet & dry sand paper. You then need to carefully wash the body, to remove any left over releasing agents left over from the manufacturing process and any greasy marks that may have put in the body, during the cutting out. Then masking, spraying, curing, washing again, re-masking, spraying, curing and so on....hours and hours later, a finished body.
If there are any younger generation that are looking to get into engineering, ask your parents to get you into a Tamiya RC car and this excellent hobby. It has all the basic ingredients to grow your mechanical and electrical engineering knowledge.
If you would like to see the previous steps of the build guide to this iconic classic RC car, please using the links below:
Tamiya Subaru Brat (ORV Chassis) Build Video list
1. • Tamiya Subaru Brat Part 1 - Introduction ... - Introduction & unboxing
2. • Tamiya Subaru Brat Steps 1 - 2 - Steps 1 - 2
3. • Tamiya Subaru Brat Steps 3 - 6 - Steps 3 - 6
4. • Tamiya Subaru Brat Steps 7 - 9 - Steps 7 - 9
5. • Tamiya Subaru Brat Steps 10 - 13 - Steps 10 - 13
6. • Tamiya Subaru Brat Steps 14 - 16 - Steps 14 - 16
7. • Tamiya Subaru Brat Steps 17 - 19 - Steps 17 - 19
8. • Tamiya Subaru Brat Steps 20 - 28 - Steps 20 - 28
As always, please comment, like & subscribe to my channel. Most of all, keep safe & well and have fun with your RC.
Доступные форматы для скачивания:
Скачать видео mp4
-
Информация по загрузке: