KITAMURA MYCENTER 3X X AND Y AXIS REPAIR PART 1
Автор: Precision Service MTR
Загружено: 2026-01-16
Просмотров: 19
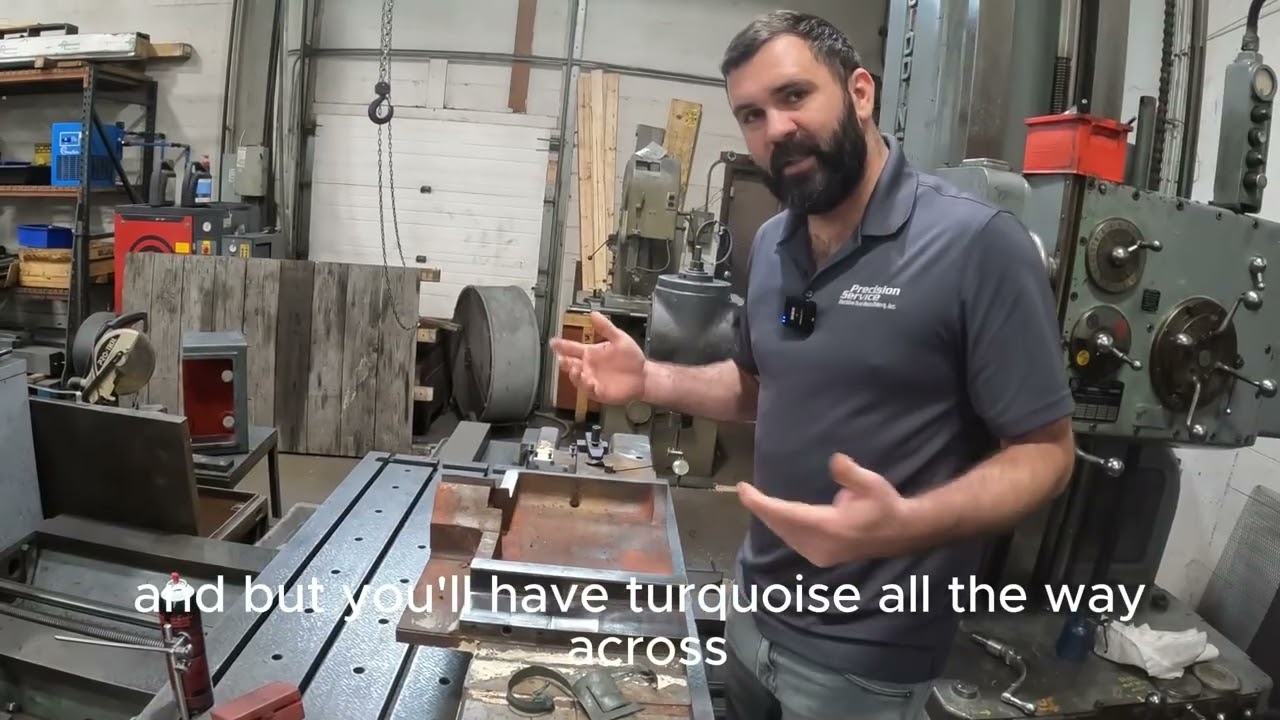
Hi, this is Kevin from Precision Service. In front of me is an X-axis saddle from a Kitamura, model Mycenter 3x. On this machine, the Turcite came off the table axis. Since we were already working on it, we decided to remove the Y-axis as well, because it's an older machine, and if one part fails, the next one might soon follow. We already removed the Turcite, but you can see the scratches where it was worn out. It wasn't too bad, but since we're already into the machine, it's best to do the job right. Kitamura usually puts Turcite on the four corners and leaves the center open for the lubrication line. That's not a bad method. Our approach is to machine the surface perfectly parallel to the bottom, then reapply Turcite across the whole strip. We also relieve the center, similar to their method, but you'll have Turcite all the way across. We think this helps keep grit out of the center and protects the Turcite inside. To be fair, their method didn't fail, but we find our way easier.
Next, we'll machine these surfaces. You can see they're rough, which is good because the glue needs something to bond to for long-lasting results. We'll also zigzag the lubrication line to make sure oil gets everywhere it needs to go. After machining and gluing, we'll scrape the top of the saddle to get it as close to zero as possible. Then we'll grind it, using the Turcite on the bottom of the saddle as our reference. I'll make a video of that process too, and show how we fit the table and line up the keyways. This should give you a better idea of what we do at our company. If you have any questions, please reach out. This is a scraping alignment on a Y and X axis vertical mill with boxed ways and Turcite. Stay tuned for more videos, and thanks for watching.
Доступные форматы для скачивания:
Скачать видео mp4
-
Информация по загрузке:


