etrailer | How to Install: Curt Trailer Hitch Receiver on your 2019 Ram ProMaster 2500
Автор: etrailer
Загружено: 2019-03-25
Просмотров: 3476
Click for more info and reviews of this CURT Trailer Hitch:
https://www.etrailer.com/Trailer-Hitc...
Check out some similar Trailer Hitch options:
https://www.etrailer.com/fitguide.htm
Search for other popular Ram ProMaster 2500 parts and accessories:
https://www.etrailer.com/vehicle/2019...
https://www.etrailer.com
Don’t forget to subscribe!
/ etrailertv
Full transcript: https://www.etrailer.com/tv-install-t...
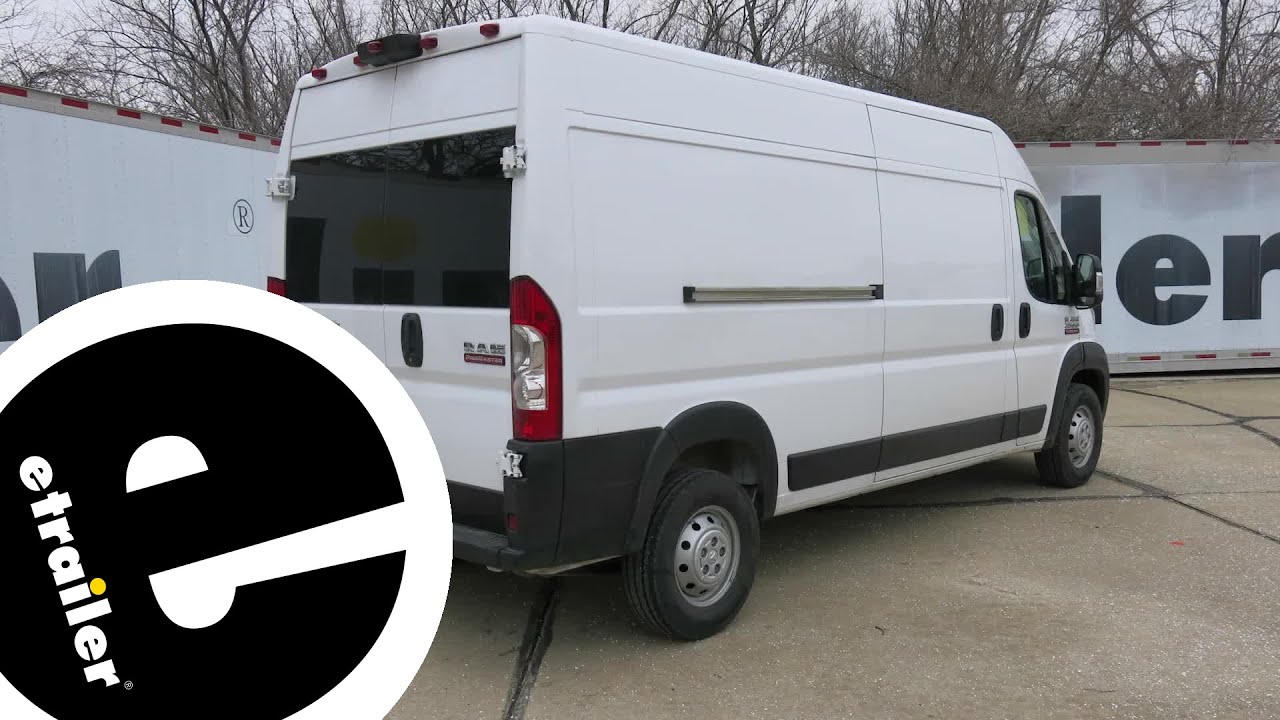
Today on our 2019 Ram ProMaster 2500, we're going to be taking a look at and showing you how to install the Curt class III custom fit trailer hitch receiver.Here's what our hitch is gonna look like once we have it installed. The cross tube's going to be hidden behind the bumper, and all we're going to see is that receiver tube sticking out. As you can see, our hitch is going to stick out just past our bumper, but not enough to where it's going to cause a hazard when we're walking behind it. It is a class III hitch, which means it's going to give us that two inch by two inch receiver tube opening and have a really wide variety of options when it comes to accessories.Now, the way we're gonna mount any of those accessories is to the hitch pin hole here on the side. It is going to accept a standard five ace pin and clip. Now, these aren't included with the kit, but you can pick them up here etrailer.com, along with some locking devices to keep your accessories secure.Now, if you do plan on doing some towing, our safety chain loops are going to be a plate style, but they're going to be in the vertical position, which means we're not going to have to worry about interference from our hitch pin or locking device, and you can see that we have plenty of room to get most size hooks on or off.As far as the weight capacity goes, our hitch is going to have a 500 pound tongue weight, which is the maximum downward force of the receiver tube, along with a 5,000 pound gross trailer weight rating.
That's the amount our hitch can pull, including the trailer and everything we have loaded on it. With all those numbers in mind, you always want to double check your ProMasters owners manual, because you don't want to exceed the manufacturer's recommended weight. Now, Curt does recommend using a safety strap when carrying any non-trailer loads such as a bike rack or a cargo carrier.I'd like to give you a few measurements. These are going to help you out whenever you're looking for accessories for your hitch, like a ball mount, a bike rack, or even a cargo carrier. From the center of the hitch pin hole to the outermost edge of the bumper is going to be right about two inches, but our receiver tube is going to stick out just a little bit, so from the center of the hitch pin hole to the outer edge of the receiver tube is going to be right about two and a half inches.
From the ground to the inside top edge of the receiver tube opening, it's right about 18 and a half inches. That measurement is going to help you out when you're looking for a ball mount to find the appropriate riser drop to match up to your trailer.Now that we've seen what our hitch looks like and gone over some of the features, let's show you how to get it installed. To begin our installation, we want to open up our rear doors so we can get access to the rear bumper cover here. We're going to have a total of four screws that are holding it in place. The one on the very end, couple towards the center, and then another one on the other end.Grab T30 torx bit, and we can pull those four screws out.
Then if we move to the bottom of our bumper cover, we're going to have four more. We'll have one on the end, as well as one a little bit towards the center on each side. We use that same T30 torx bit, pull all four of those out.Now, our van doesn't have any kind of backup sensors or anything on it, but if yours does, you want to make sure you disconnect it. It'll be right here at the bottom of the bumper cover on the passenger side.With all the fasteners removed, we're going to pull our bumper cover away, and we'll set it aside for right now. Behind that, we're going to have our bumper structure.
On each side, we're going to have two bolts on top here that we're going to have to remove. Now, since the bumper structure itself is in the way, it'll help to use this short extension and a swivel. Be using a 16 millimeter socket, and we're going to pull those bolts out.Now, on the backside of our bumper structure, we're going to have a nut that's holding it to the frame on the bottom. Grab a 15 millimeter socket, and we can pull that nut out. Now, once you remove the other nut on the other side, you want to be careful and hold that bumper structure in until you can safely support it and pull it out. Then we'll just grab our bumper structure and we're going to pull it away. We're gonna set this down, because we're actually going to be attaching the
Доступные форматы для скачивания:
Скачать видео mp4
-
Информация по загрузке: