How To Make A Macrame Rose Knot Heart-Shaped Wall Hanging
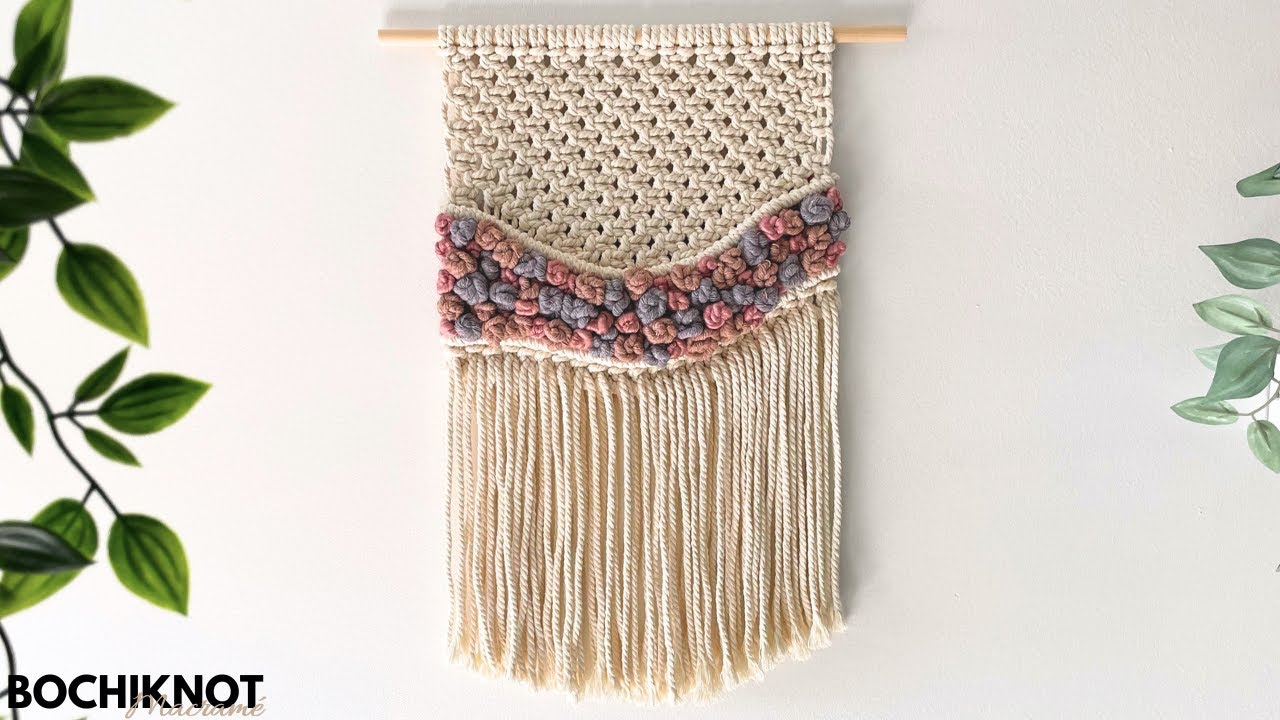
Автор: BOCHIKNOT
Загружено: 2023-01-06
Просмотров: 15471
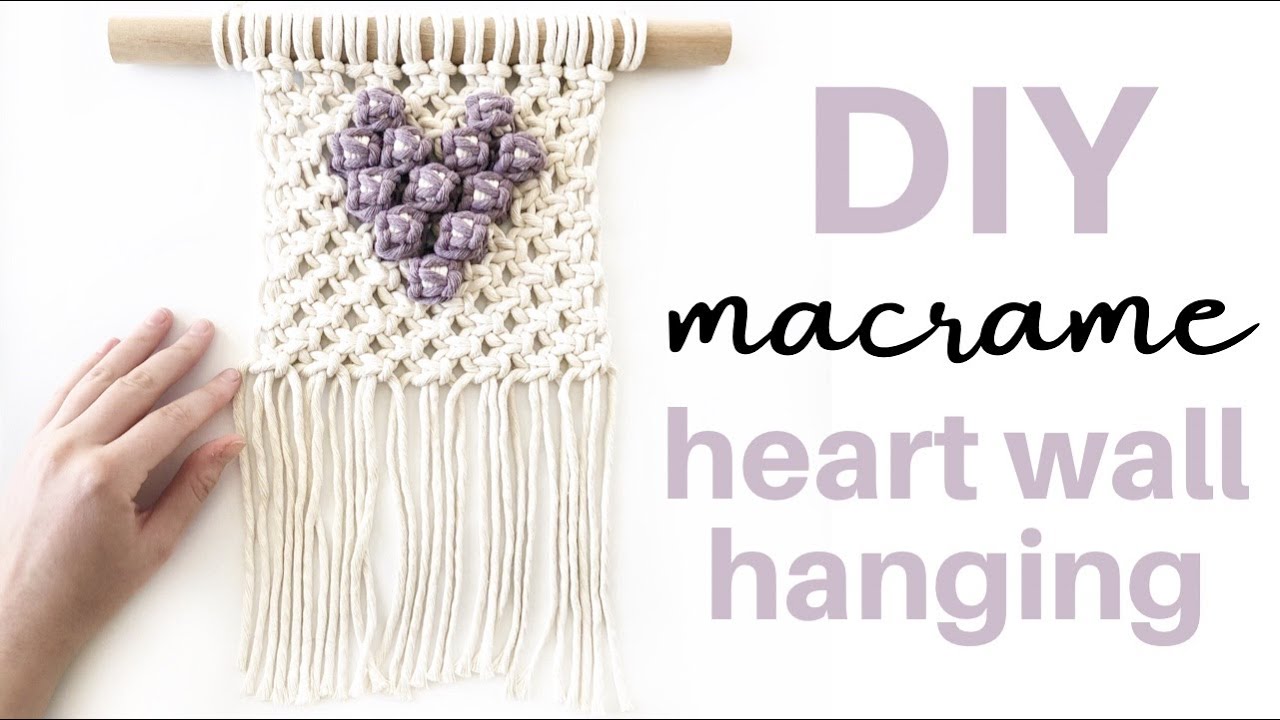
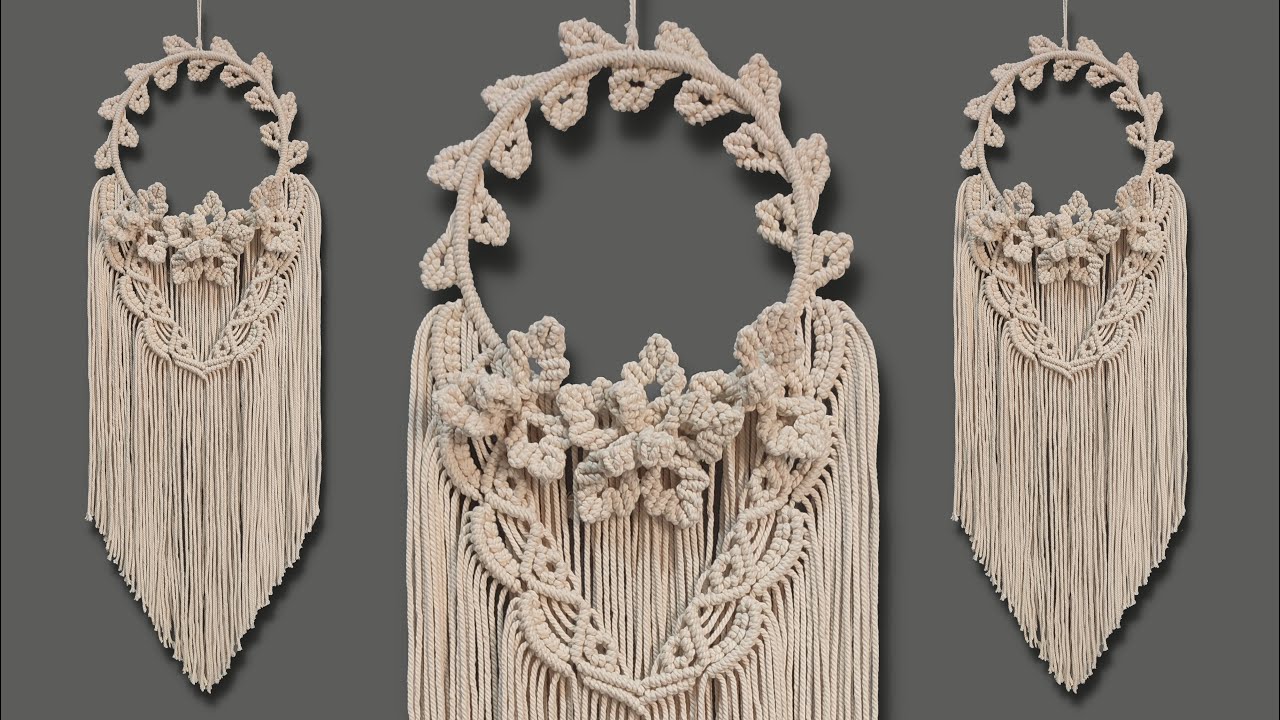
Looking to add a beautiful, heart-shaped macrame piece to your decor? 🌸
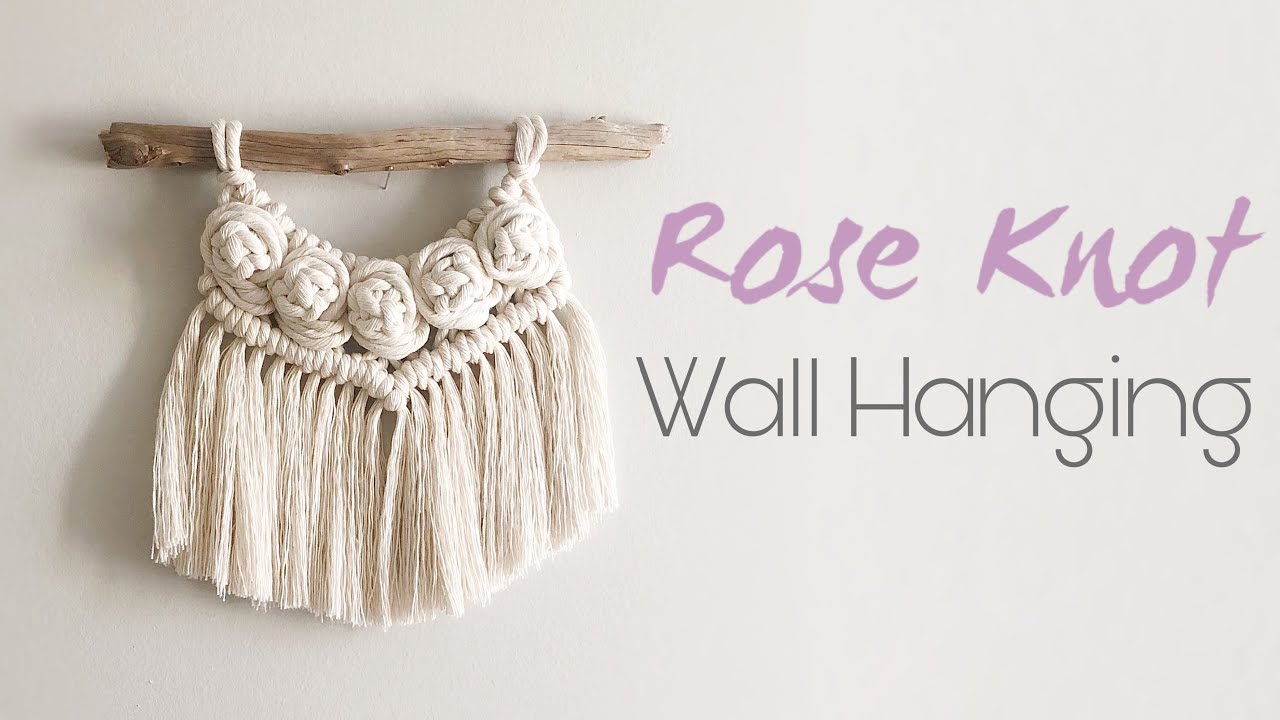
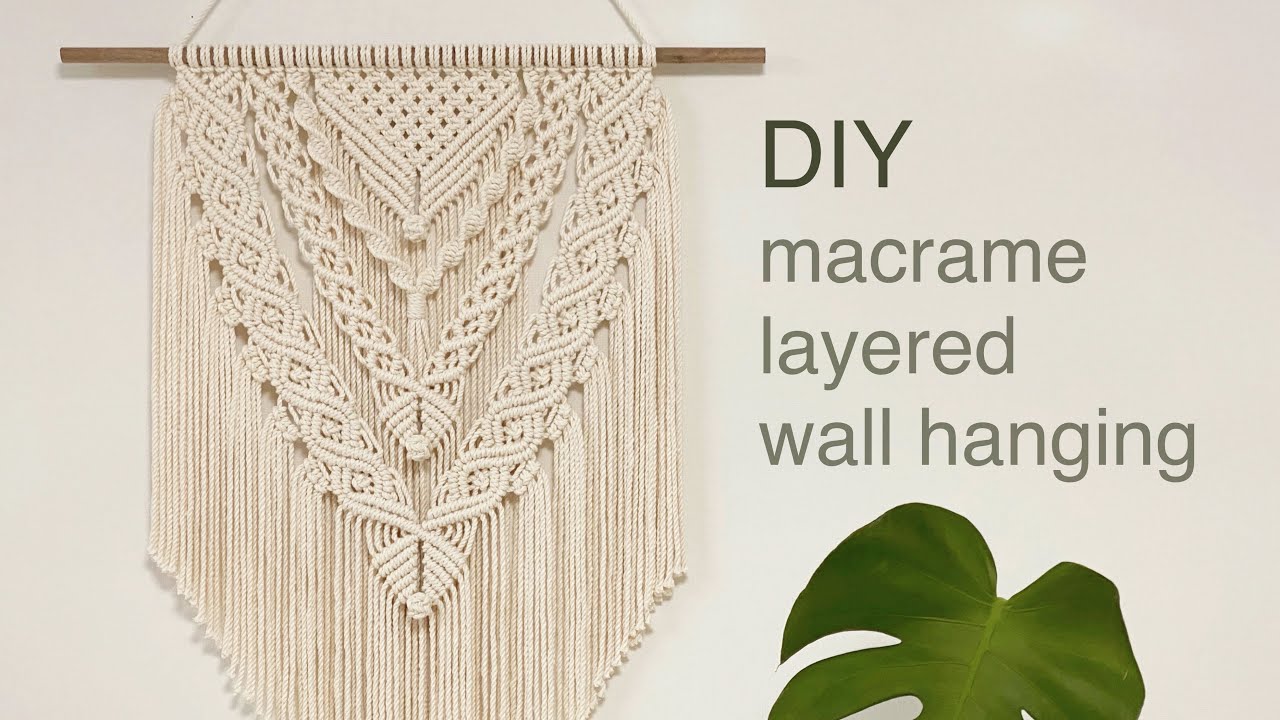
In this video, I’ll show you how to make a stunning Macrame Rose Knot Heart-Shaped Wall Hanging that’s perfect for any space.
From mastering the elegant rose knot to shaping the cords into a heart, this tutorial breaks down each step in an easy-to-follow way, making it perfect for beginners and experienced macrame artists alike.
By the end of this video, you’ll have a gorgeous macrame heart ready to display or gift.
Imagine creating your own handmade macrame art that not only showcases your skills but also adds a warm, personal touch to any room. Whether you’re making it for yourself or as a special gift, this heart-shaped design will definitely impress.
Grab your cords, follow along, and let’s start knotting.
Don’t forget to subscribe for more fun and creative macrame tutorials. If you enjoyed this video, give it a thumbs up and share your beautiful creations with me on Instagram!
🧶 Materials used:
1) 4mm and 5mm single strand cord
2) 9" Wooden Dowel
I used 4mm cord for the base and 5mm cord for the Rose knots. You can also use 3mm or 4mm for the Rose knots if you prefer.
Post: https://bochiknot.com/blogs/macrame-w...
***************************************
New to Macramé and eager to get started? Check out these helpful resources.
🧶 Bochiknot Macrame Journey FB Group: / 399811044202043
🧶 Getting Started with Macrame Watch This Video: • How to get started with macrame | EASY BEG...
🧶 Special 1-time offer for New Subscribers (Buy1, Get1 Free Cord Deal): https://bochiknot.com/products/macram...
🧶 Enjoy a 10% discount on your initial order https://www.Bochiknot.com with code: MacrameWithBochiknot
🧶 Monthly-Themed Macrame: Exclusive Bochiknot Macrame Community: / bochiknot
🧶 Tangled Threads Tribe:
/ @bochiknot
***************************************
★☆★ SHOP ★☆★
Official Bochiknot Store: https://bochiknot.com/collections/all
Official Amazon Store: https://amzn.to/3t5VcRu
Official ETSY Store: https://www.etsy.com/shop/bochiknot
***************************************
★☆★ TIMESTAMPS ★☆★
00:00 - Intro
00:06- Trailer
00:24 - Getting Started
01:38 - Cord & Materials
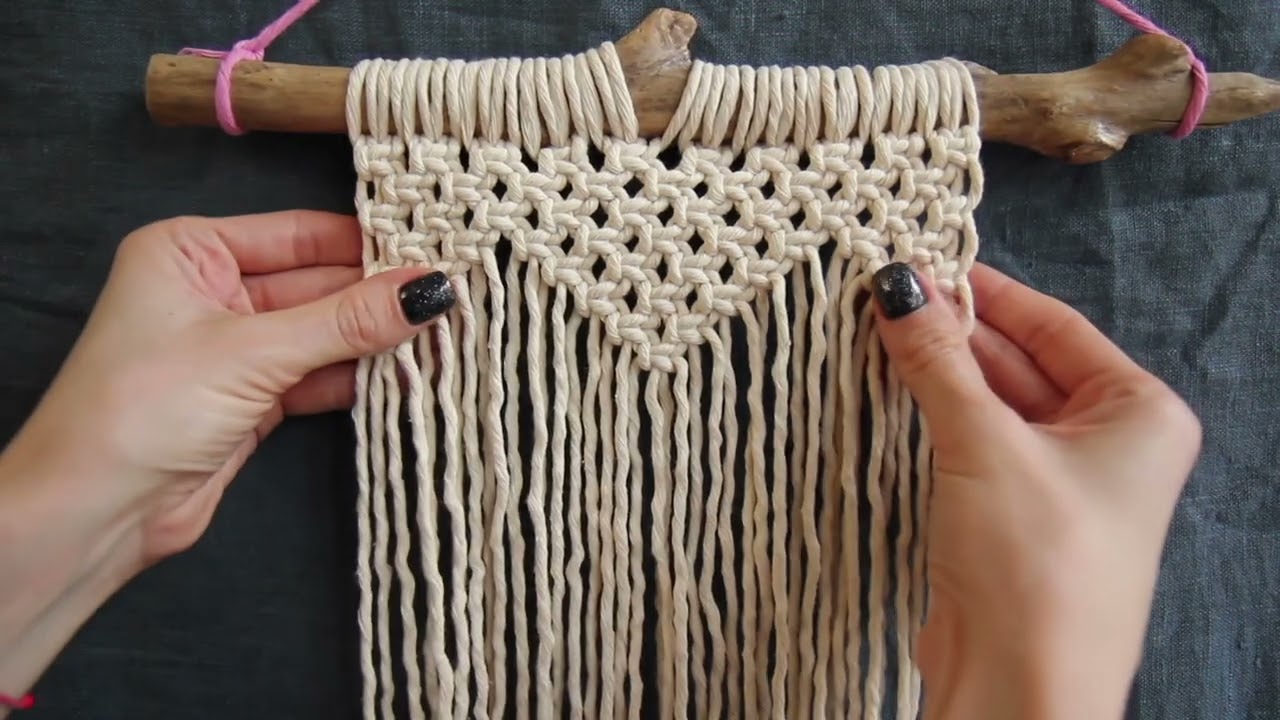
02:38 - Step #1 : Attach all 16 x 200 cm cords onto the dowel with Lark's Head knots.
03:31 - Step #2 : Make 4 rows of Square knots.
05:09 - Step #3 : Add 2 Square knots in the middle and 1 more underneath. Then add a Square knot on the far left and right sides.
07:08 - Step #4 : Make a Rose knot and then attach it onto the next 2 cords to the left of the middle
2 cords of the base pattern with a Square knot.
08:24 - Step #5 : Then attach 5 more Rose knots to the left side with the next sets of 2 base cords.
09:39 - Step #6 : Repeat the same 6 Rose knots on the right-side.
10:15 - Step #7 : Attach another Rose knot onto the middle 2 base cords.
11:15 - Step #8 : Starting with the middle-left 4 cords make a Square knot, then continue with
2 more adjacent Square knots to the left. Repeat on the right-side.
13:28 - Step #9 : Fill in the middle with Square knots until there's a 1 Square knot row at the bottom.
15:21 - Step #10 : Make a Square knot with the far-left 4 cords. Then attach a Rose knot onto the
3rd and 4th cords from the left.
16:24 - Step #11 : Make a Square knot with the bottom 2 cords from the Rose knot and then adjacent
2 cords to the right. Then repeat the same on the right-side.
17:43 - Step #12 : Fill in the V-shaped row of Square knots.
19:03 - Step #13 : Add another V-shaped row of Square knots in the middle.
20:44 - Step #14 : Attach a Rose knot onto the 2nd and 3rd cords from the left.
Attach another underneath onto the bottom right-cord and the adjacent cord to the right.
21:18 - Step #15 : Then attach Rose knots with 2-cord sets at a time until the bottom of the Heart is reached. Repeat on the right-side.
22:16 - Step #16 : Attach one more Rose knot onto the middle 2 cords at the bottom.
22:47 - Step #17 : Make a V-shaped row of Square knots underneath the Heart.
25:25 - Step #18 : Fill in the left and right sides with Square knots.
27:08 - Step #19 : Add 3 more full rows of Square knots underneath.
27:20 - Step #20 : Trim the Fringe.
27:29 - Outro
****************************************************************
Intellectual Property and Copyright Notice
Please be informed that the copyright for this pattern belongs to Bochiknot Inc. All rights and intellectual property are exclusively held by Bochiknot Inc. You are allowed to view and create the finished pattern. However, the pattern may not be sold or redistributed for commercial purposes.
For sponsorship, product reviews, and collaboration, you can email: Hello@Bochiknot.com

Доступные форматы для скачивания:
Скачать видео mp4
-
Информация по загрузке: