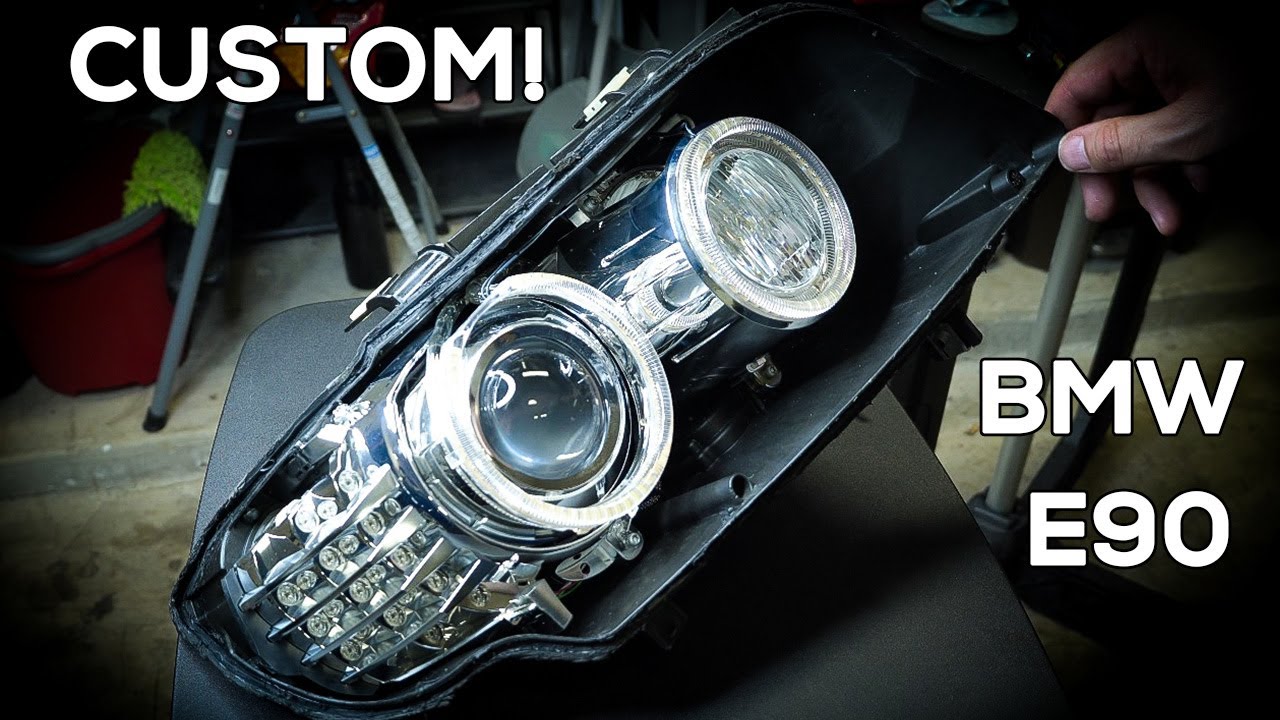
Spyder Auto How to Install: 2008-2010 BMW E92 M3 LED Headlights
Автор: Spyder Auto
Загружено: 2018-08-20
Просмотров: 12497
This video demonstrates how to install a set of Spyder Auto 2008-2010 BMW E92 M3 LED Headlights. This complete how-to tutorial guides you, from start to finish, through the installation process. It also offers helpful tips throughout to facilitate a successful installation.
= TOOLS NEEDED =
1. Quarter-inch ratchet
2. Extensions
3. 8mm deep socket
4. 10mm socket
5. T30 torx socket
6. T20 torx socket/driver
7. Small flat-head screwdriver
UNDER-the-Bumper:
(7) 8mm screws
FENDER WELLS:
RH: (3) 8mm screws on fender liner
(2) 8mm screws (long - holding onto cooler)
LH: (3) 8mm screws on fender liner
(2) 10mm plastic nuts
ACCESS PANELS:
Rotate flat-heads 90-degrees counter-clockwise
BUMPER-to-FENDER:
(2) 8mm screws each side
BUMPER-to-RADIATOR:
(4) T30 Torx bolts
HEADLIGHTS:
(5) T30 Torx bolts
(1) 10mm screw
= INSTALLATION INSTRUCTIONS =
1. Remove the eight 10mm screws under the bumper.
2. Remove the two fasteners on the fender liner.
(Turn 90-degrees counter-clockwise and pop-off)
3. Pull back the fender liner.
4. Remove the 10mm screw holding the bumper to the fender.
5. Open the hood.
6. Remove the eleven push-pin fasteners on the radiator shroud.
7. Remove the radiator shroud.
8. Remove the three push-pin fasteners as well as the Phillips hood stopper.
(Above the bumper near inner-side of headlight)
9. Remove the 10mm bolt in the center of the bumper.
10. Unseat the bumper.
(Loosen it, do not remove it)
11. Disconnect the fog light harness.
(There are three plugs – one on passenger side, two on driver)
12. Remove the bumper.
13. Remove the three 10mm bolts securing the headlight.
14. Disconnect the headlight harness.
15. Remove the headlight.
16. Transfer over the bumper bracket.
(Take it off of the OEM light and transfer onto new light)
17. Bring new light over to car.
18. Seat the new headlight.
19. Connect the wiring harness.
20. Reinstall the three 10mm bolts securing the headlight into place.
(Note: Two smaller bolts and one longer one near the fender-bumper area)
21. Bring front bumper nearby.
22. Reconnect the fog light plugs.
(There are three plugs)
23. Reinstall the center 10mm bolt holding the bumper in place.
24. Reinstall the three push-pins holding the bumper into place.
23. Reinstall the Phillips-screw hood stopper.
24. Reinstall the 10mm screw on the side of the bumper.
25. Reinstall the two fasteners on the fender-liner.
26. Reinstall the eight 10mm screws underneath the bumper.
27. Reinstall the radiator shroud.
28. Reinstall the eleven push-pin fasteners on the radiator shroud.
29. Close the hood.
30. Installation completed.

Доступные форматы для скачивания:
Скачать видео mp4
-
Информация по загрузке: